|
Dave Metzner's How To Site |
|
On this
site I'll share some views of model projects under construction,
along with comments on methods I use in building and painting models.
I hope some of this will be helpful to other builders
|
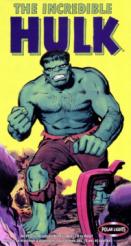
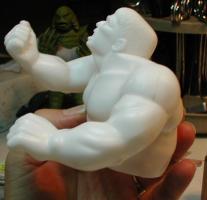
Here
is a Polar Lights Incredible Hulk kit,
not the greatest Hulk sculpt ever but very buildable.
|
|
|
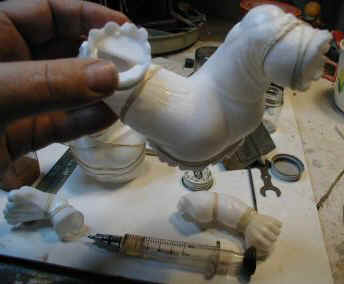 |
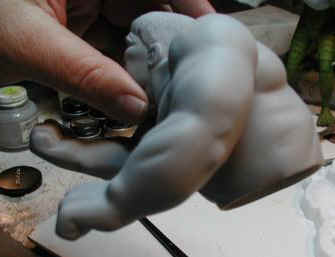
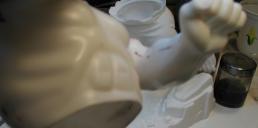
I
use MEK as a welding agent for styrene kits,
and flow it into seams pretty liberally
(you can see the glass syringe I sometimes
use as an applicatorin some of these photos).
I try to get enough solvent into the seams
that I can get melted material to squeeze
out of the seam when I clamp the parts.
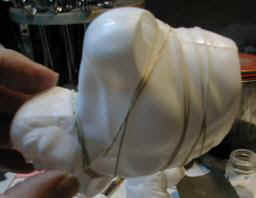
Along with liberally using solvent cements,
I clamp parts together as tightly as I can.
Here you can see there are several
rubber bands wrapped tightly around
the assembled parts. |
|
|
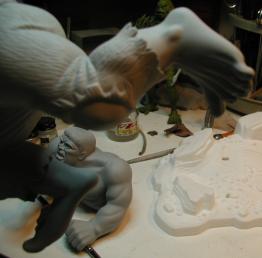
After I've glued
and clamped parts together
I generally let them sit for 30-45 minutes
so the melted material I squeezed out of
the joints can set up and the glue joints
can set up before I remove the rubber bands. |
|
|
 |
After the glue
has set up, I'll dress all the seams ,
I usually use files and sand paper or sanding sticks.
I will use my dremel with a steel cutter to dress seams.
I always start with the coursest abrasive first then
work to finner grits so that the finished surface is
nice and smooth when I'm done. |
|
|
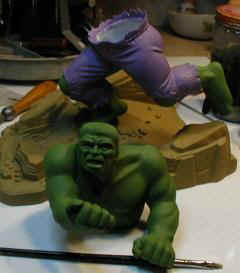
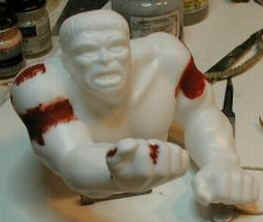
I
use a red lacquer spot putty as a filler.
Here I've filled the seams aroung the upper arms and a
few other seams that I could see.
The white color of the plastic was chosen because it is
easy to paint over, but it sure makes it hard to see
defects in seams.
I think I'll make a change in color for plastic when we
do our next figure kit,
maybe a nice soft primer gray color !? |
|
|
After everyting has been
filled and sanded I'll give it a coat of primer,
this is really important with the white plastic as it makes it
easier to see
those seams that need a little touch of putty. |
|
|
|
After
the first coat of primer I filled the last bad spots
in the seams and sanded everything again. |
|
|