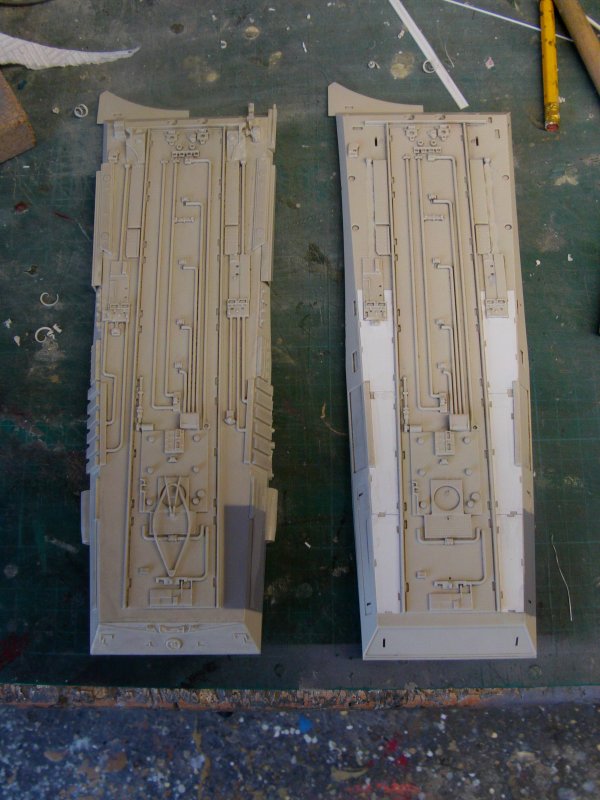
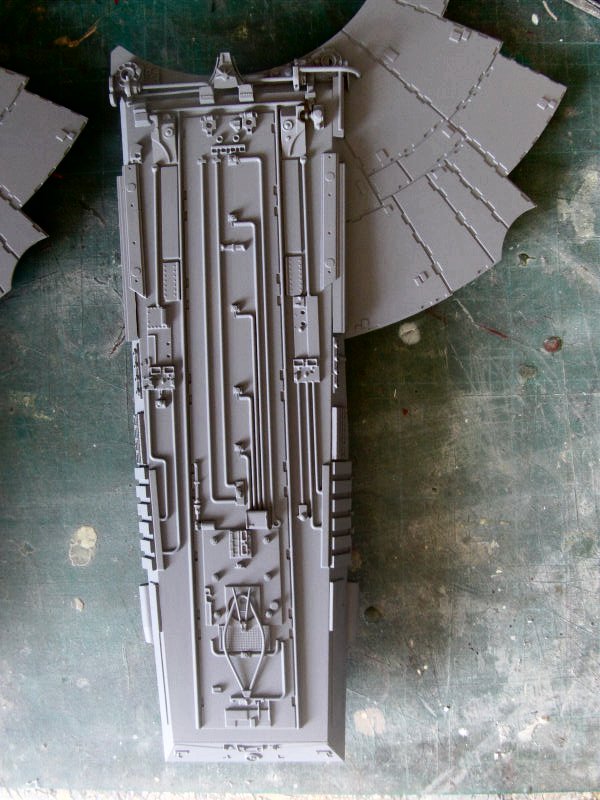
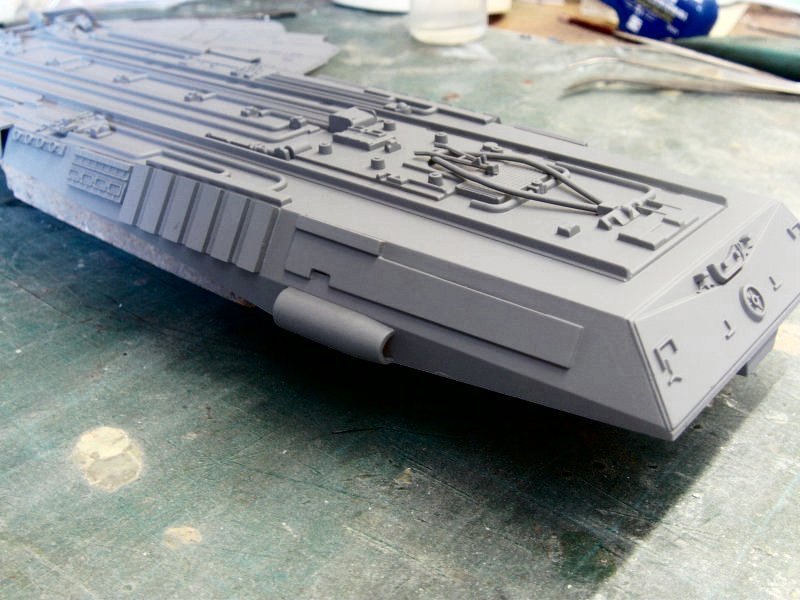
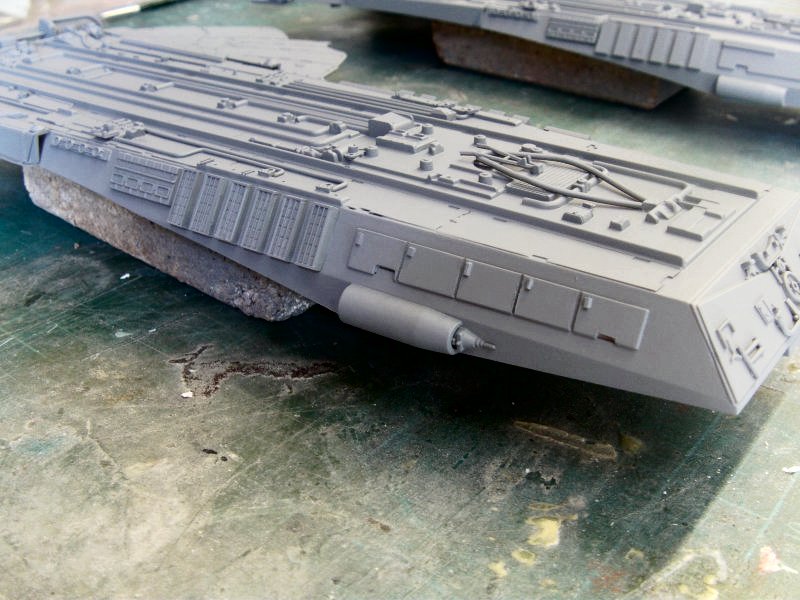
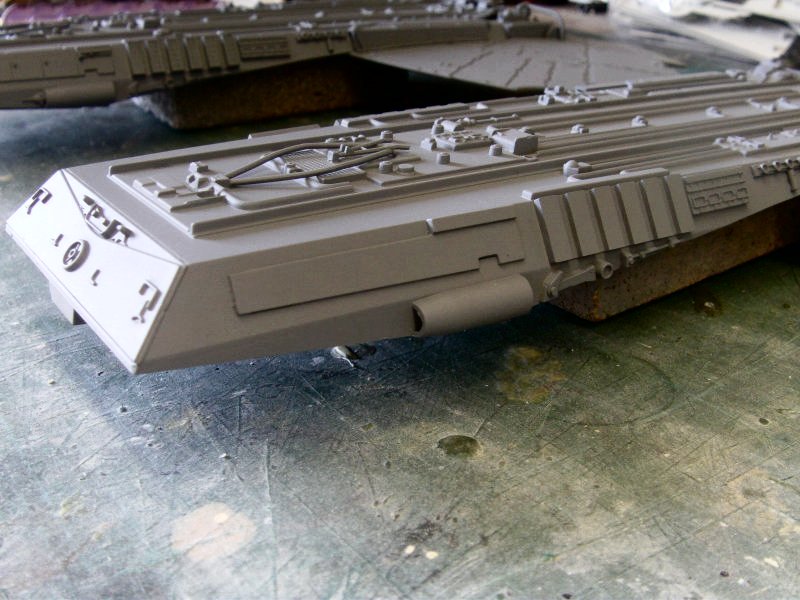
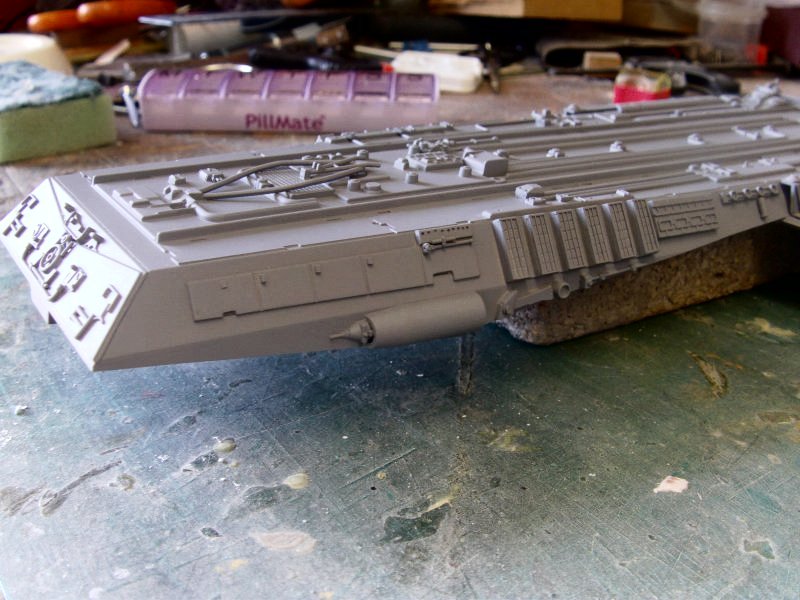
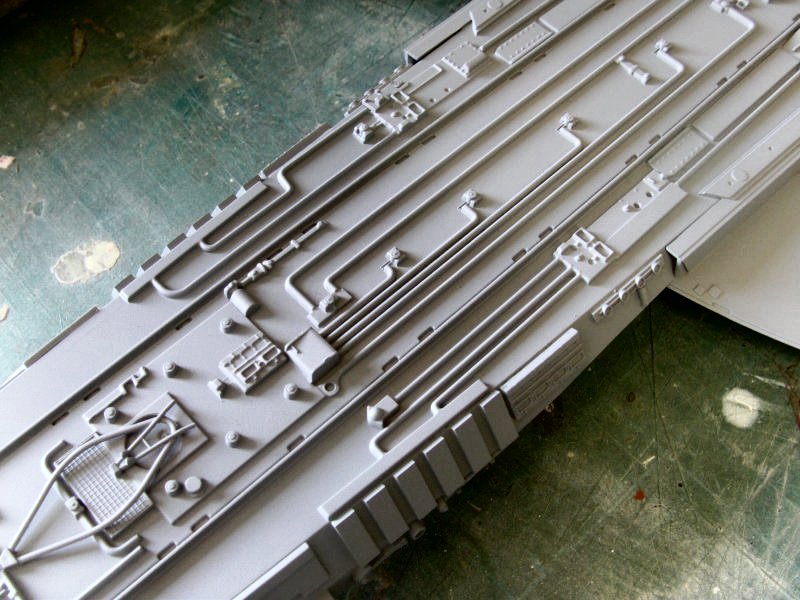
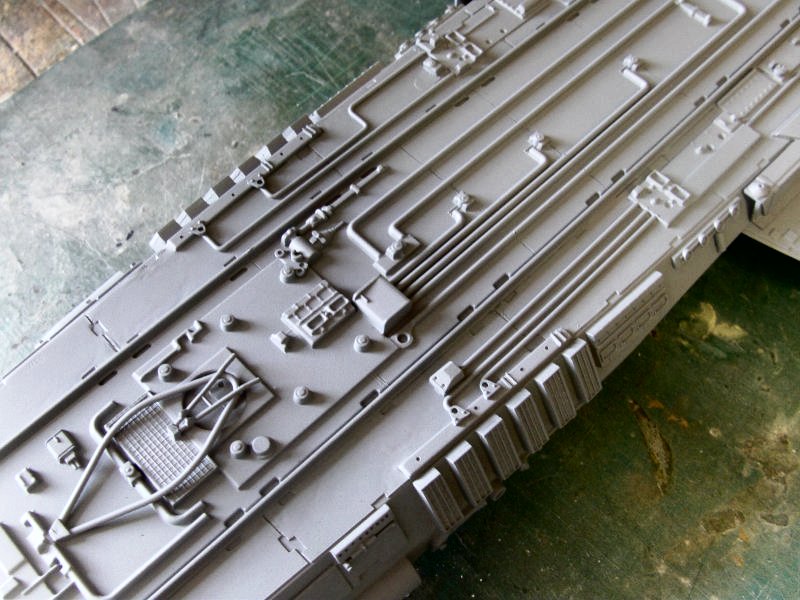
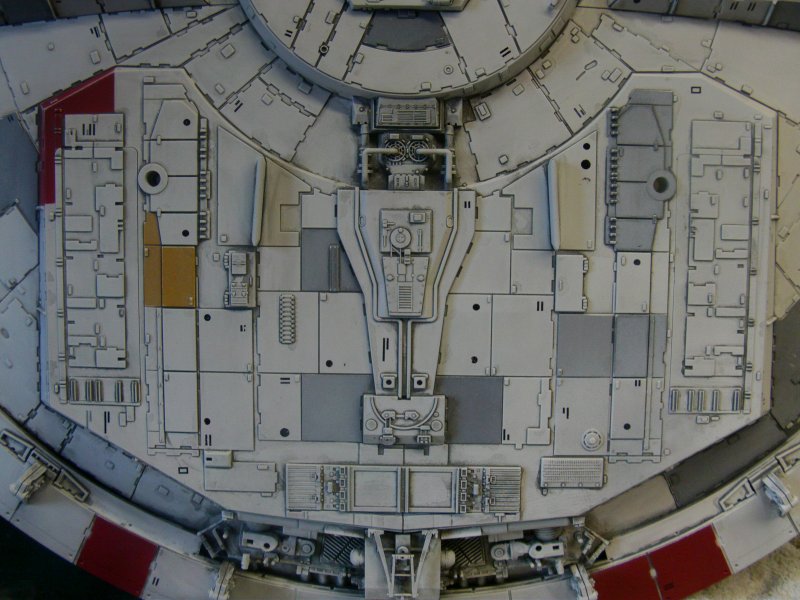
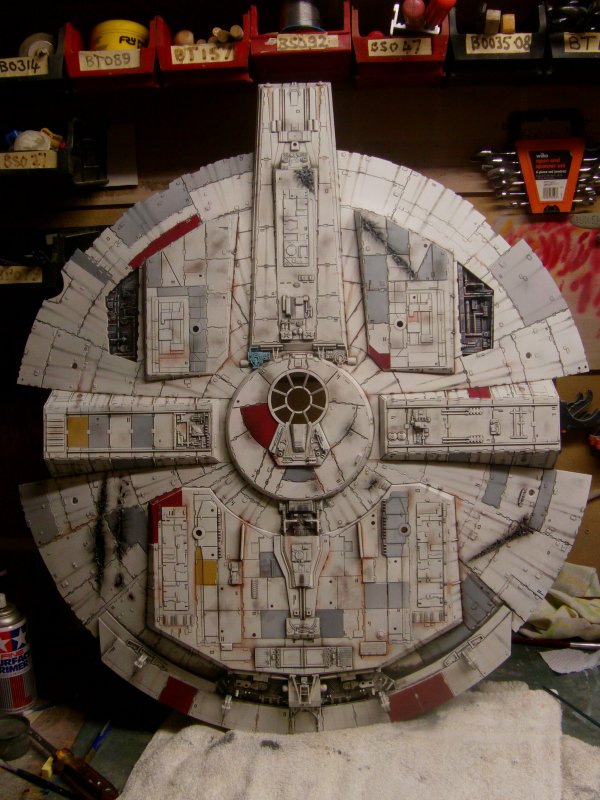
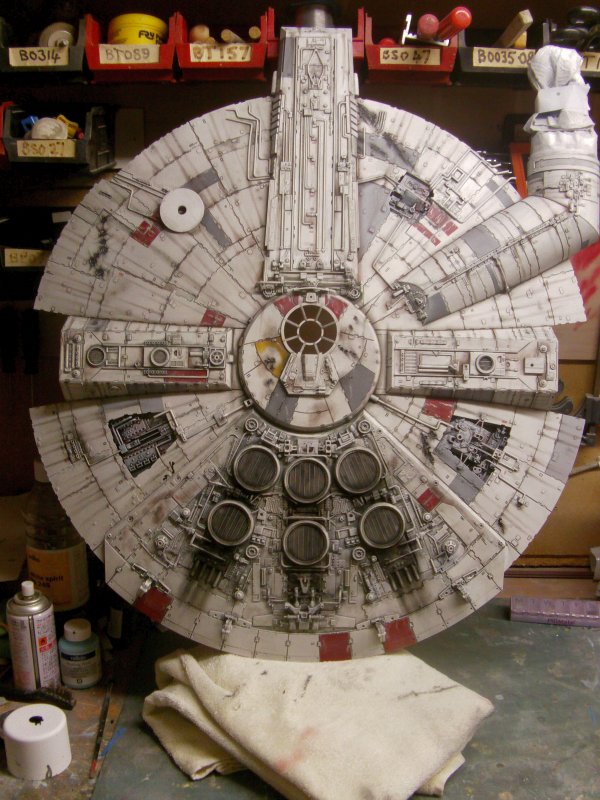
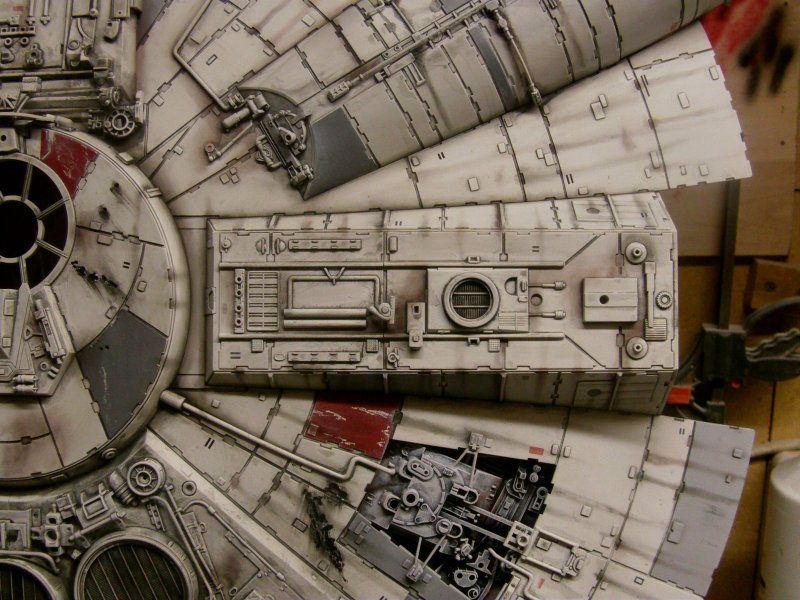
Well an update but very little you haven't already seen in the above pics. Just slammed this lot together with what I had so it be what it be.
A bit of a break in the Enterprise Refit faffing about so one thought one would post...something anyways.
The new info is at the bottom of the update page on my site.
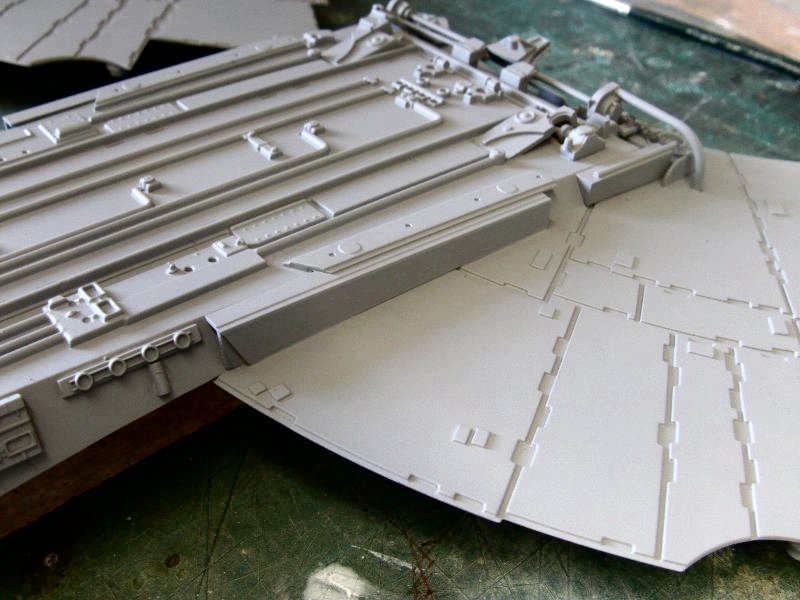
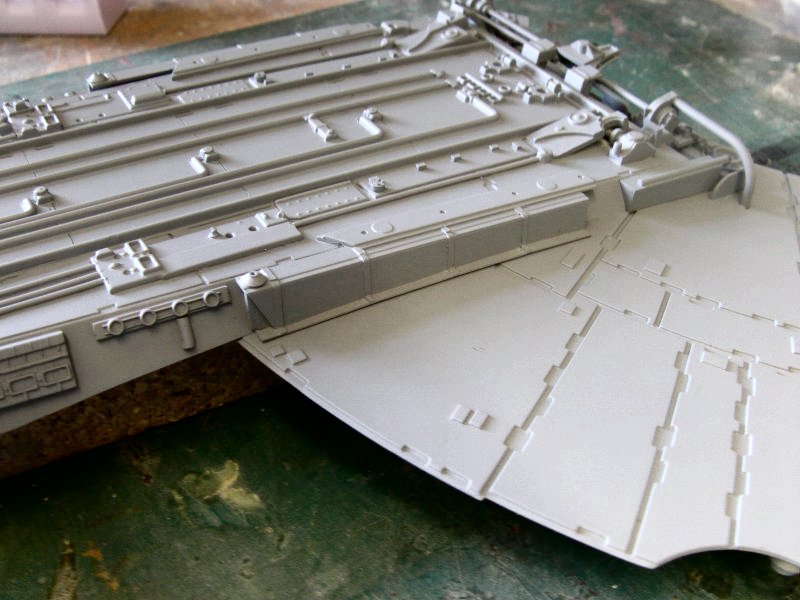
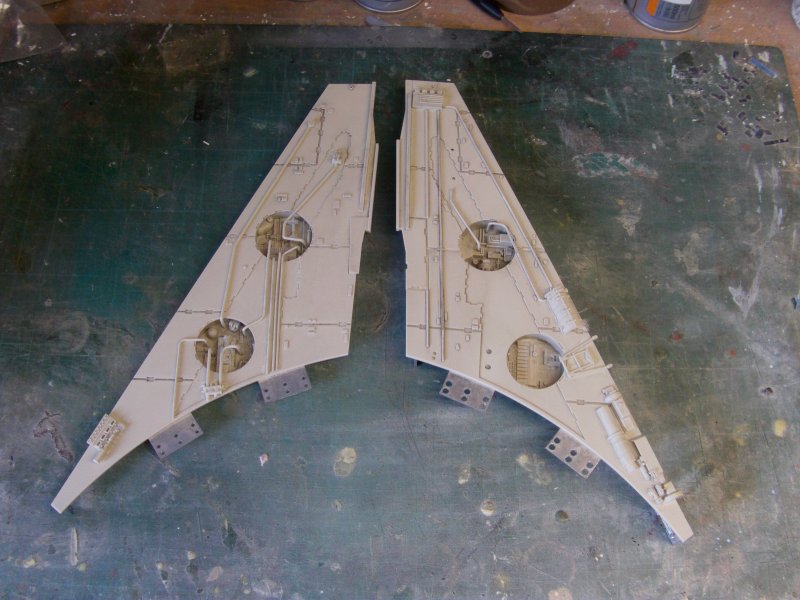
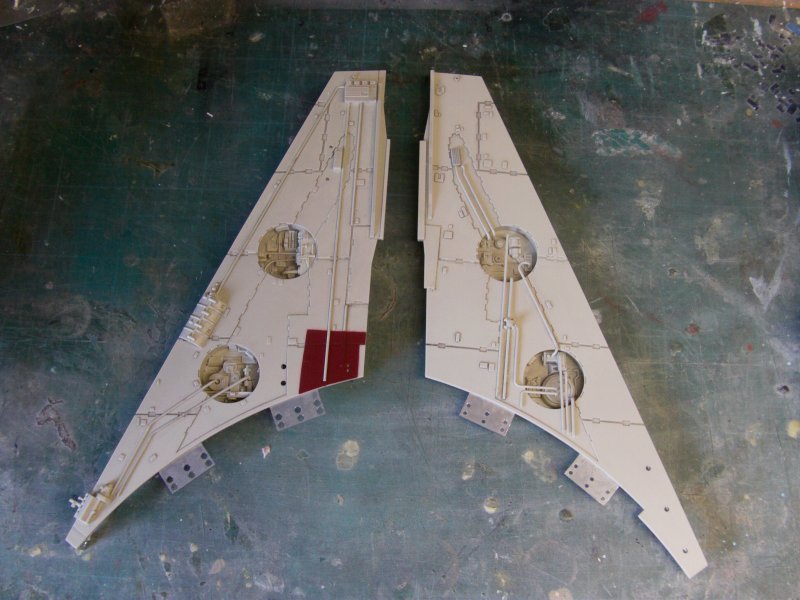
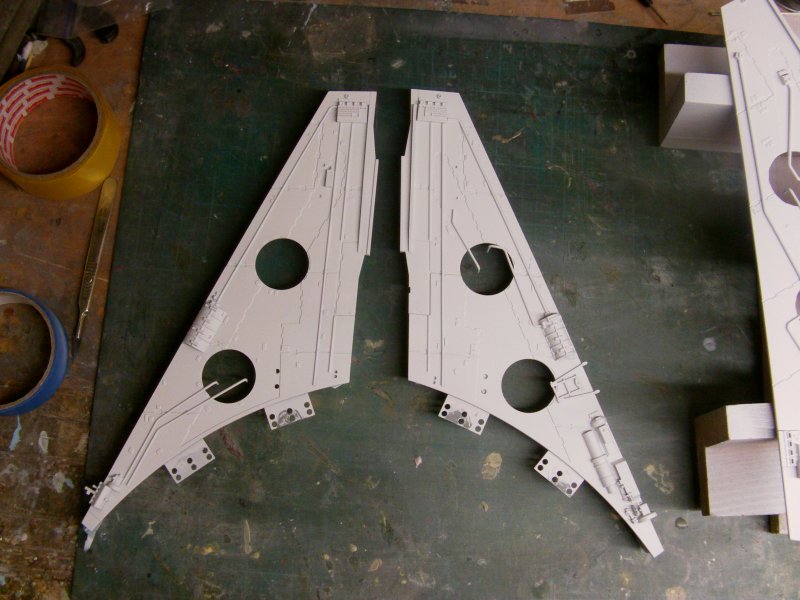
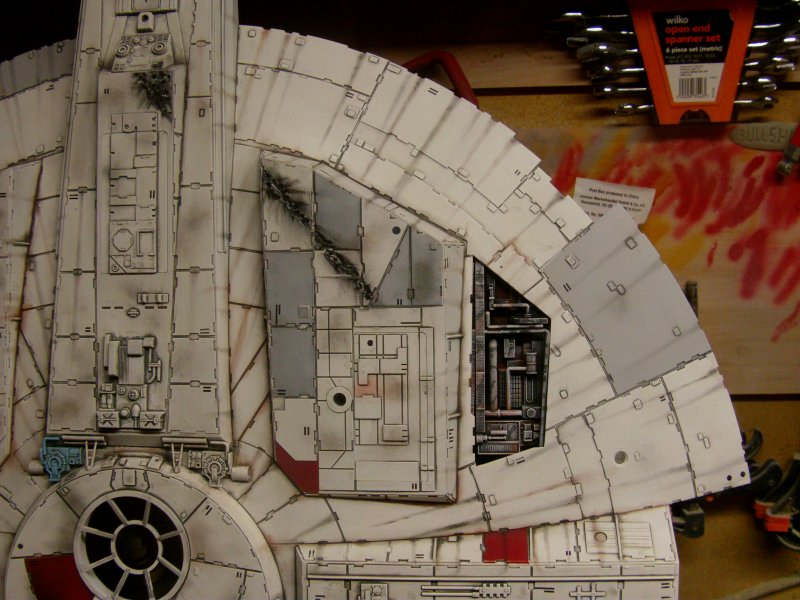
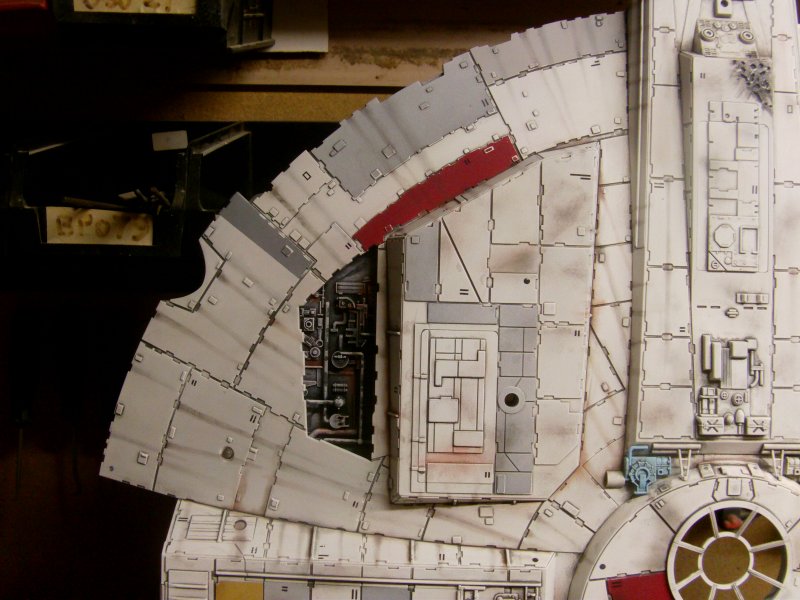
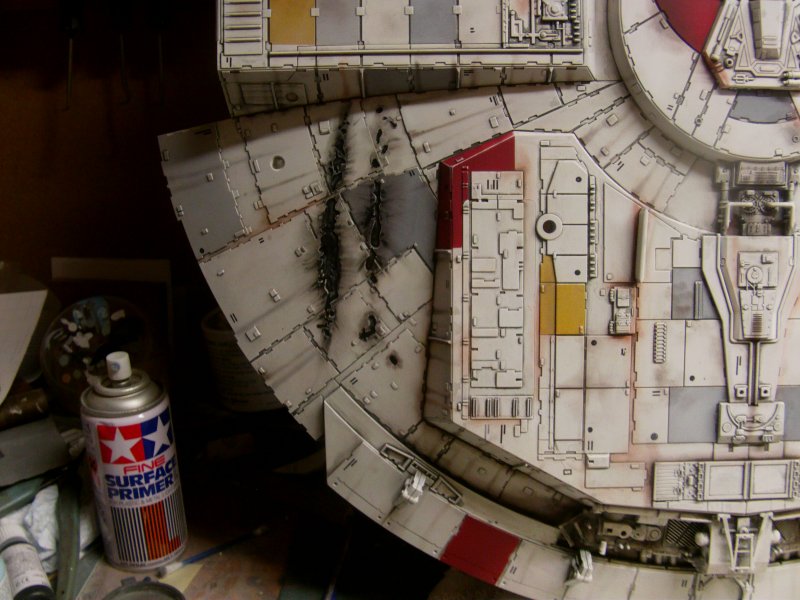
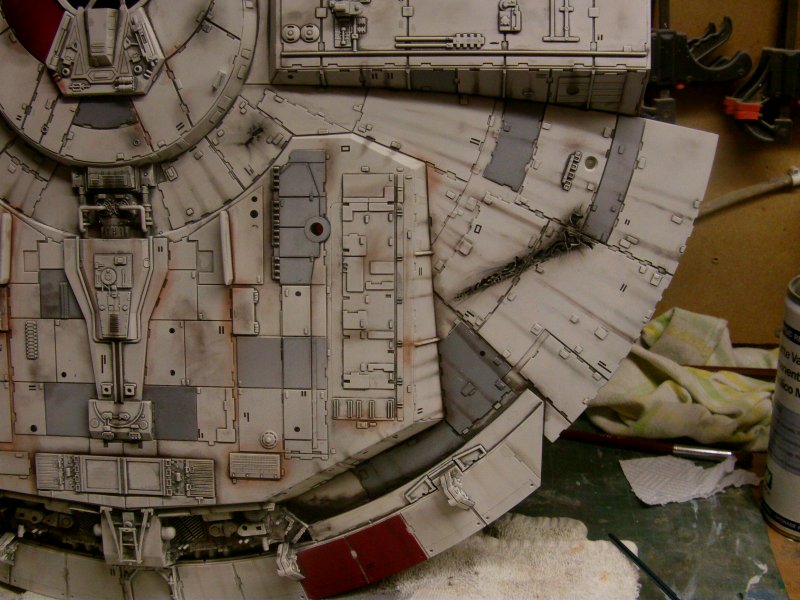
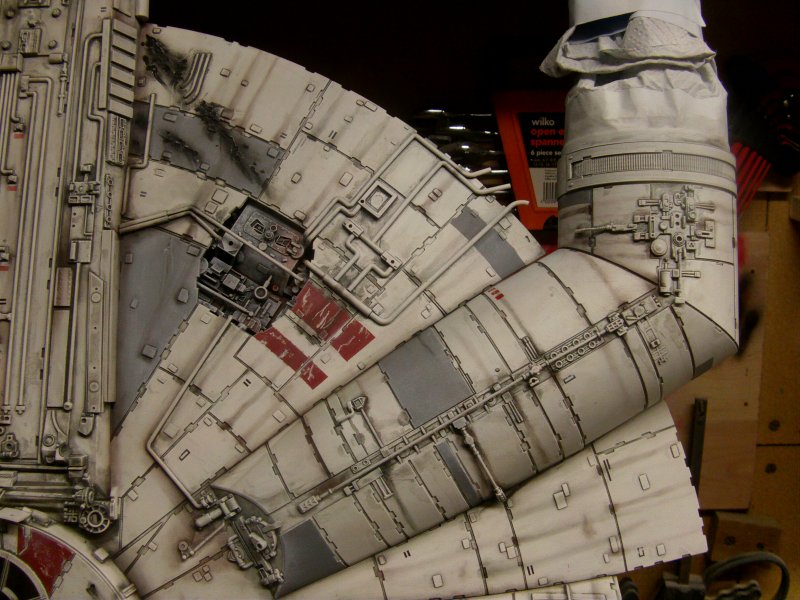
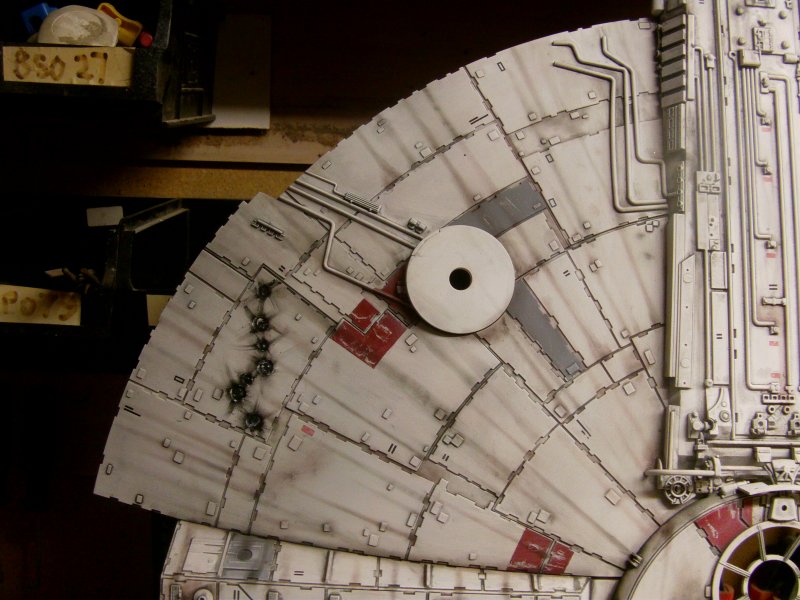
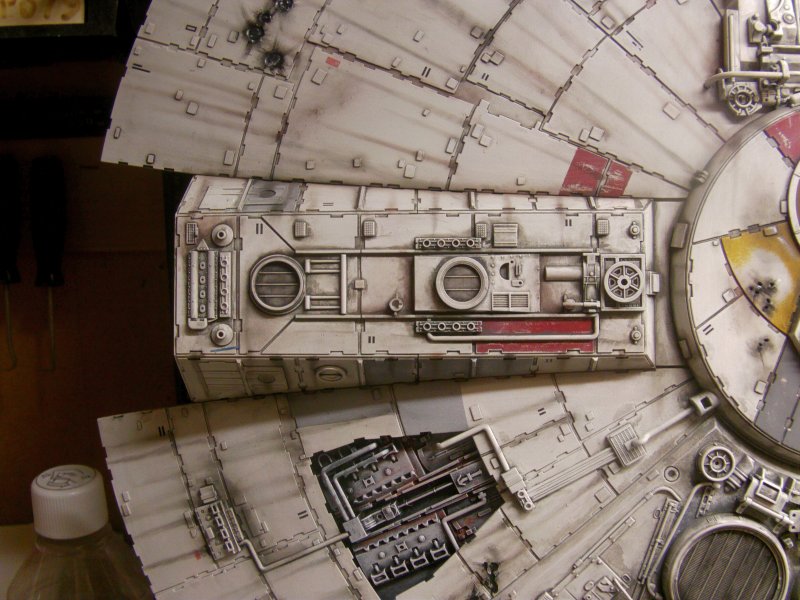
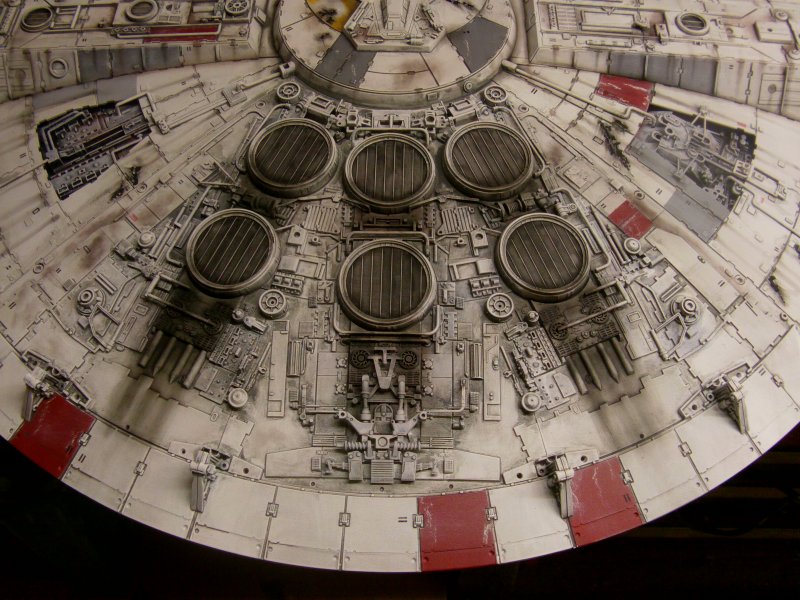
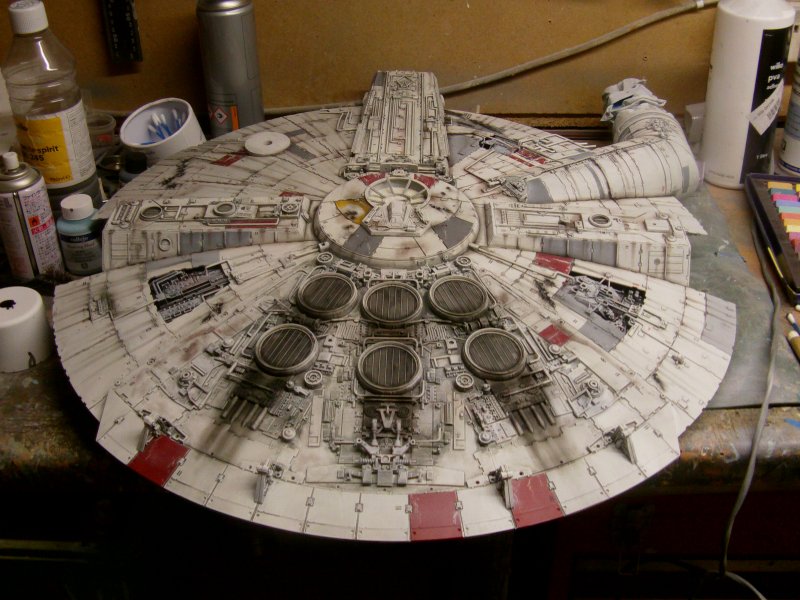
Page 16, ANH belly hull plating, pit detailing and hold build start.
http://www.ianlawrencemodels.com/wipdeagofalcon16.html
But for those who don't want to wander through the whole thing, the edited highlights so to speak:
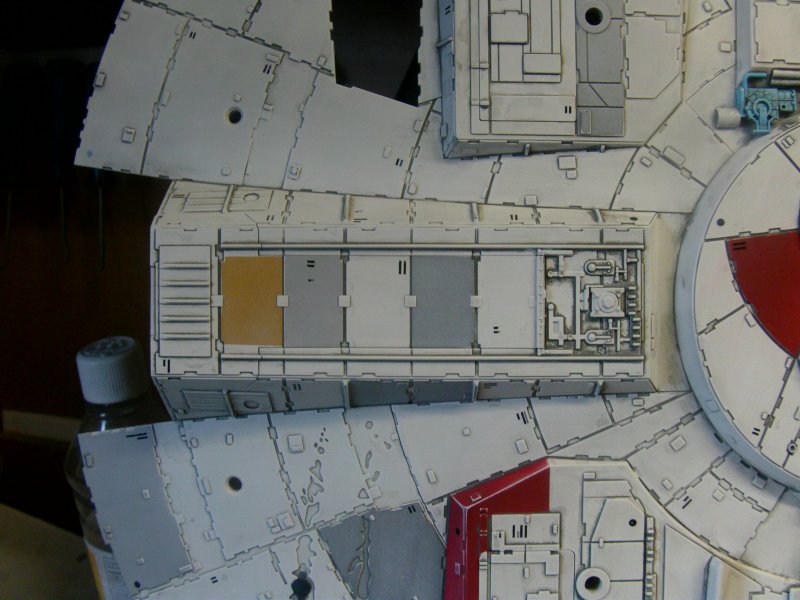
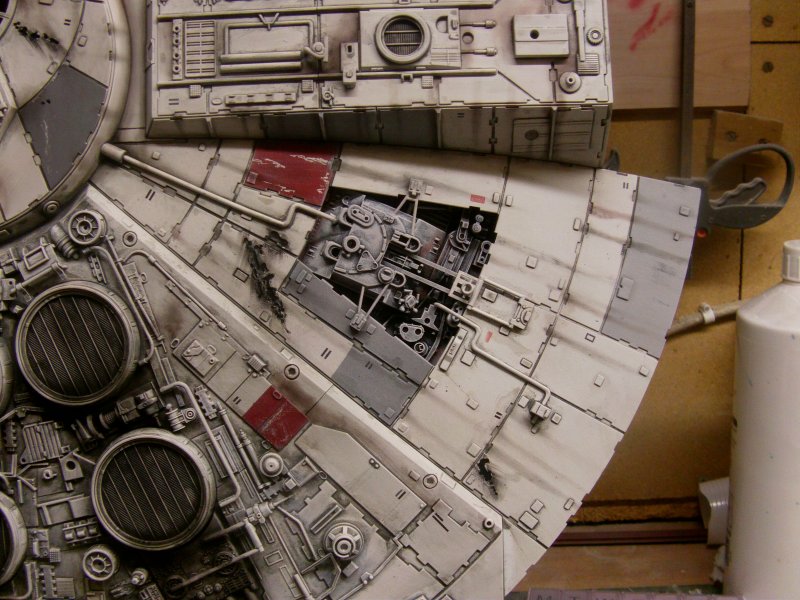
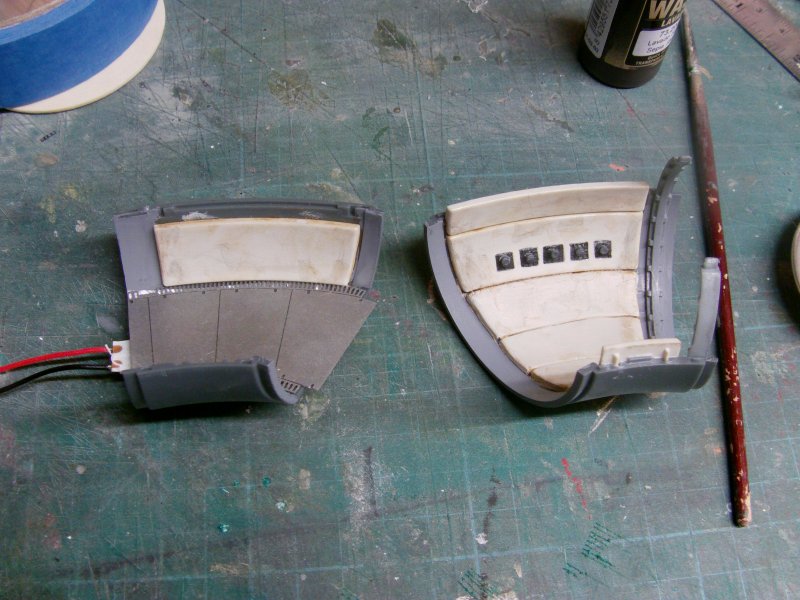
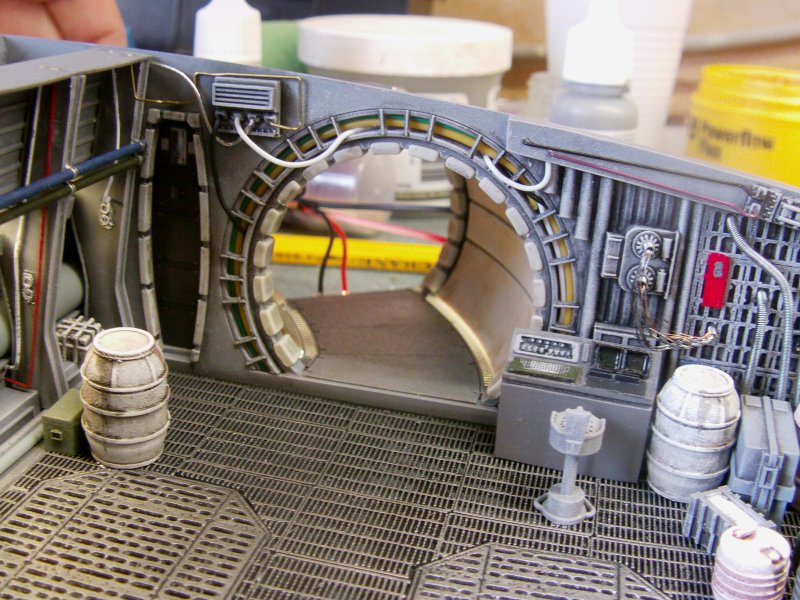
The short corridor off of the main hold, the one arrowed in this pic of the OOB build...
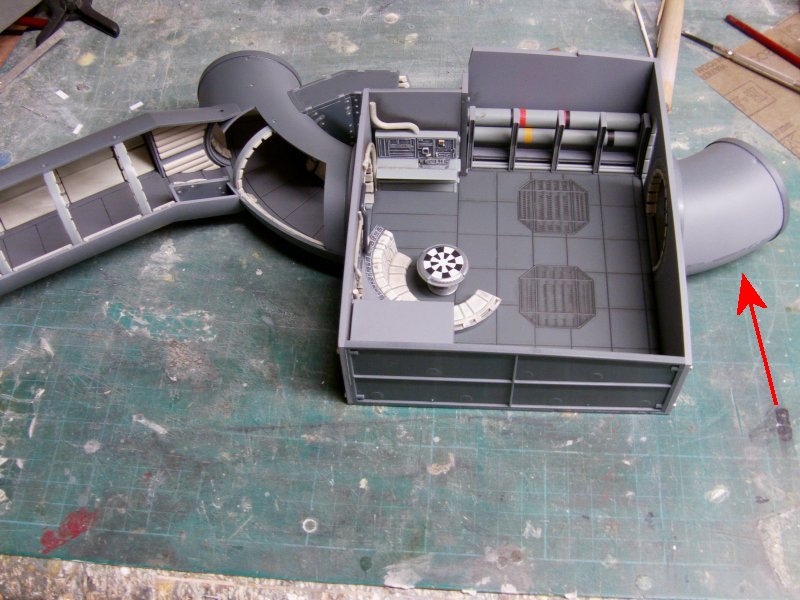
This is how it looks on the inside.
All well and good for the 'out of the box' build, for the full on, something more required and some idea testing.
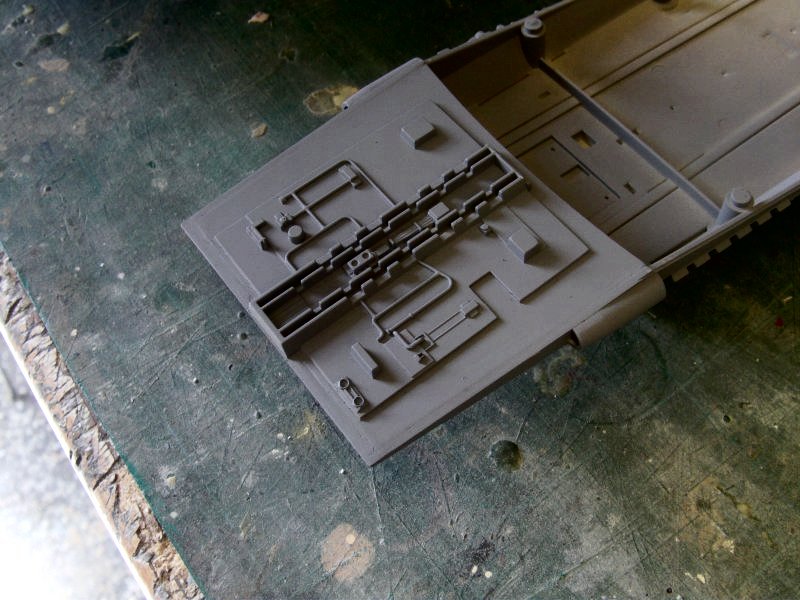
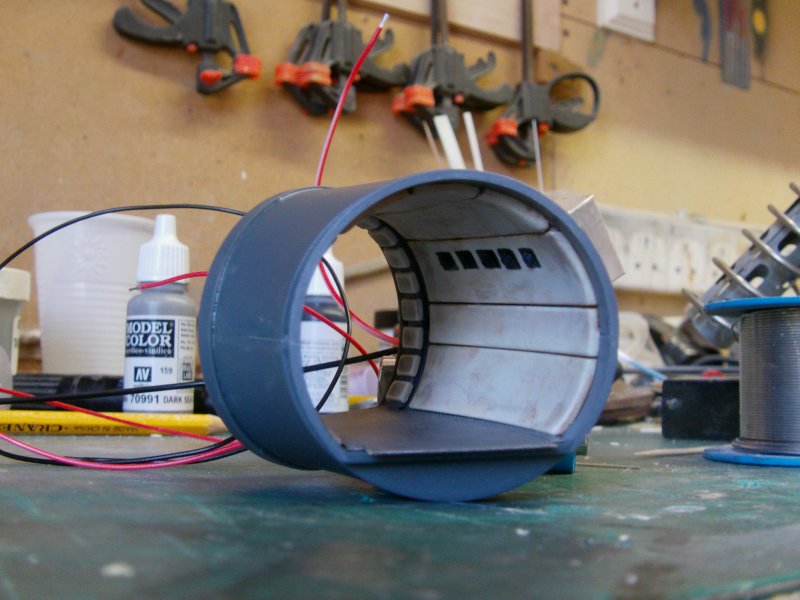
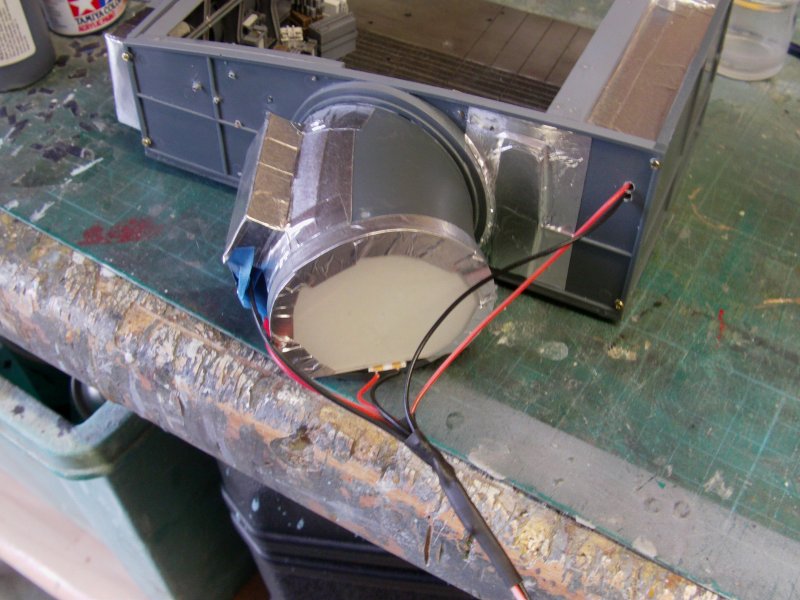
The corridor with the top padding via a dollop of Aves and a bit of wet shaping, new deck via the Paragrafix PE corridor deck set with LED lighting.
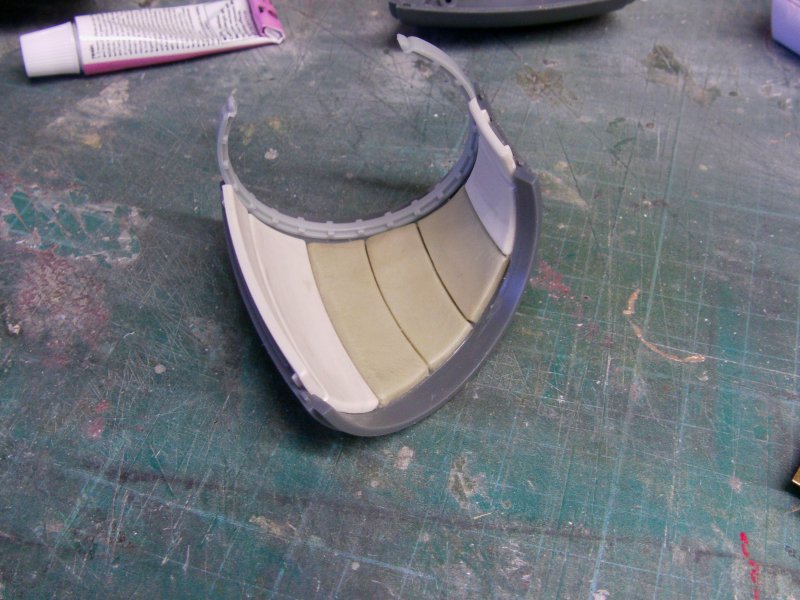
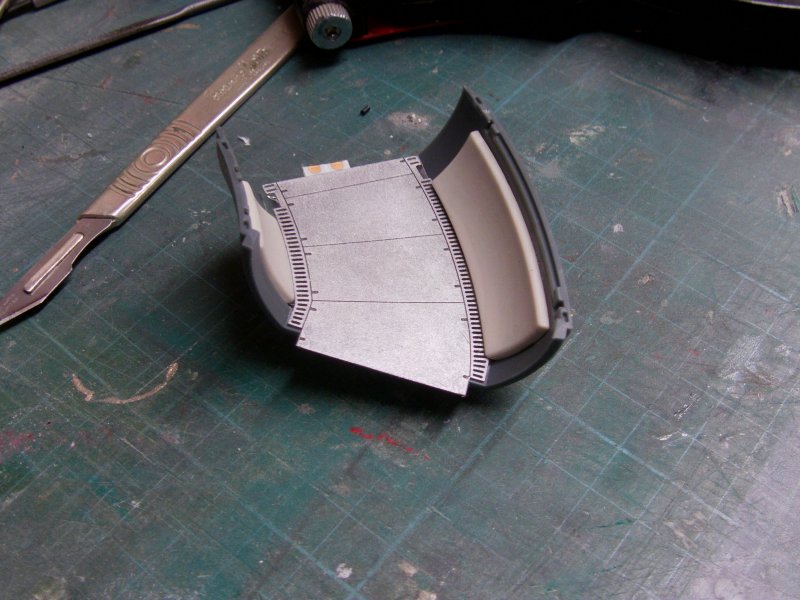
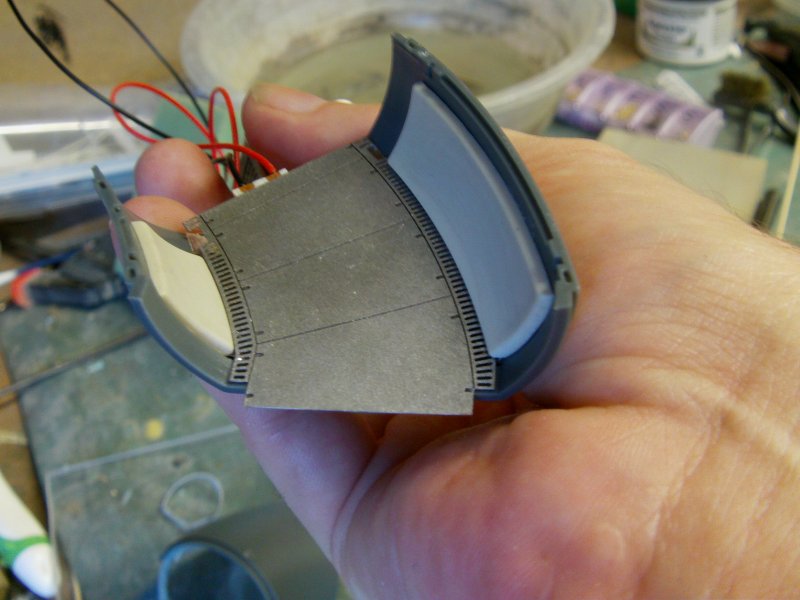
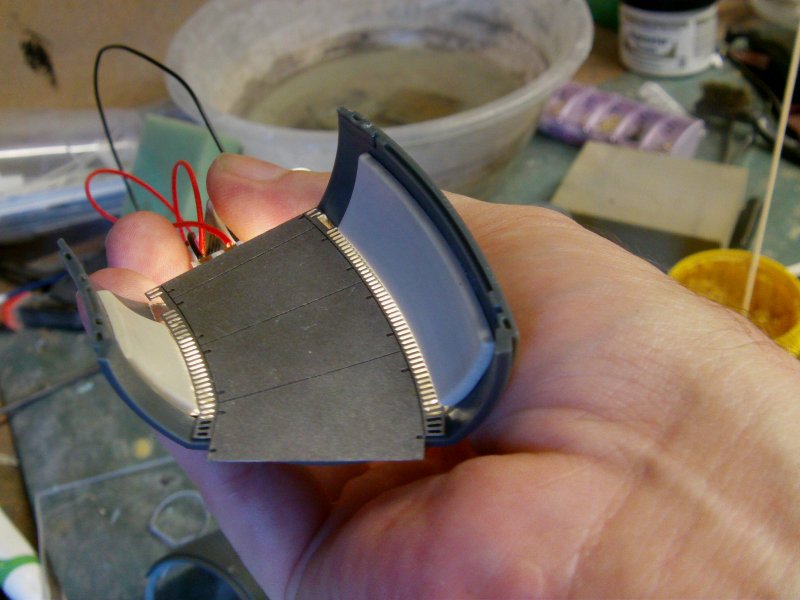
Wall sconces for ANH which are square rather than round from ESB onward. Padding painted to all match in with a bit of dirtying down of course.
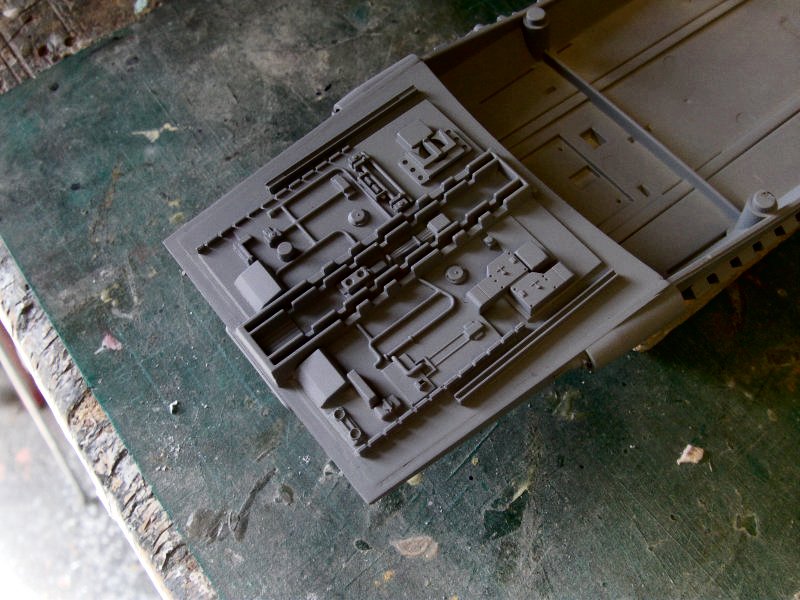
Assembled, fixed to the hold wall and wired up.
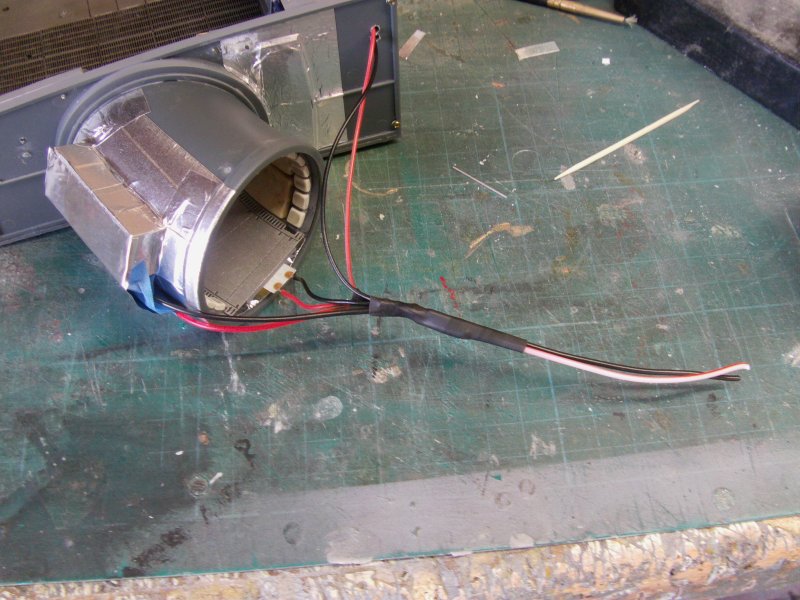
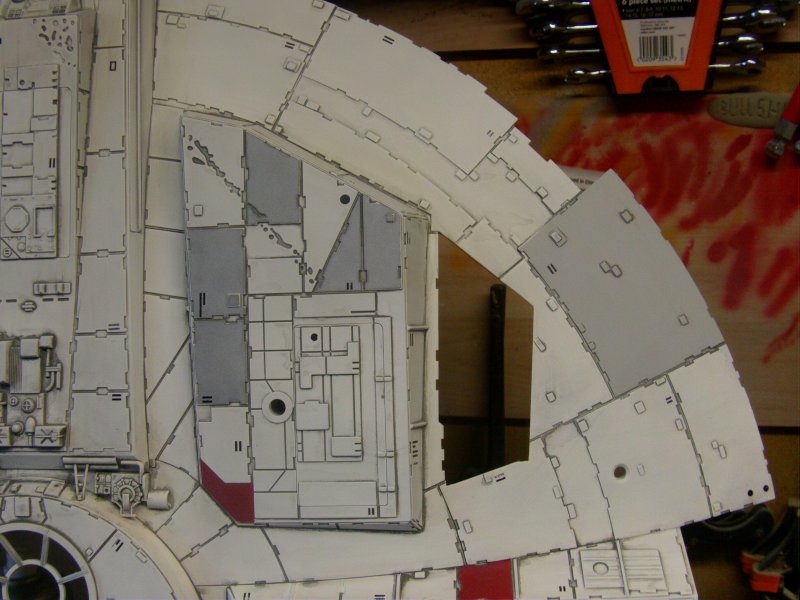
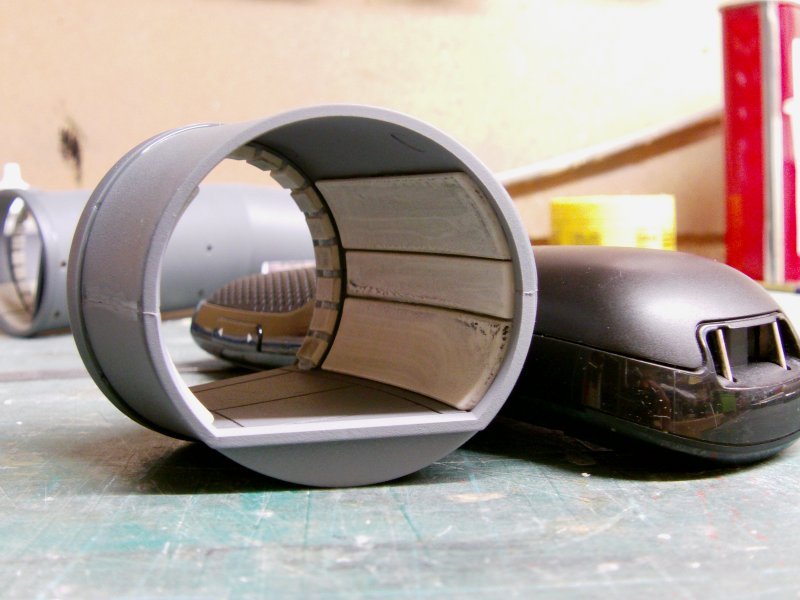
Now the corridor just ends in nothing so a try out to sort that problem. Mylar coated styrene sheet cut and glued to a 2mm thick lump of rigid clear, installed.
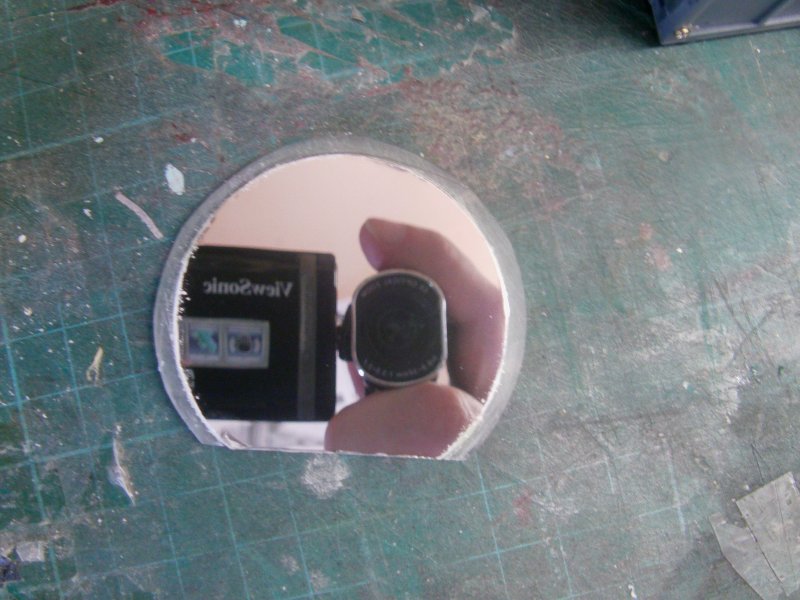
Goes from this kinda thing...
To this...
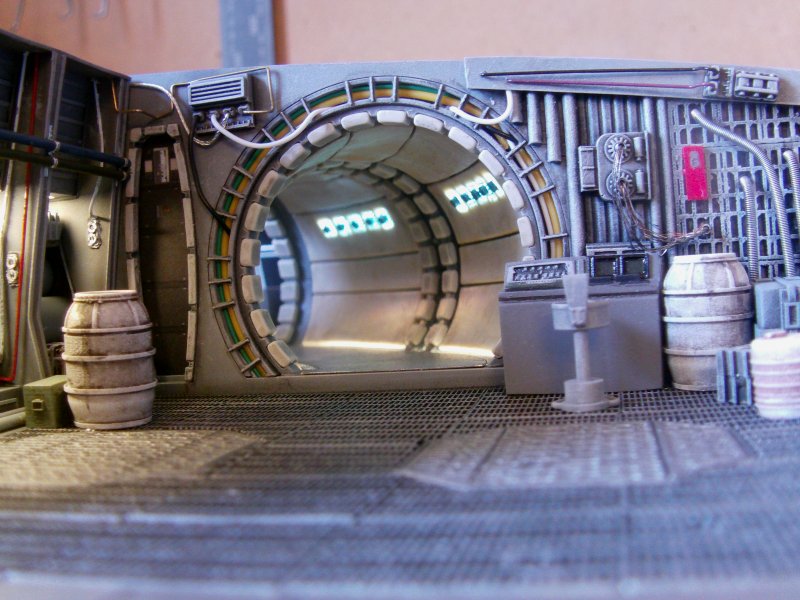
Which while not perfect, is a bit better than a hole in to nothing.
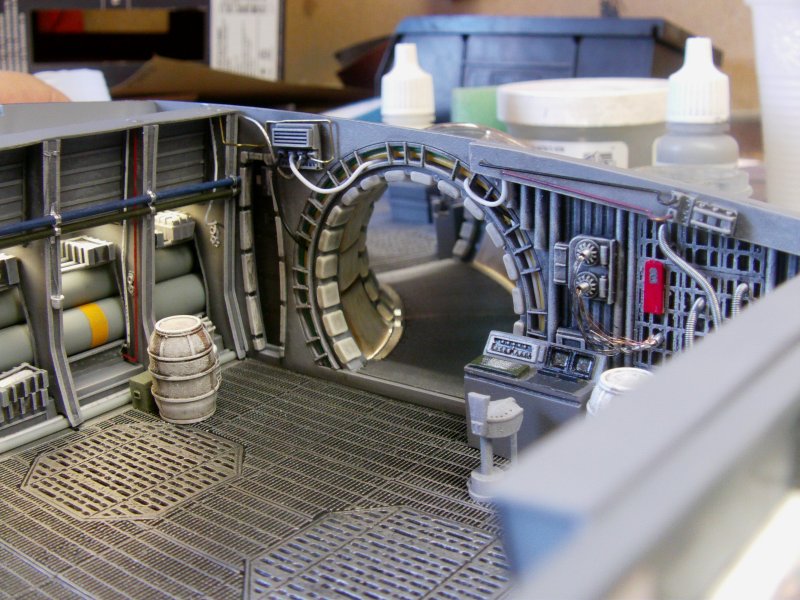
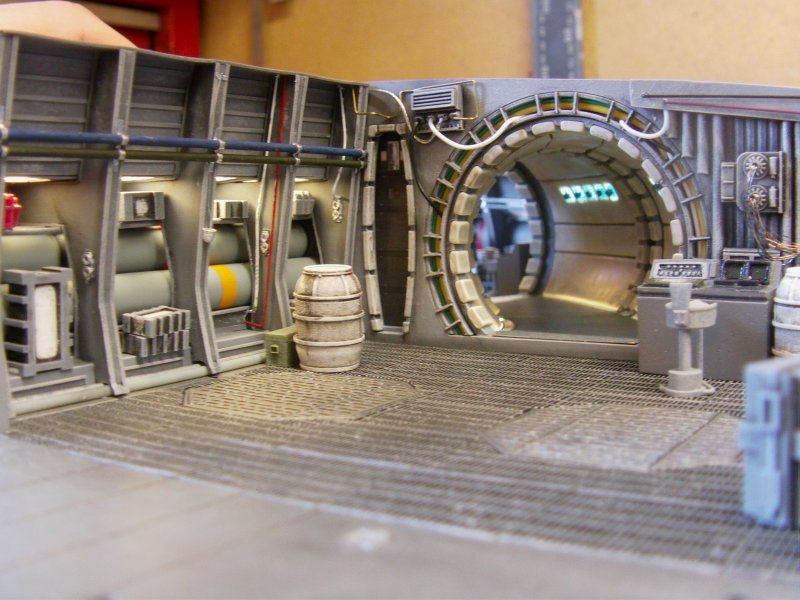
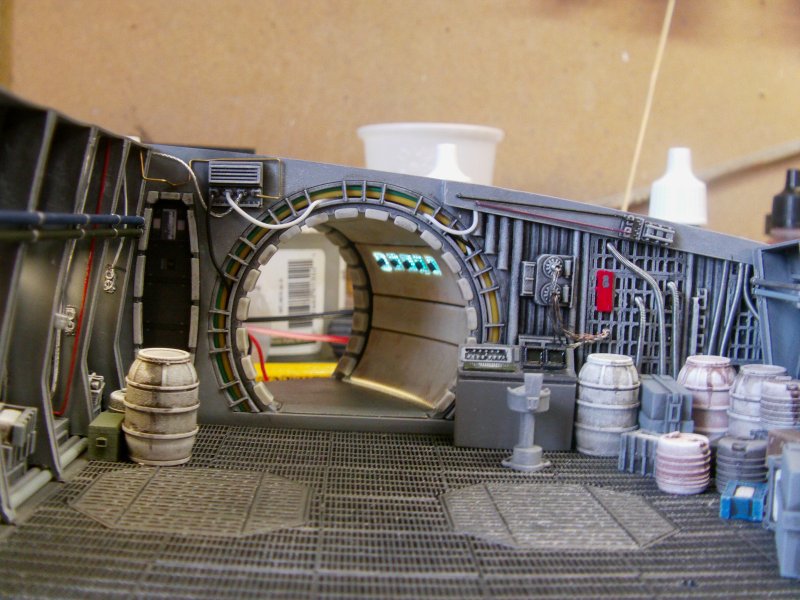
Now granted that you won't be able to see that much but I did notice that from some angles, the open corridor on the OOB build even when it's installed in approximate position in the hull, you can see the open end quite clearly and that just wasn't going to cut it with the full on build.
Hence all this faffing about
Later gang!