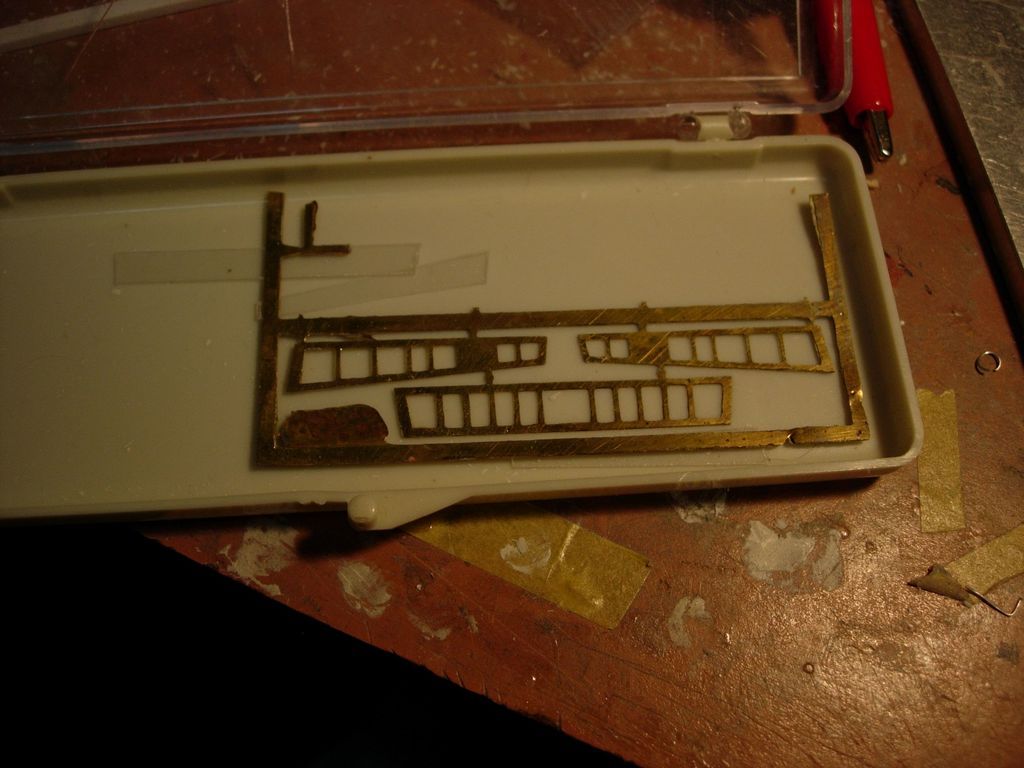
The other day, I got a wild hair and decided to finish it up. I had done some work last year and had started to illuminate the cockpit area. I carved out the inside of the nosepiece, but the big problem was how to preserve the rather delicate window frames. I eventually made photoetched window frames using the MicroMark home photoetch kit: Here are the frames:
…and here they are, installed:

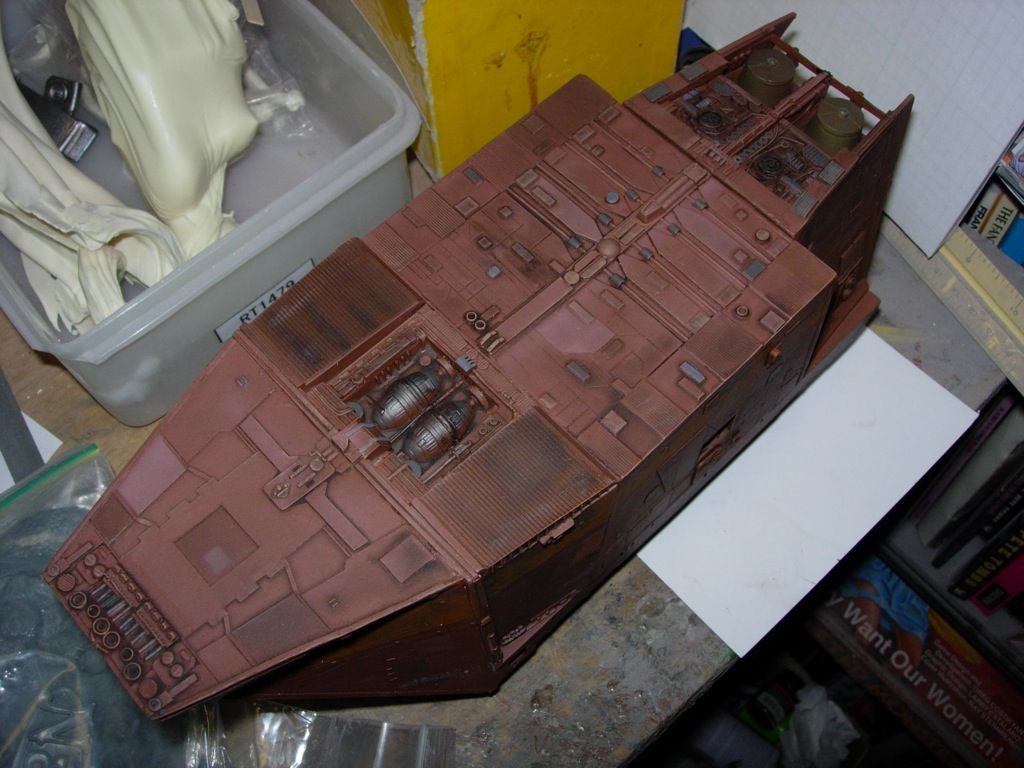
I decided to light the cockpit from behind, and so I built a rough interior, including three N-scale model railroad figures and assorted shadow-casting greeblies. The aft wall has a large opening with a translucent screen, and behind that are three yellow nano LEDs from Evan Designs:
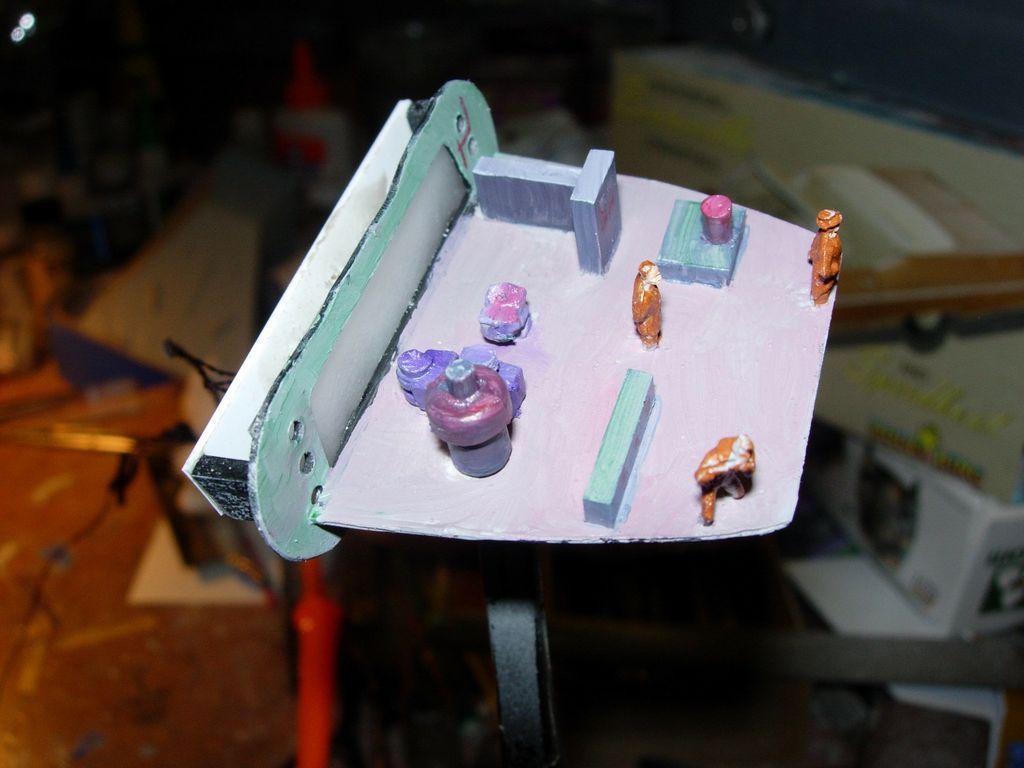
I decided to use Evan Designs LEDs on this project. The big advantage is that they come prewired with resistors, for a very reasonable price; the disadvantage is that the mounting holes have to be pretty big, so you can thread the resistor through.
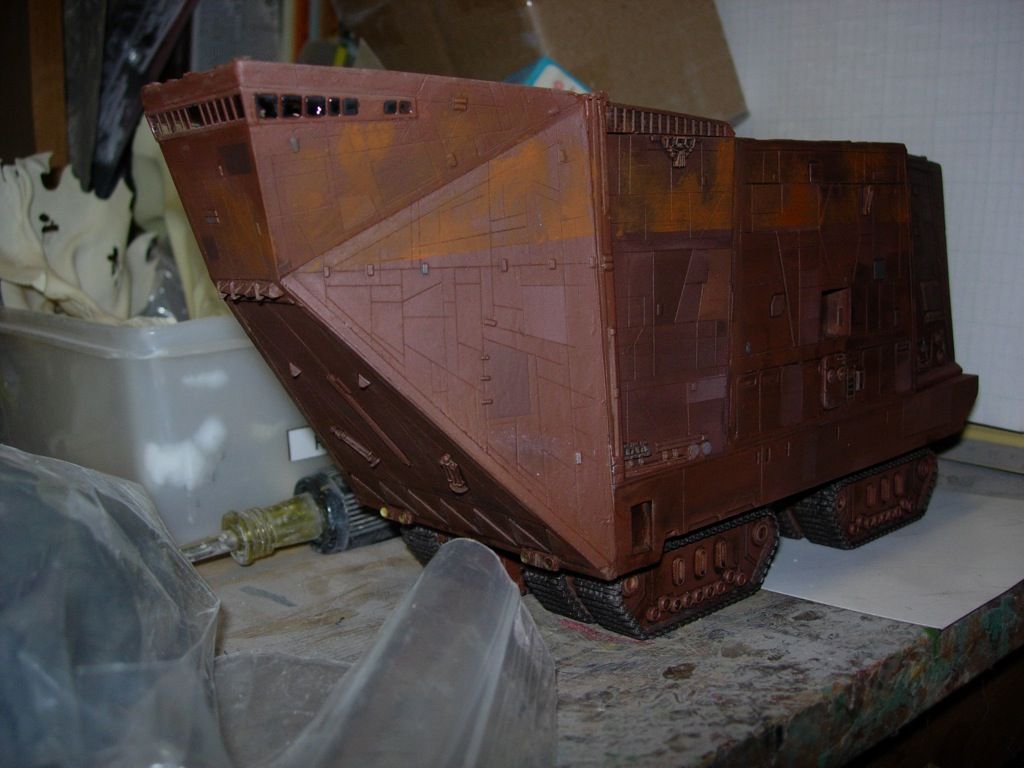
I also dremelled out wire trenches in the back of the nosepiece and added LEDs for the headlights. (The black paint specks are the remnants of a light splatter guide coat I put on to help with sanding the back of the nosepiece perfectly flat.) The large holes I had to drill pretty much obliterated the headlight rings, but I made new ones out of light wire:

Evan Designs also had an intriguing remote control setup; the remote can turn your LEDs off and on, and dim them (in four steps), and is very reasonably priced. I decided to try it out on this model.
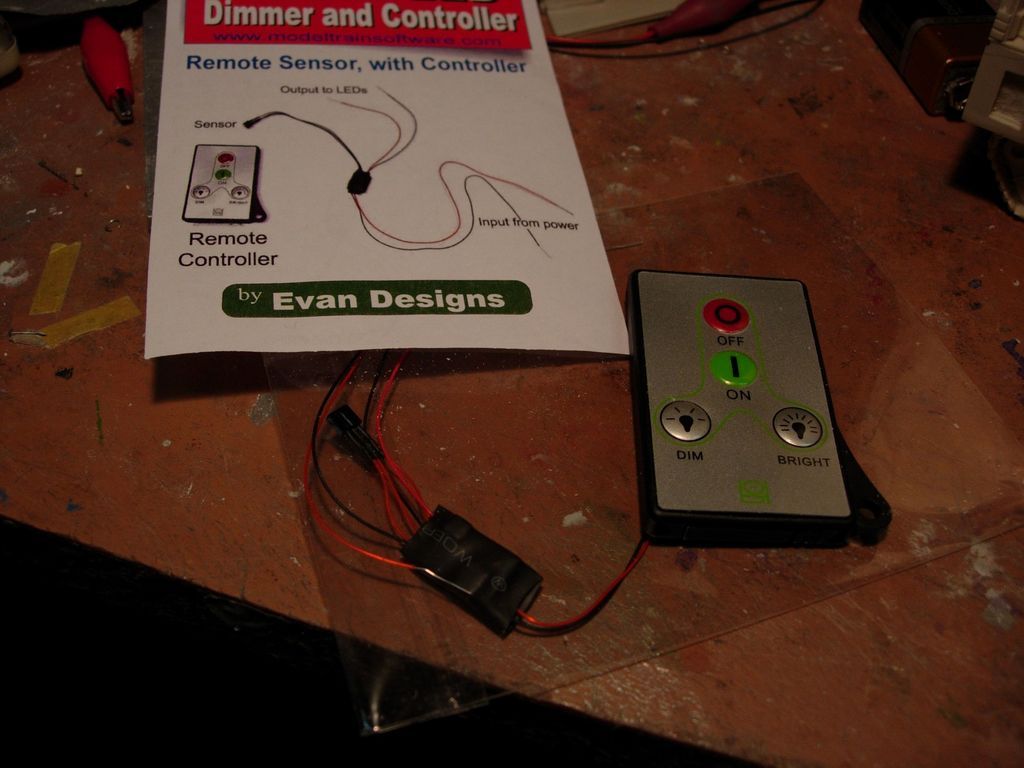
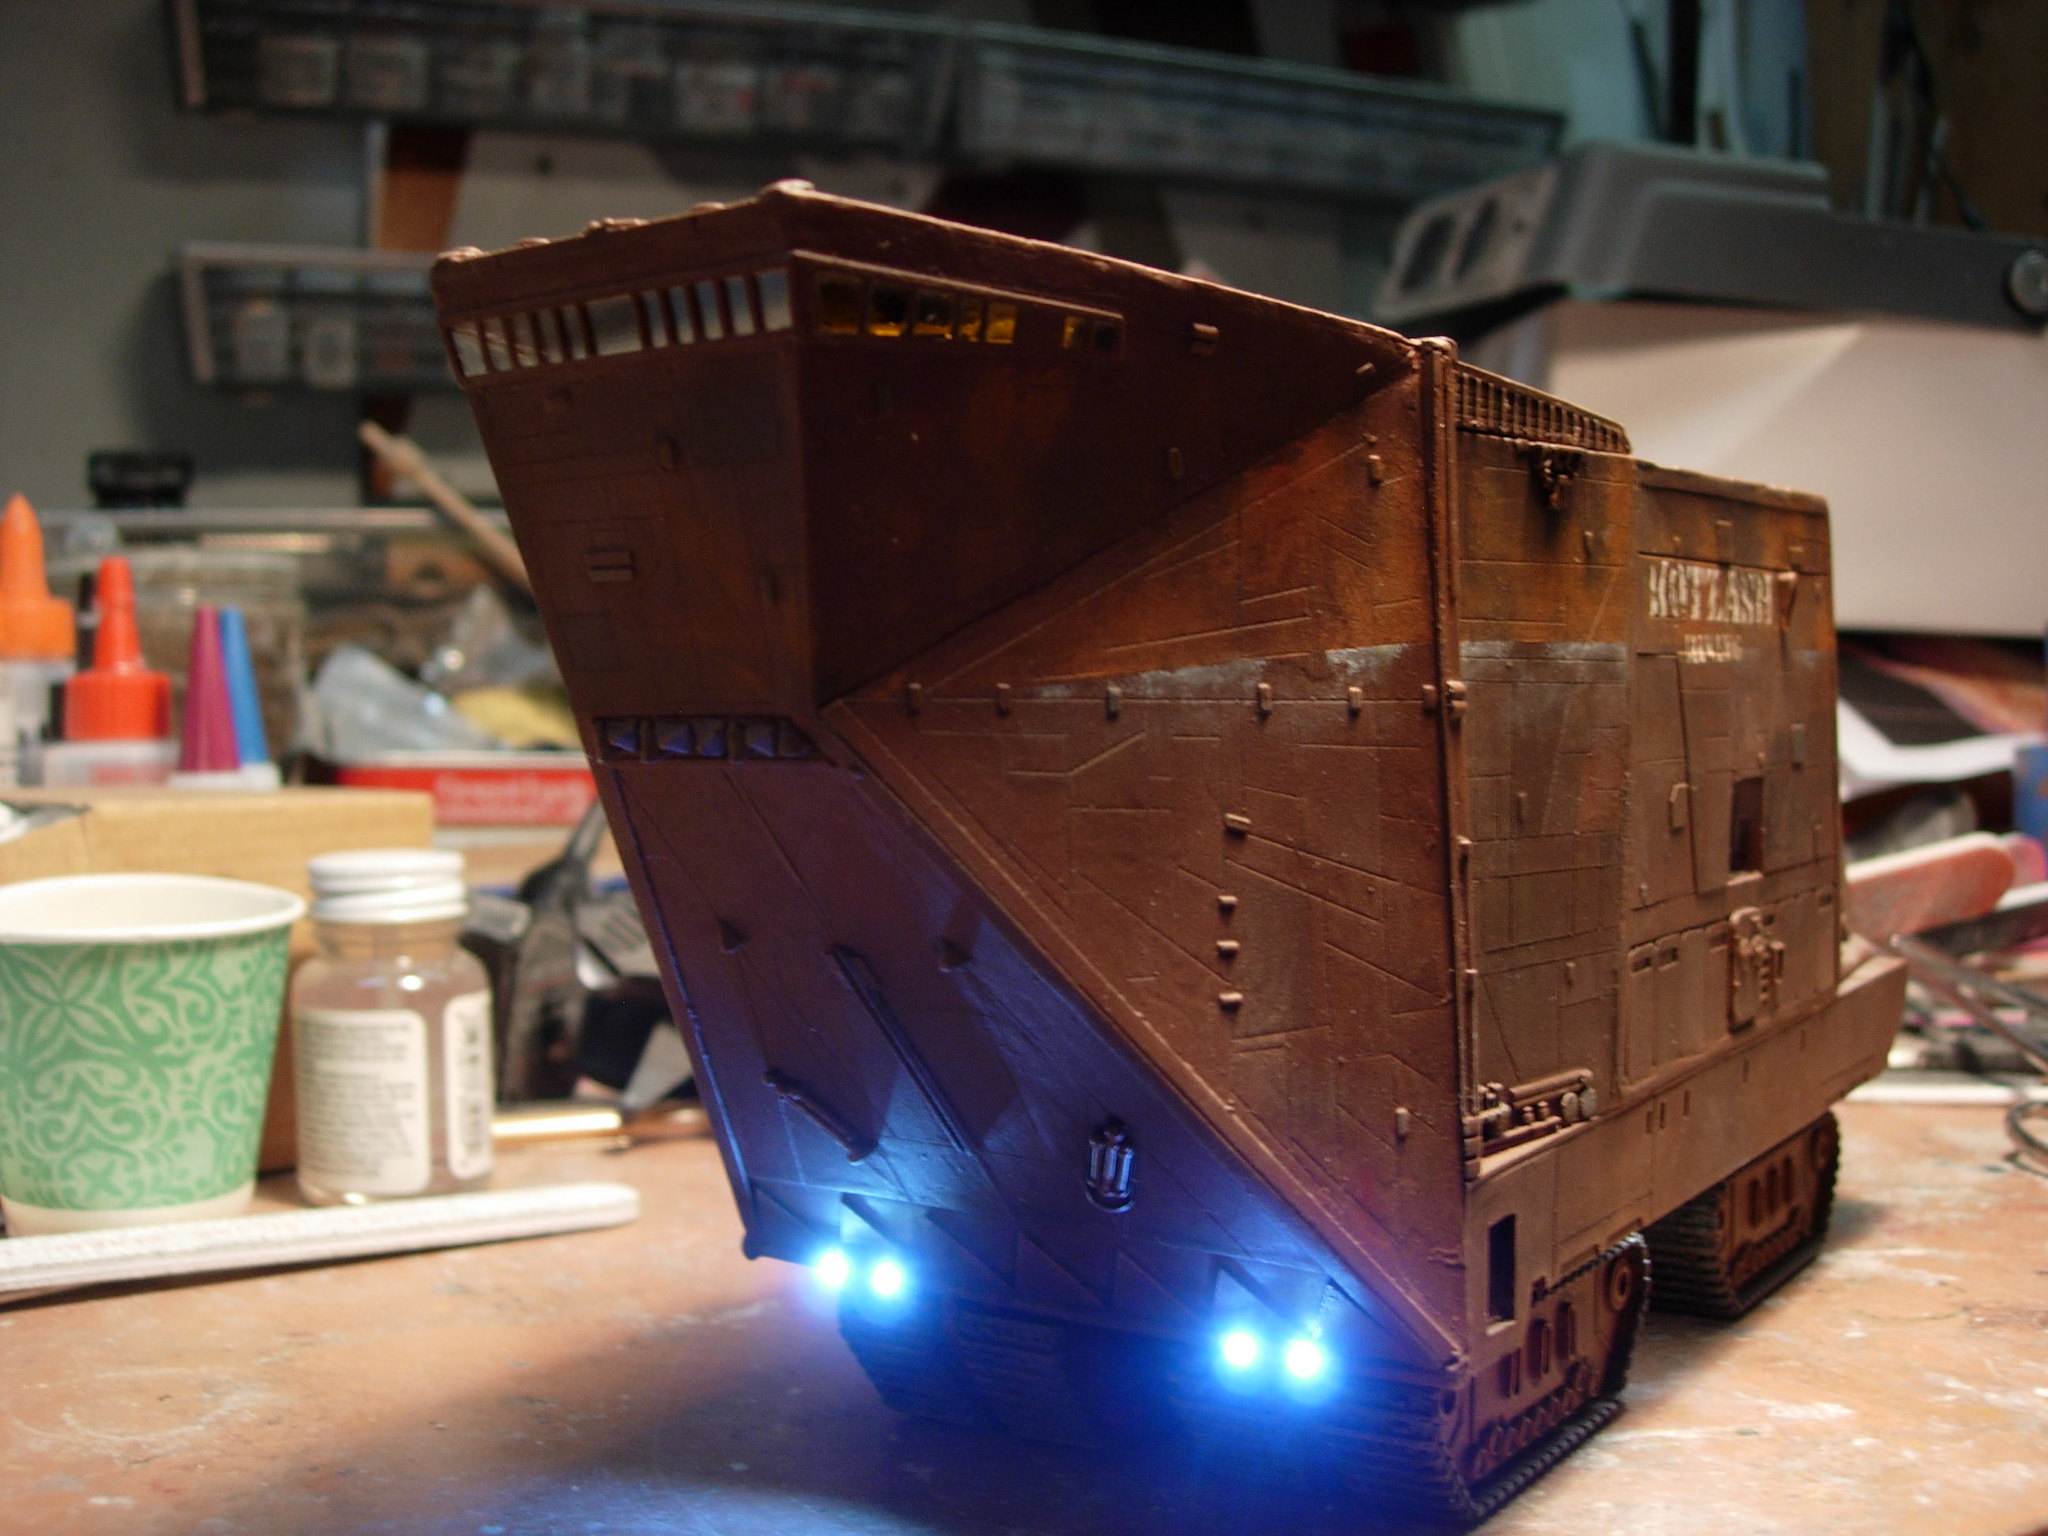
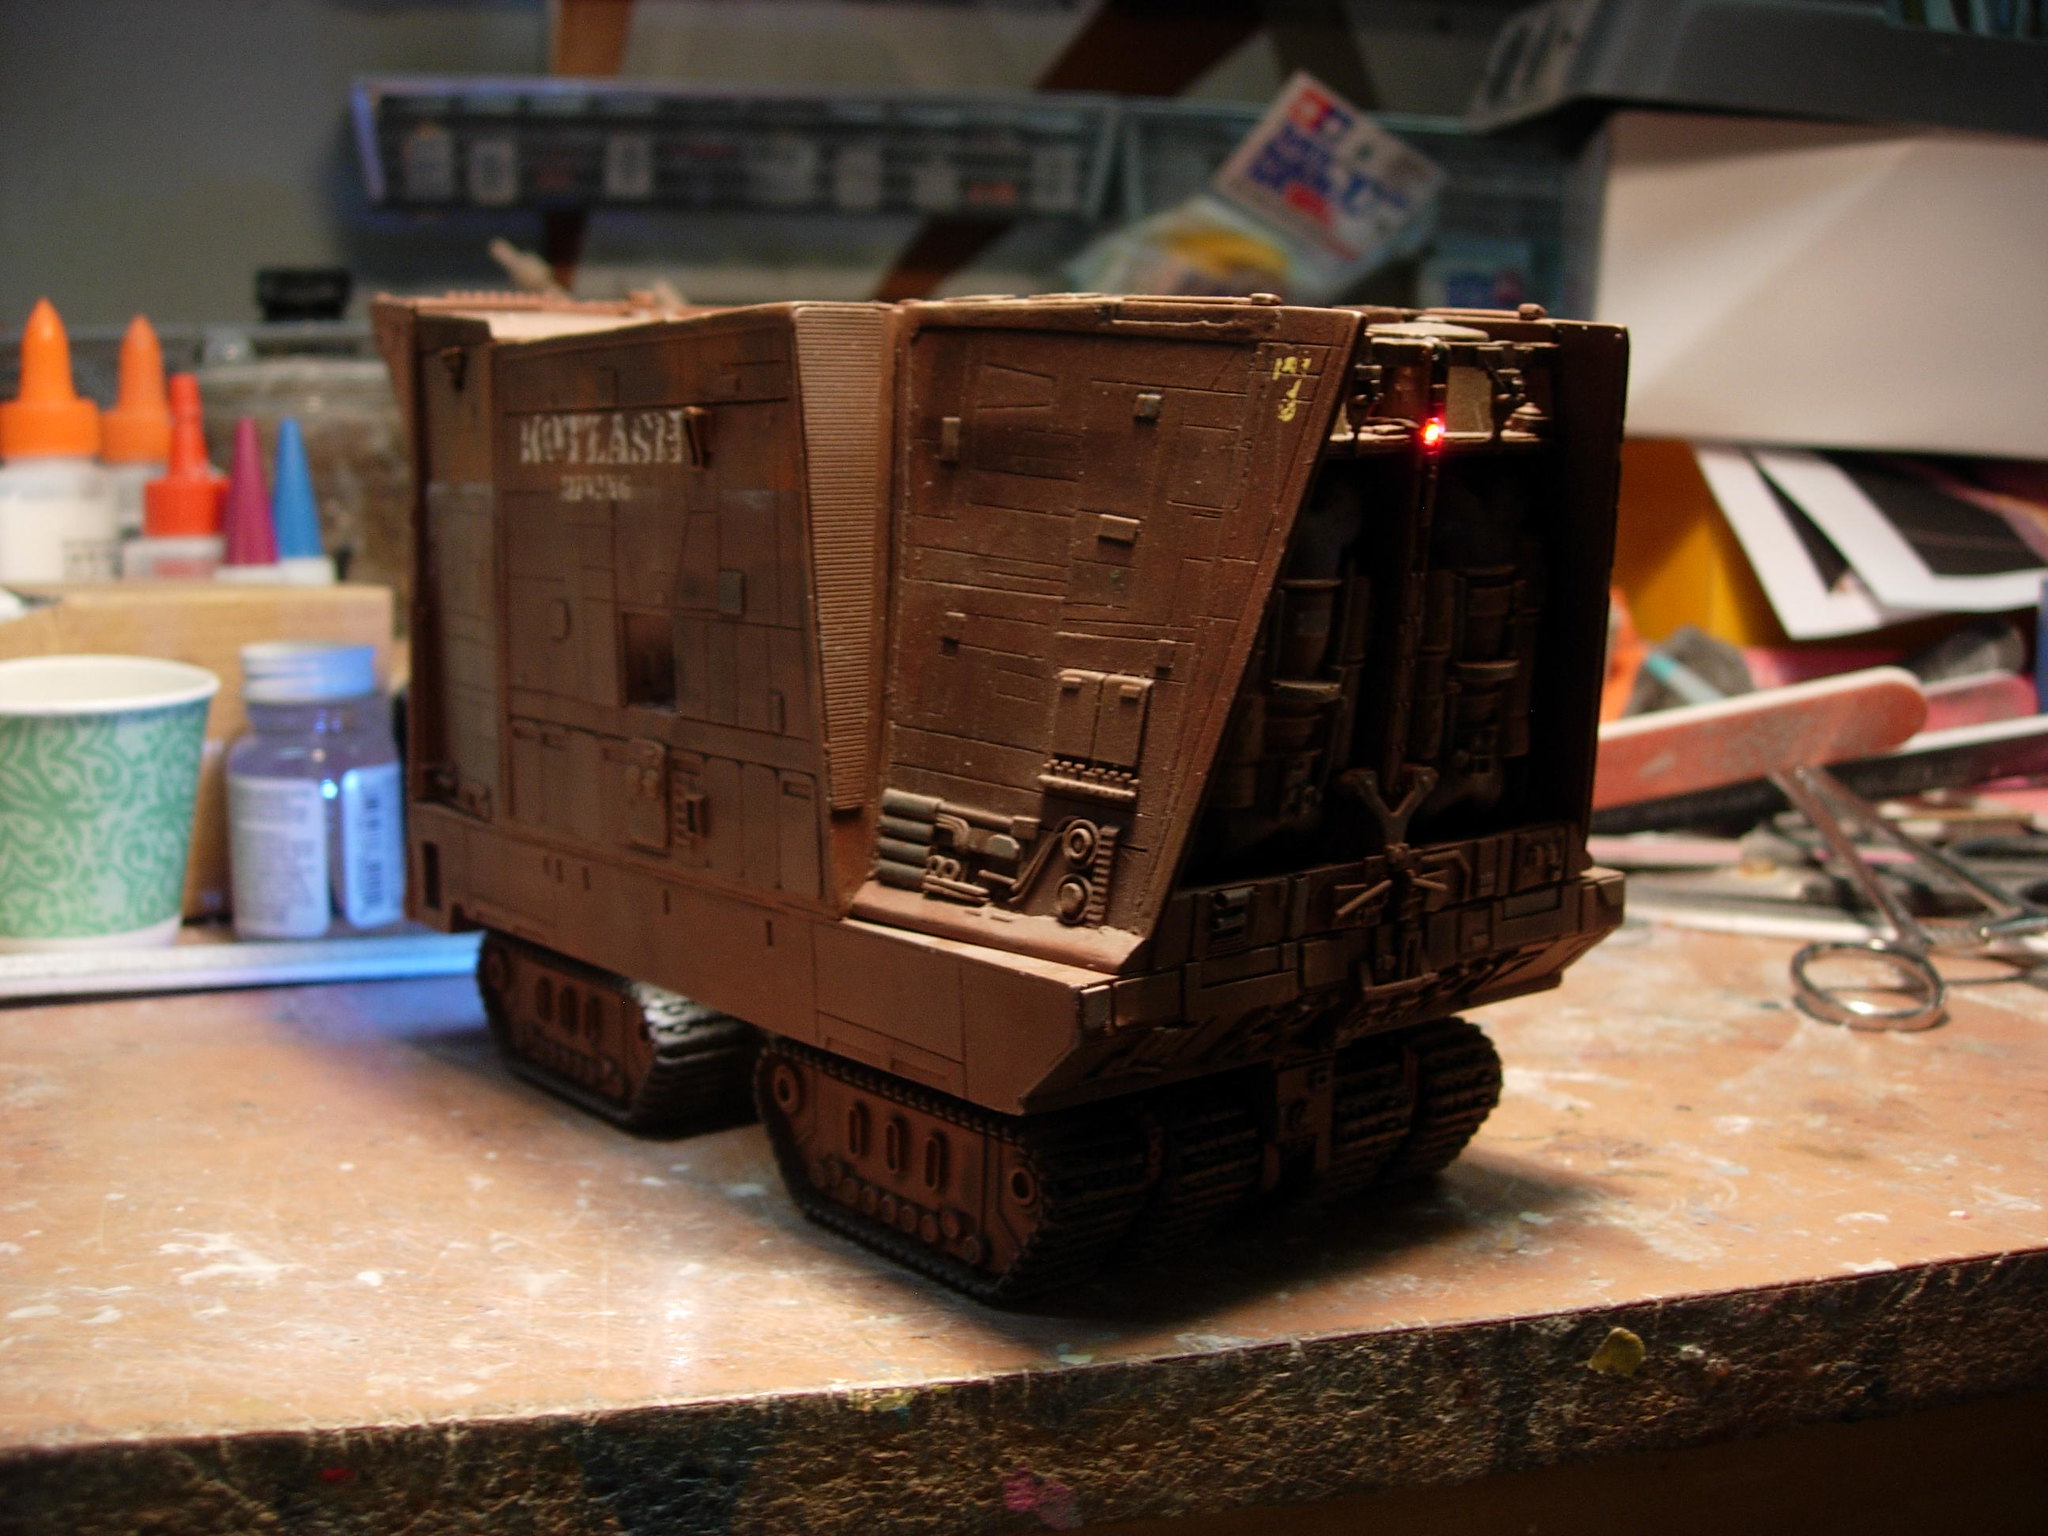
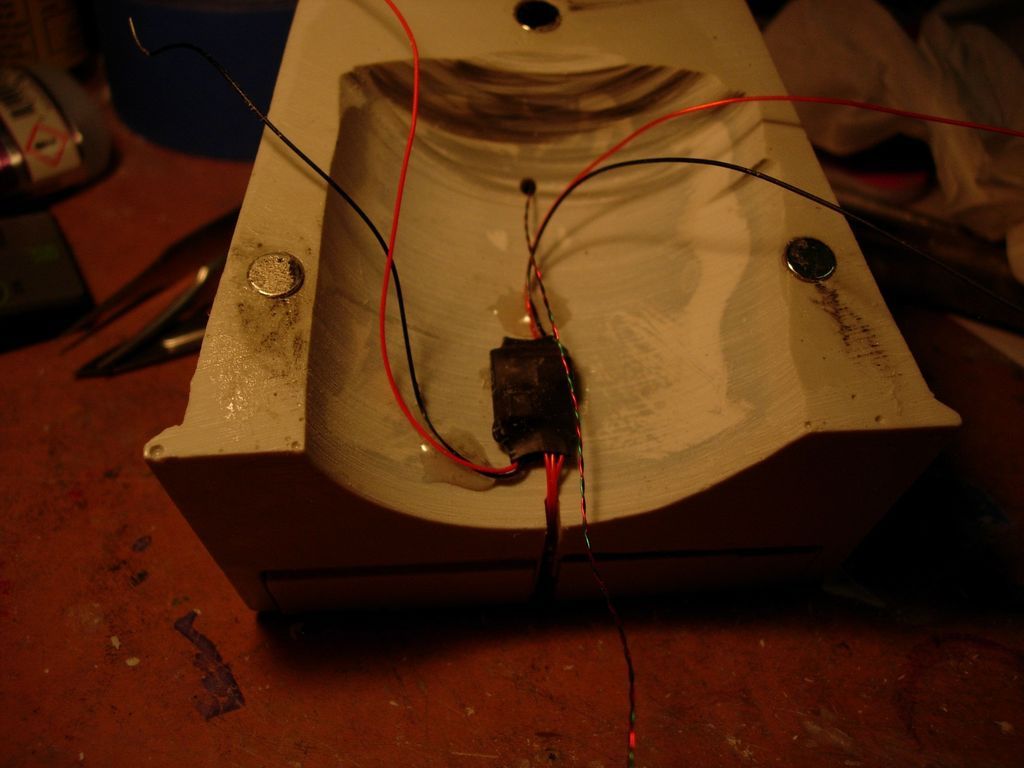
It works by infrared, I believe, and so the sensor has to be able to “see” the remote. I put it at the lower end of the central divider on the tailpiece (it’s the small black rectangle in the center) (There’s also a taillight, high up on the central divider of the tailpiece. I realize it’s not canon, but I thought it needed one
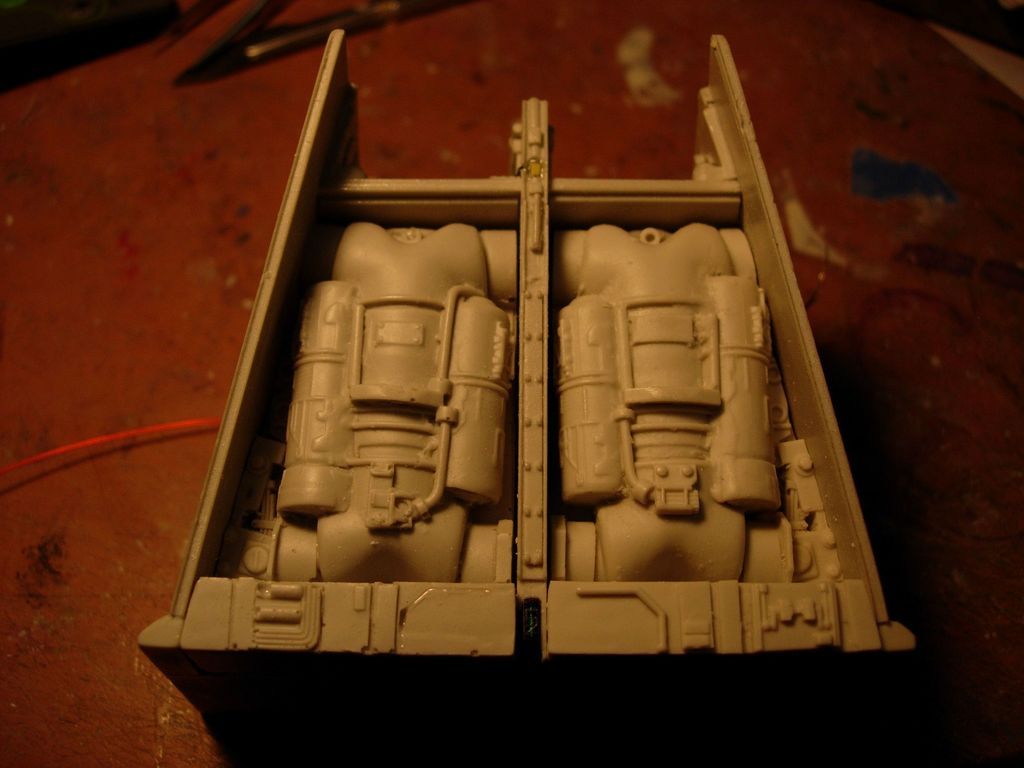
…and here’s the brains of the unit, installed inside the tailpiece. I’m installing the tailpiece using magnets so I can put the battery inside; the magnets are pretty strong and the tailpiece clicks into place with a satisfying “whunk”.
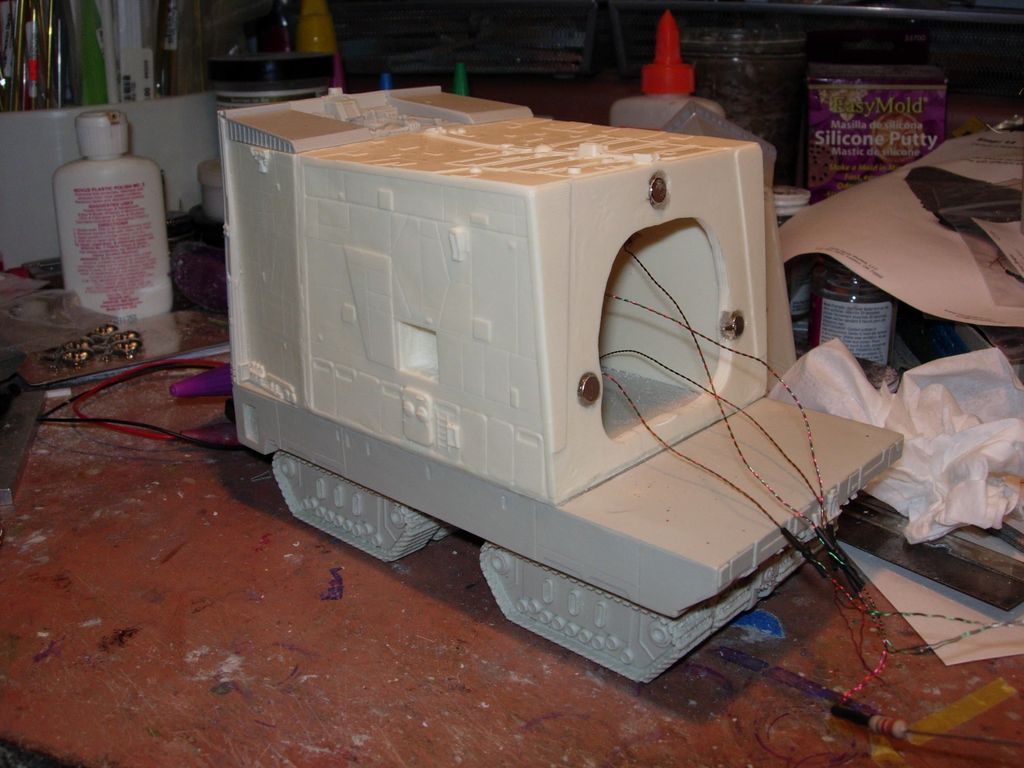
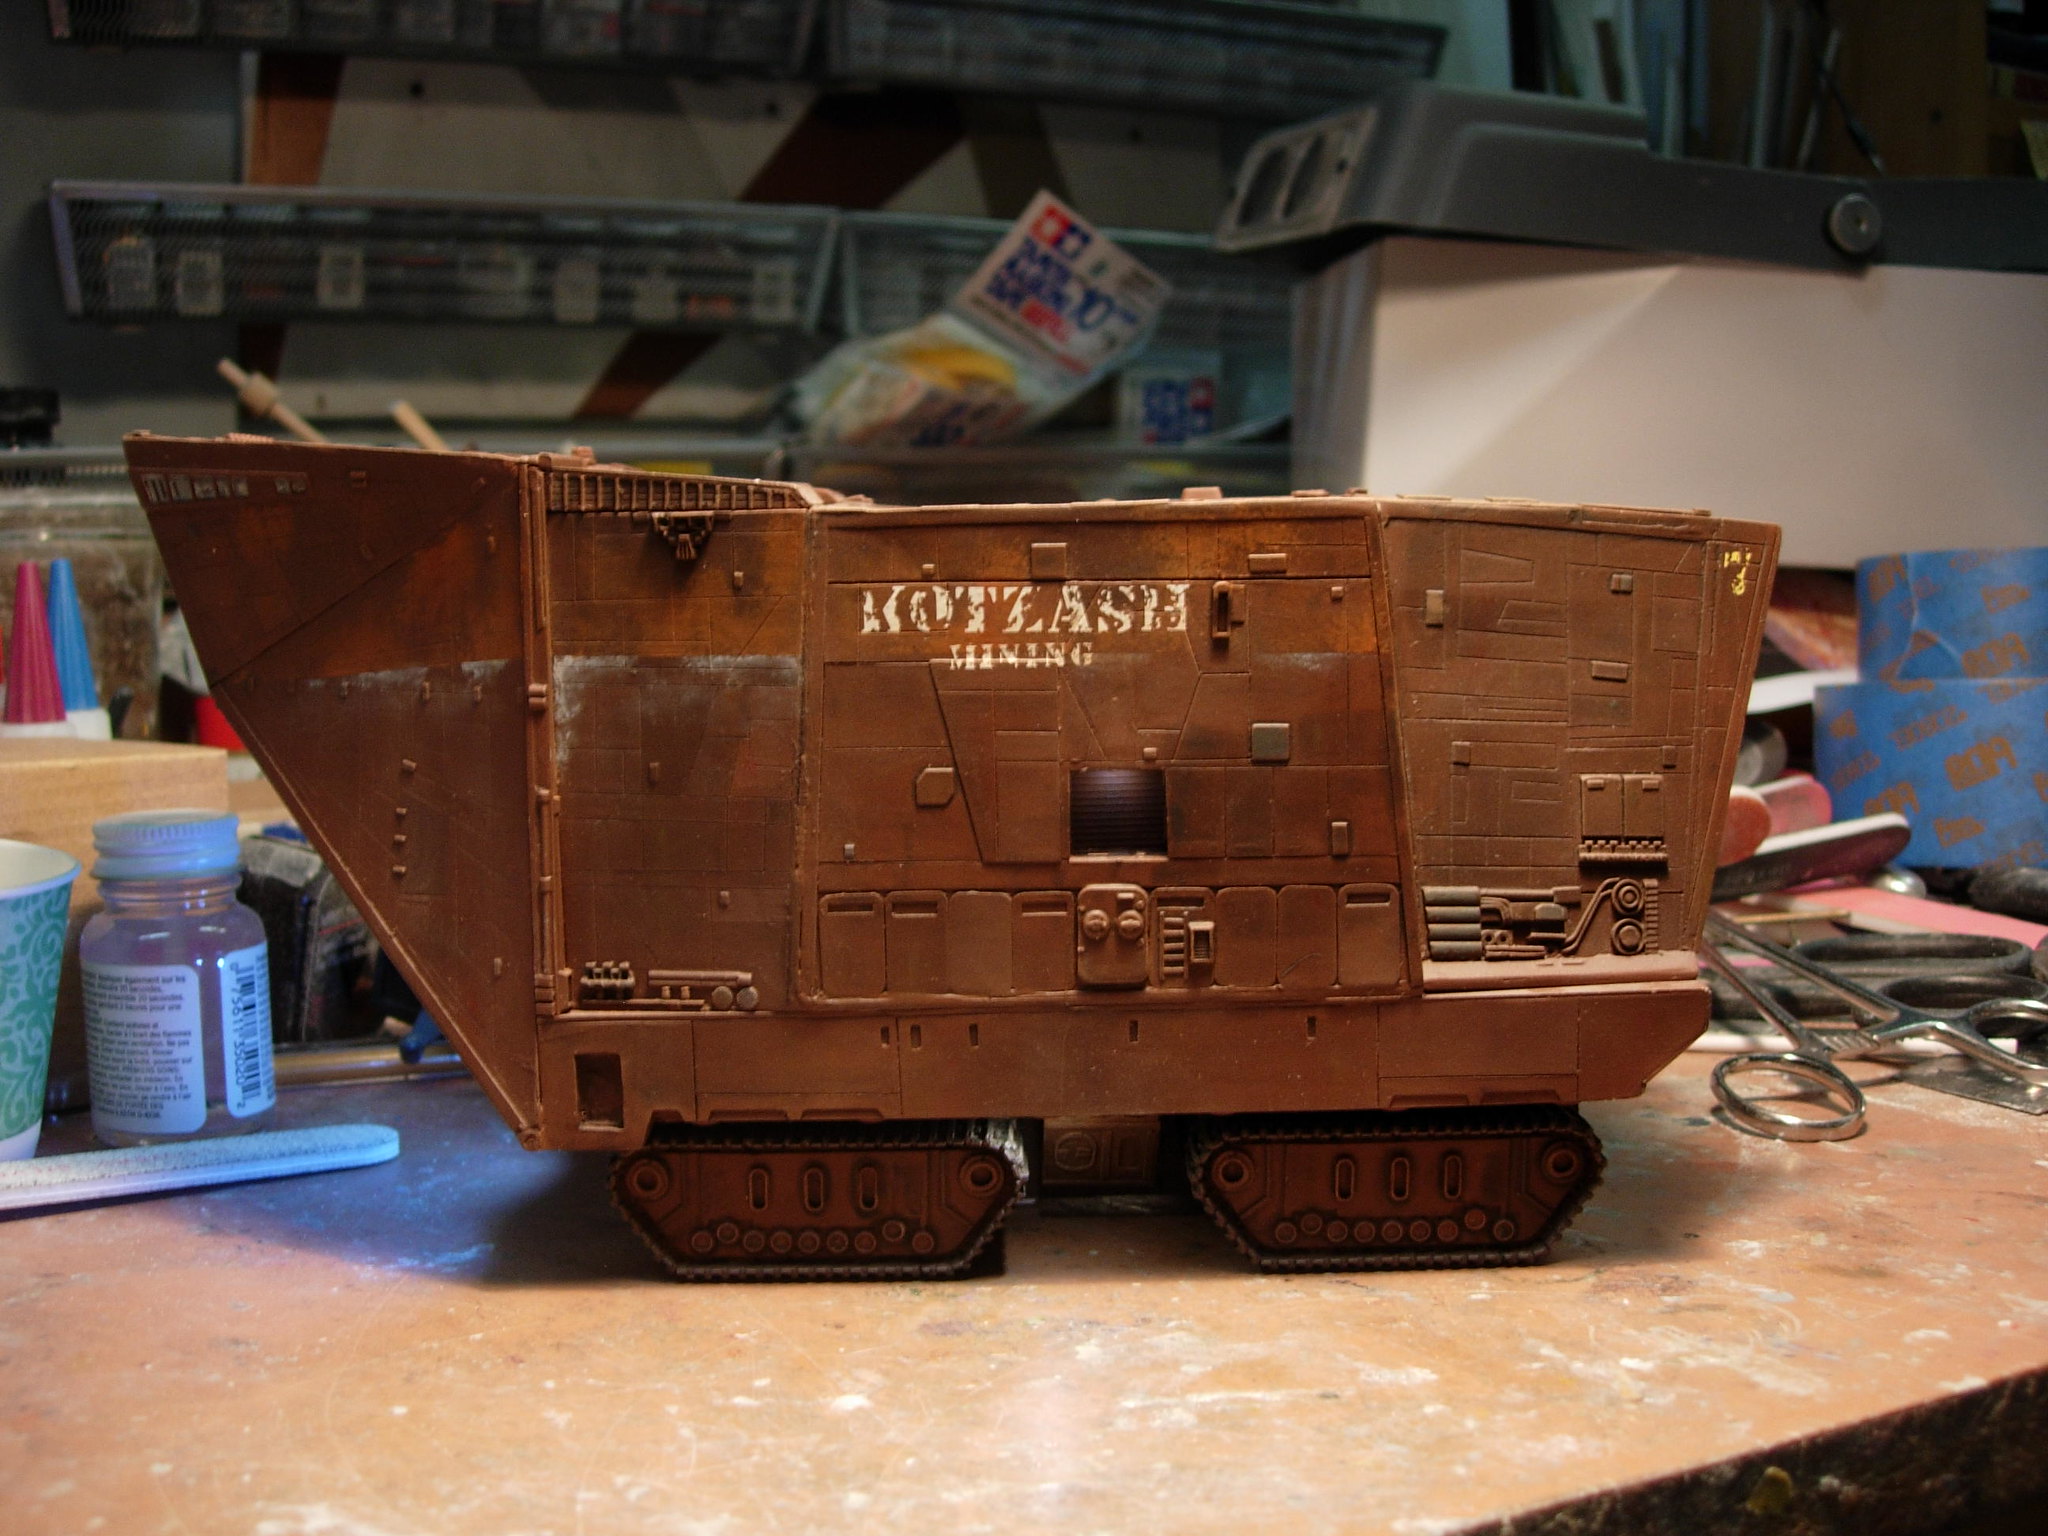
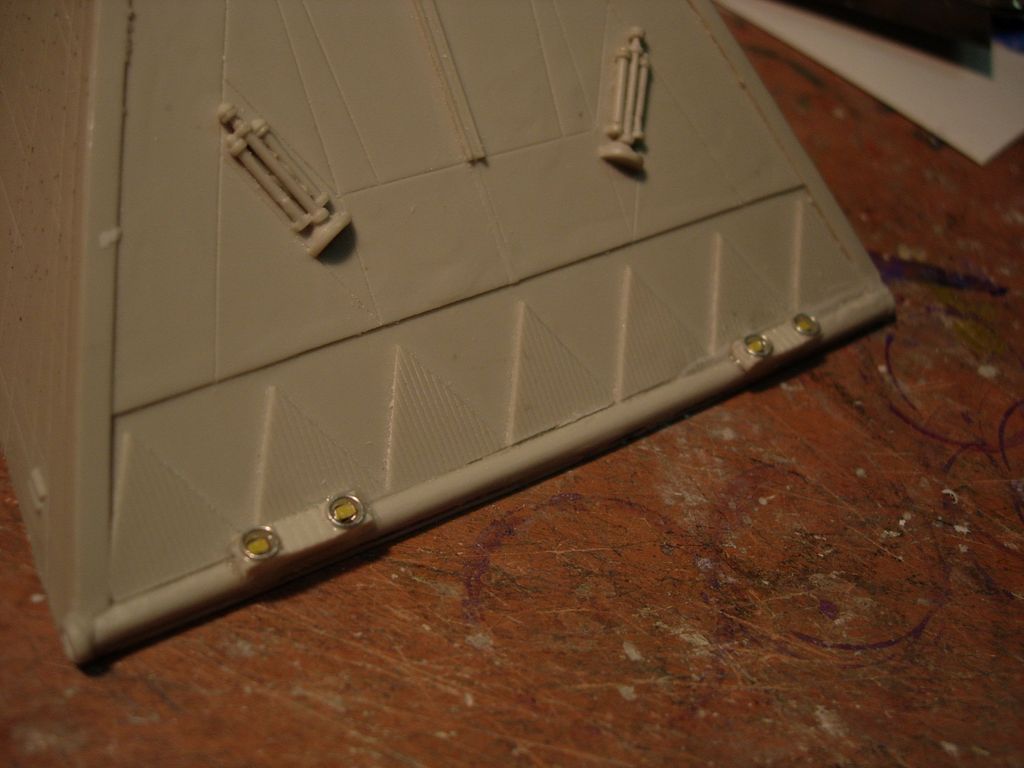
And here’s the main body with wires hanging out. The central body is hollow-cast, so all I had to do was cut portals into the interior for access. The nose- and tailpieces are solid, so there was considerable work with the Dremel needed to get the cavities I needed.