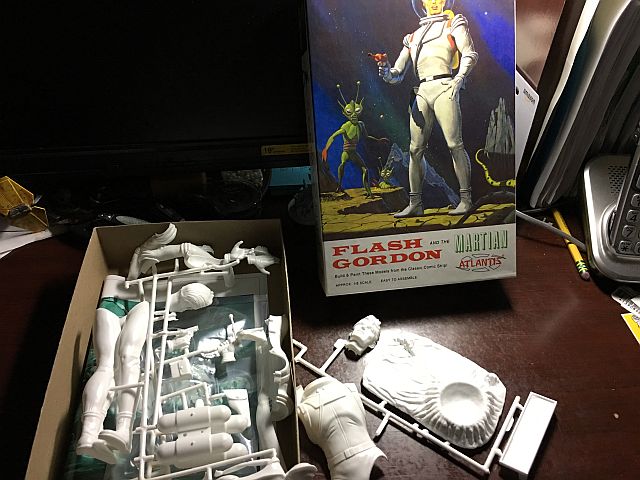
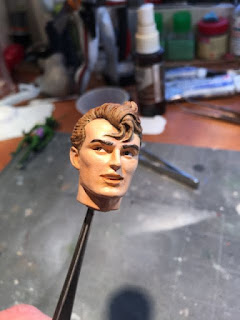
He's smaller than I was expecting.
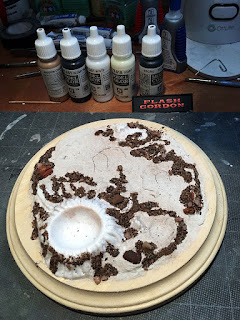
I'll be diving into the kit tonight. I originally joined up on the build from the IPMS forum, but since I'm here more, I'll post my progress here.
Moderators: tay666, Moderators


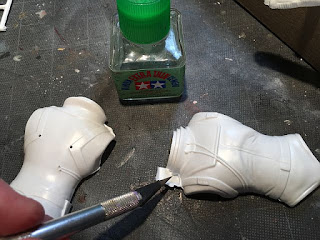
Will do.Mark McGovern wrote:Yeah, ran into the epaulet thing myself. It wasn't a huge problem, though, as I was removing the air tanks straps anyway. What out for Flash's left hand - it's easy to damage when getting it off the sprue. Sometimes it seems to have been poorly formed.


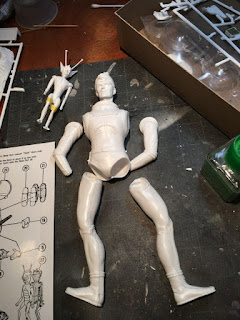


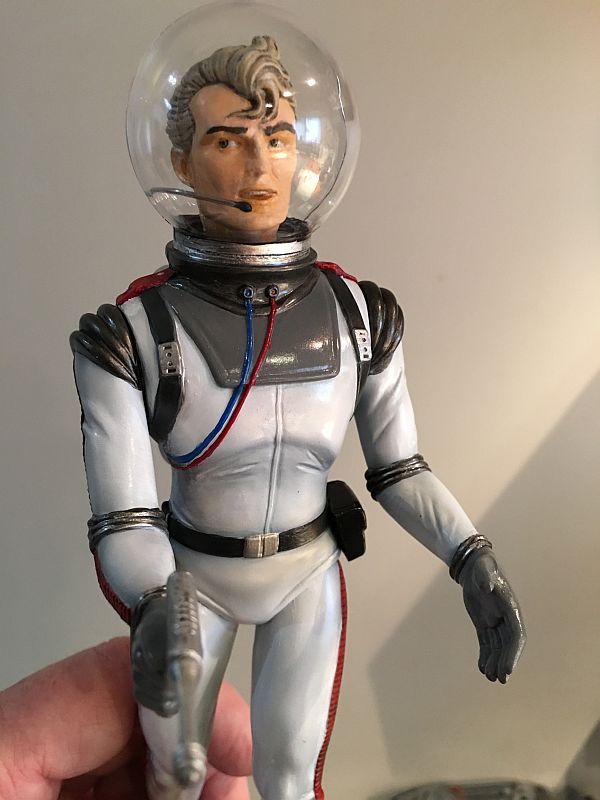

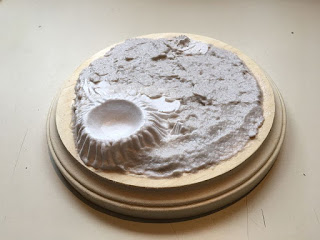


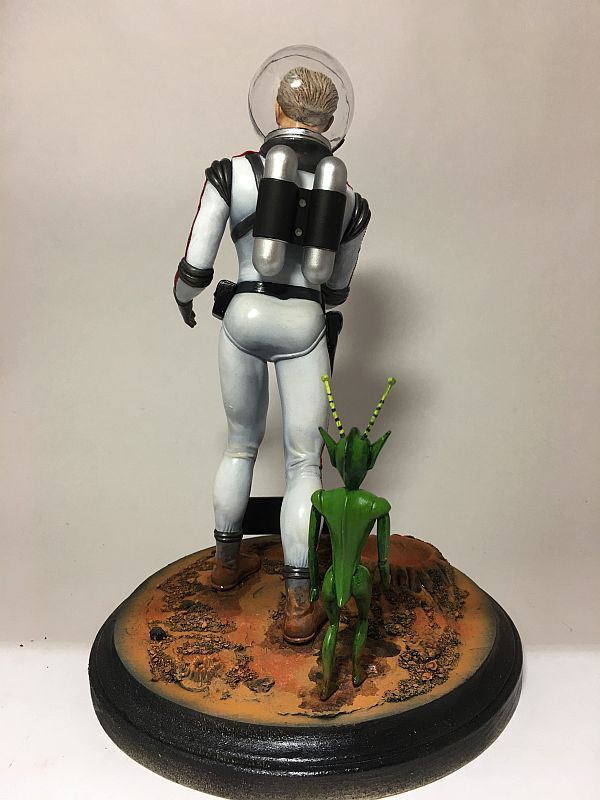
Thanks!. Those are the molded in lines. I was thinking about changing them out, but with the deadline of the build approaching I didn't know how much of a mess it would have been to replace them. It looks like an easy change, but those have to be "famous" words somewhere.Scooke123 wrote:Great job Kev. I really like your base and the stains on Flash's uniform are a nice touch. Did you remove the O2 lines and add new or just paint the molded ones?
Thanks. Re: the hemet, I saw on a video somewhere that the guy said somethingt like When you can't hide a flaw make it stand out like it's not an accident. I prolly could have gone a little further with the helmet, but was afaid of ruining it, if my thought hadn't worked out.billikenmonster wrote:Great job on this Flash Gordon I like the colors on the suit and I like what you did with the helmet and mike communications