One from the 'Made a lousy job of building it the first time around so let's se if I can do better this time' list.
Sadly my wishes and skills were not within a bloody country mile of each other back then.
Though I think i've closed the gap to a few hundred yards since then.
To the kit now, all this and more pics are on the website WIP log:
http://www.ianlawrencemodels.com/wipmovinout.html
To cut what will be a long story as short as possible...
Here's the kit I managed to get off weevilbay almost 10 years ago.
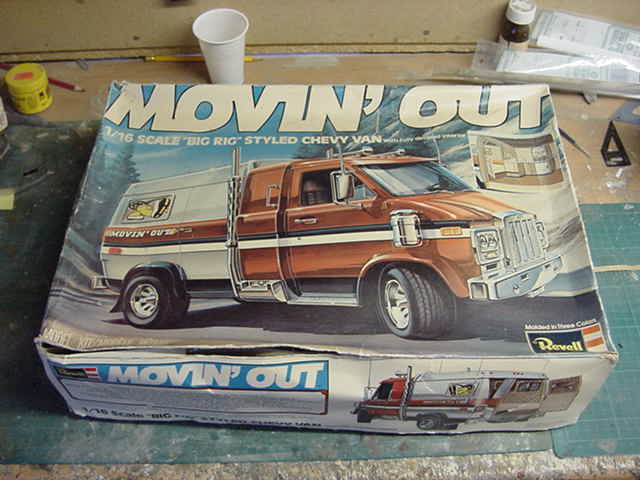
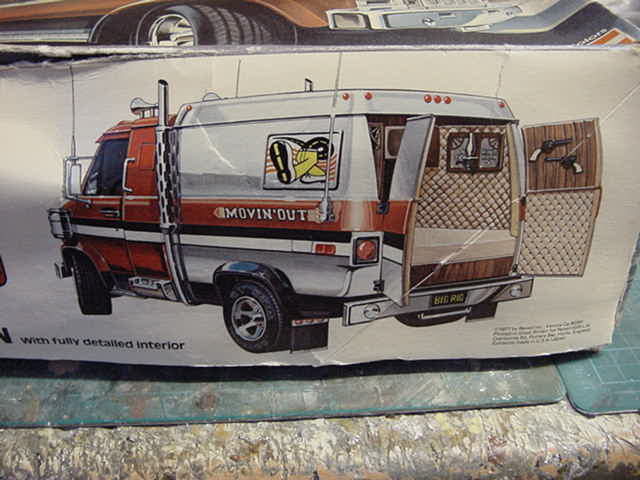

An oldie for sure but a goodie methinks.
All the bits are there and completely untouched which is always a bonus. I won't bore you with all the sprue shots, those are all on the WIP log,
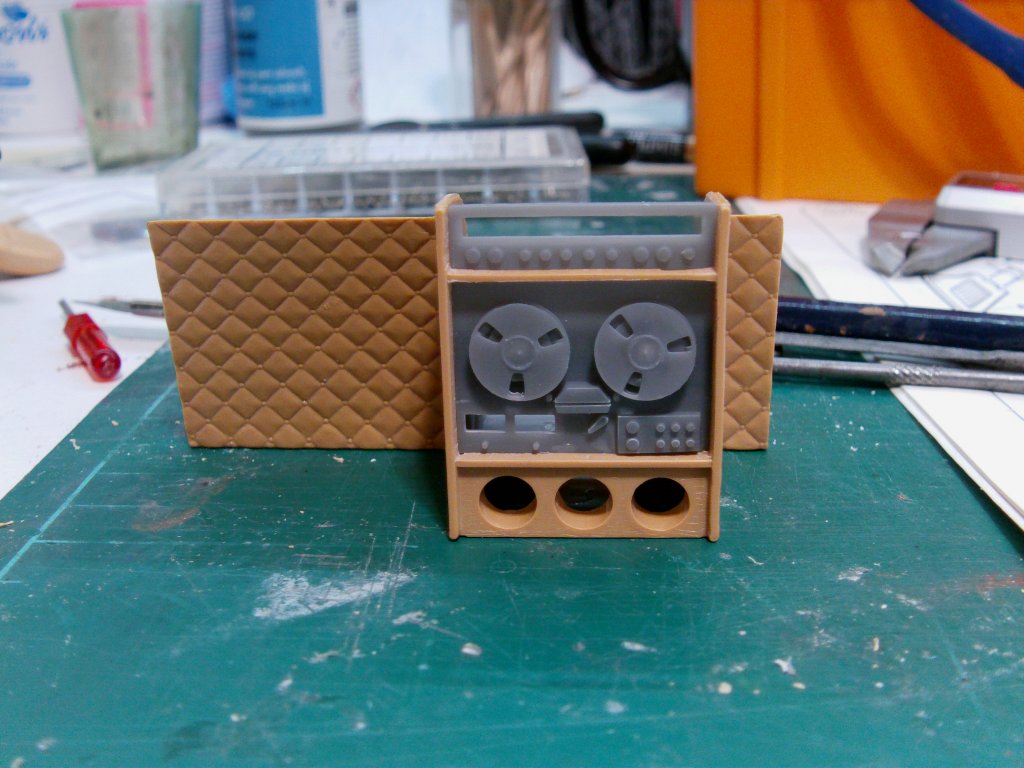
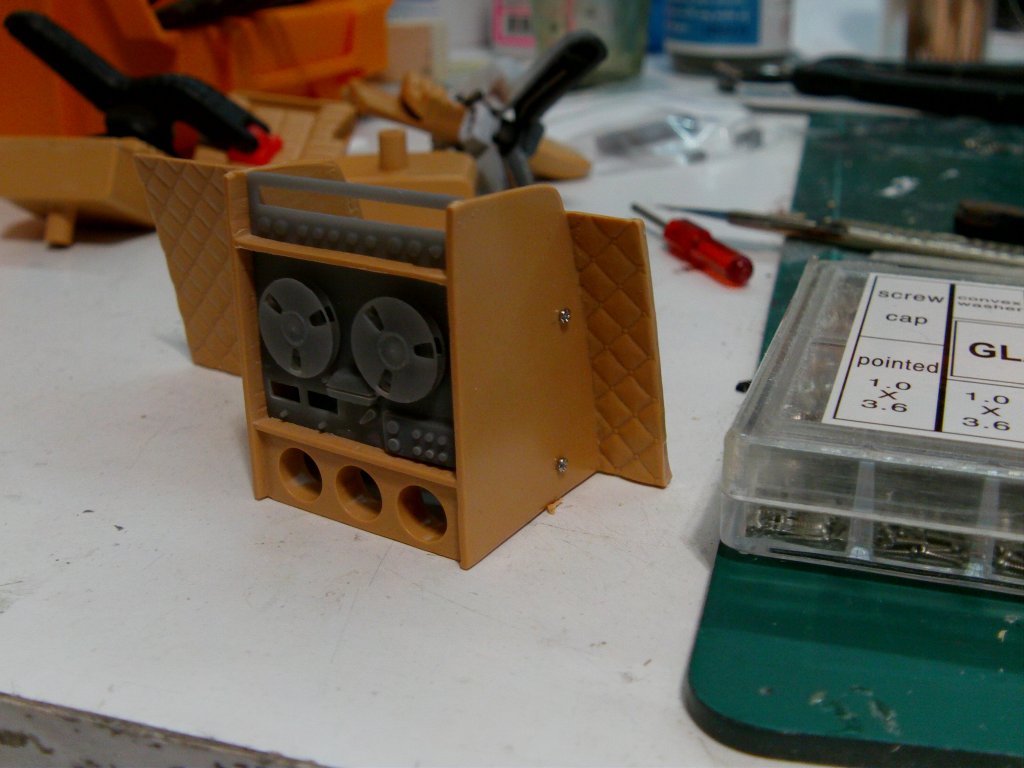
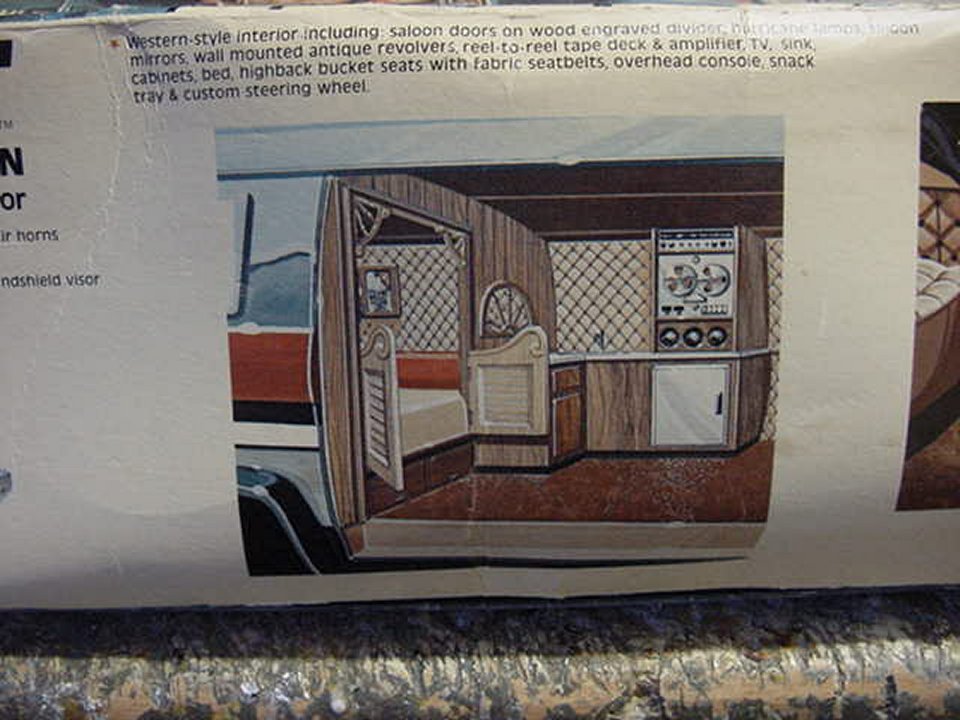
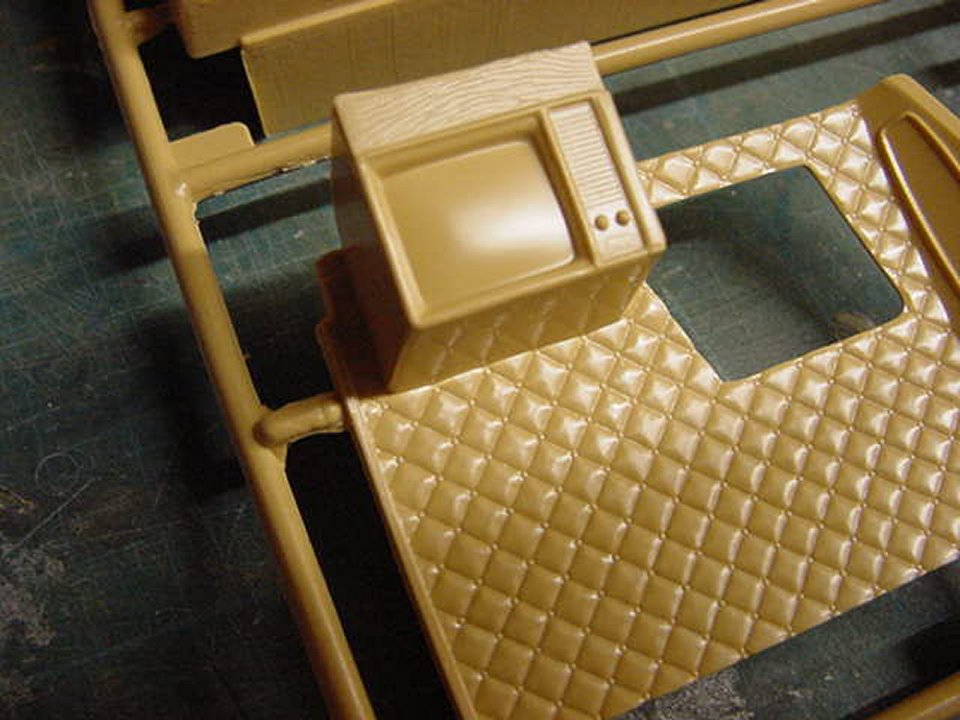
but this has a pretty decent interior with a western theme. I intend to detail out to the best of my ability and build on what's there.
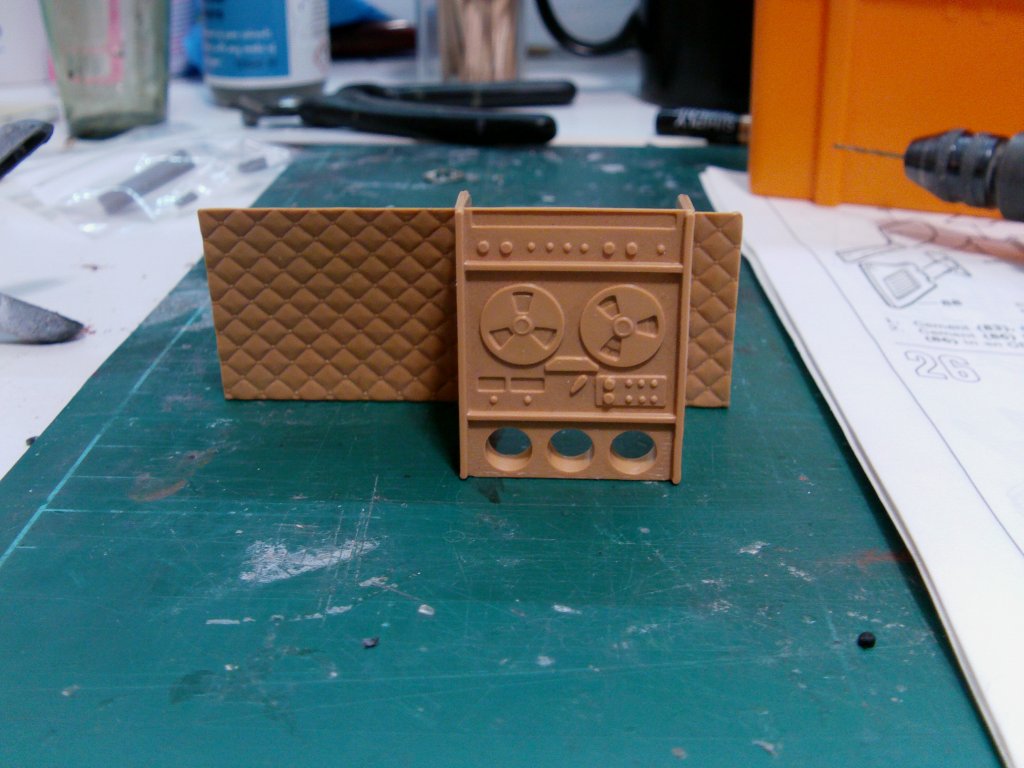
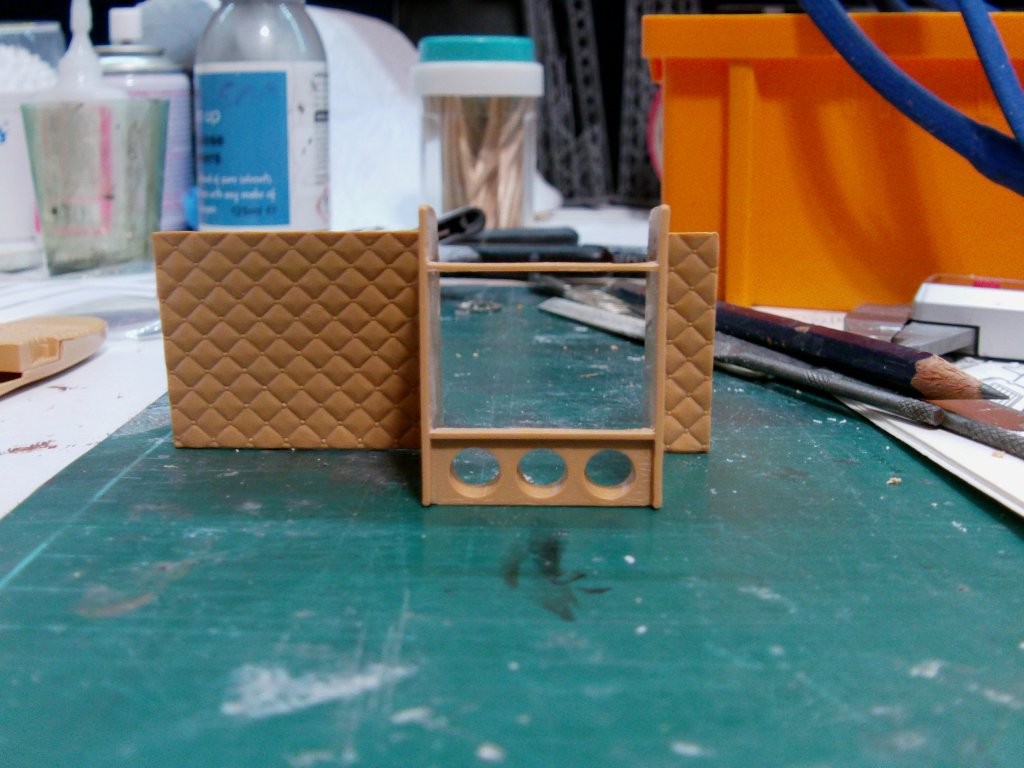
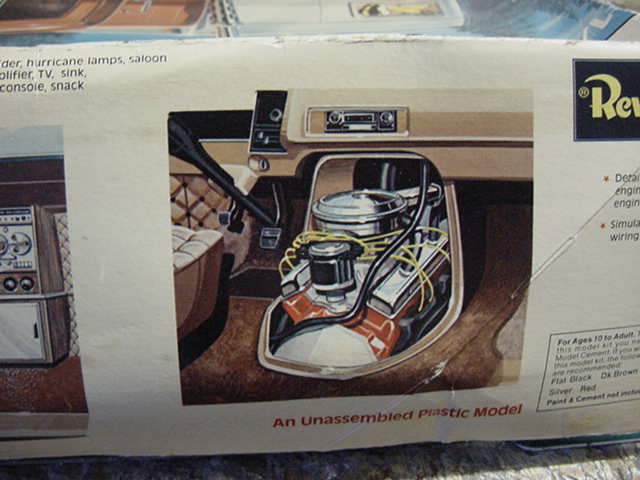
And what's in there screams 1970's...
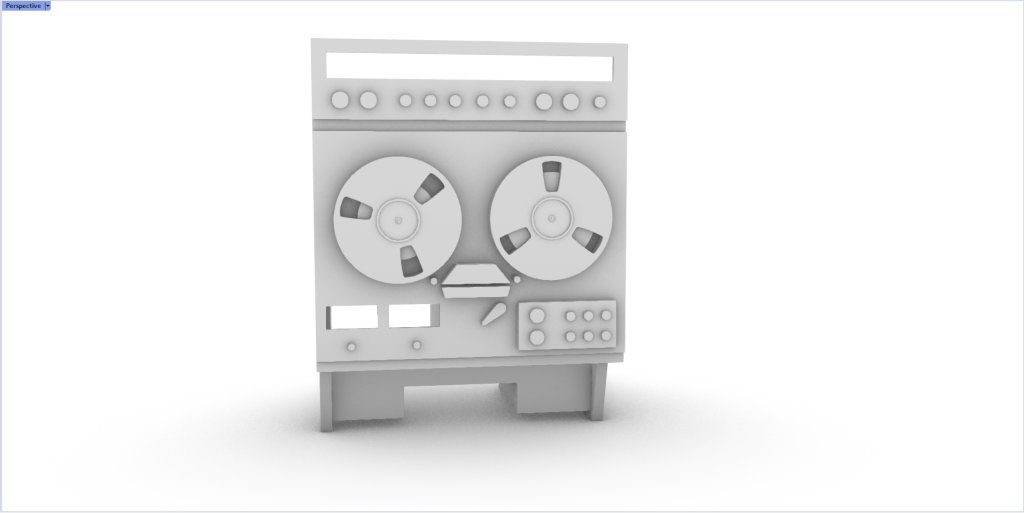
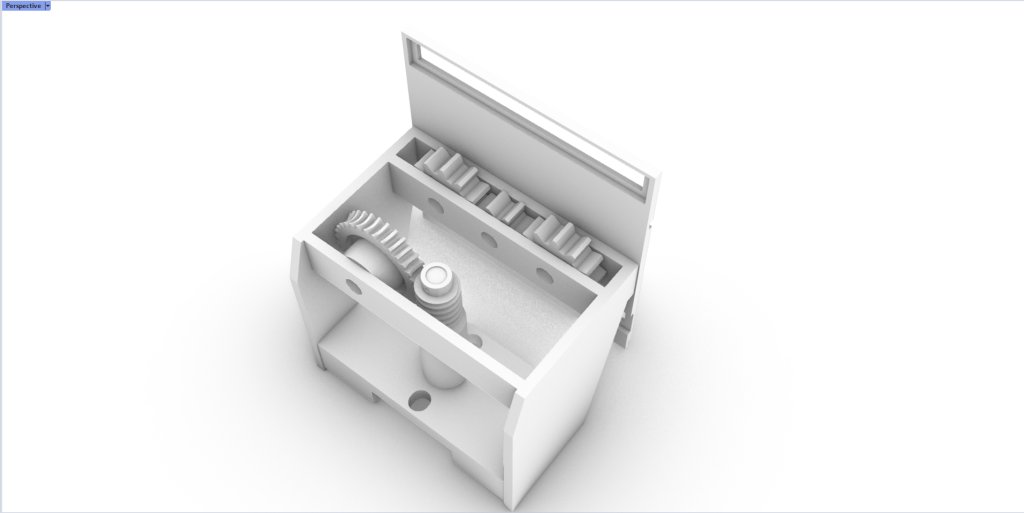
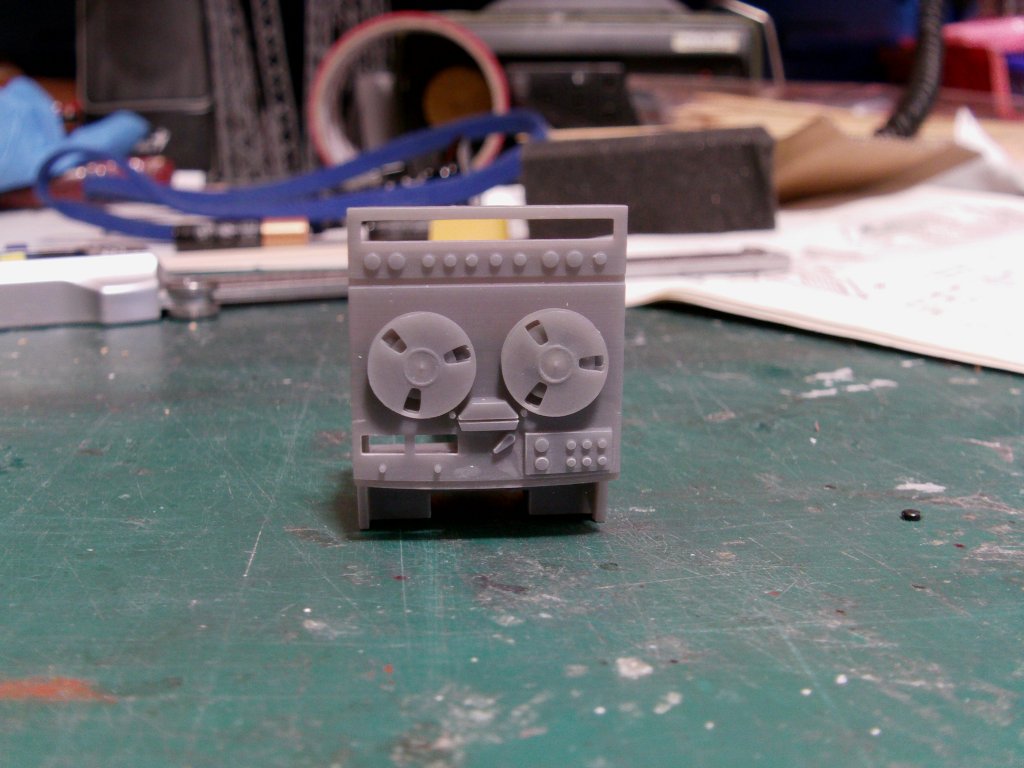
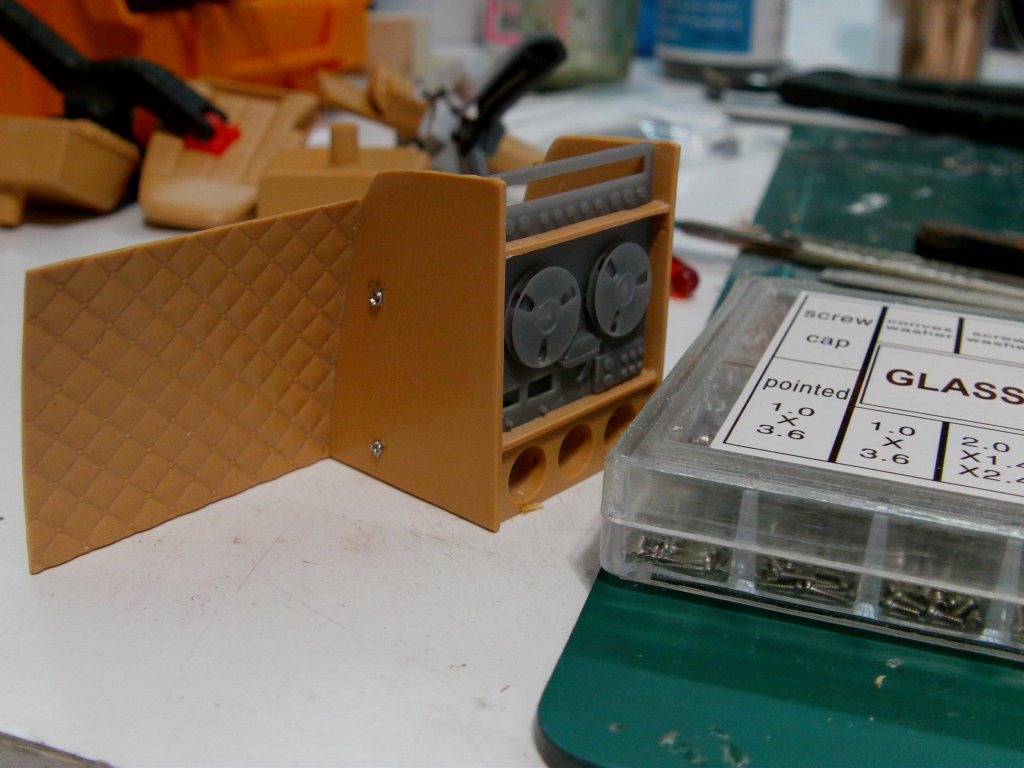
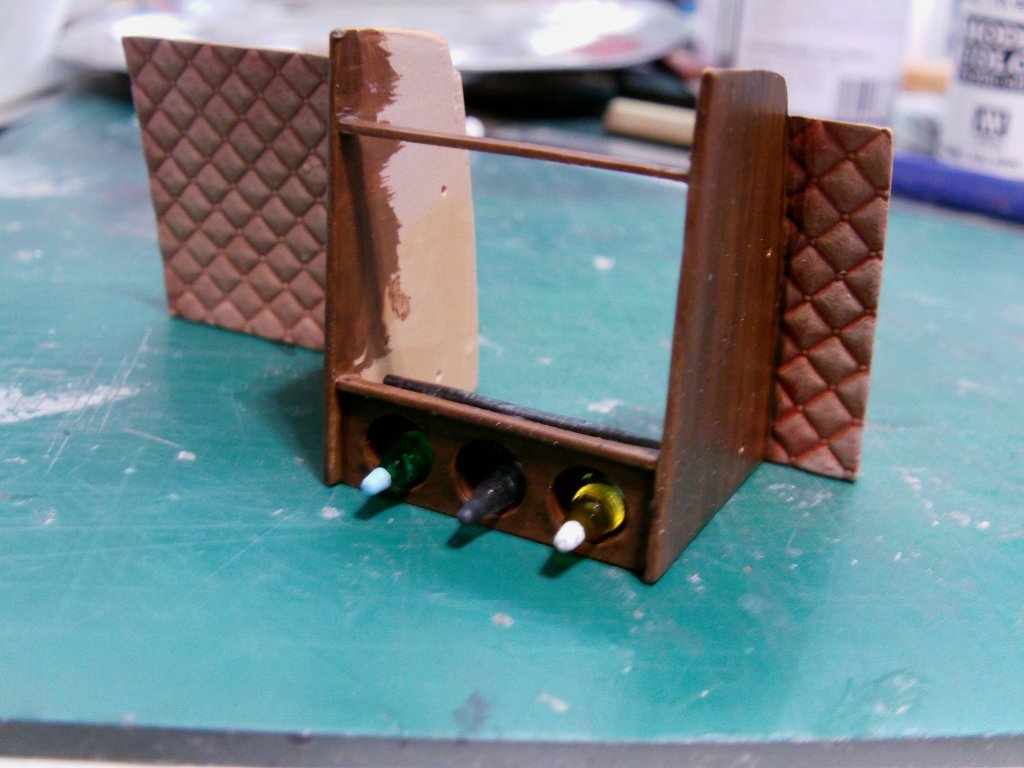
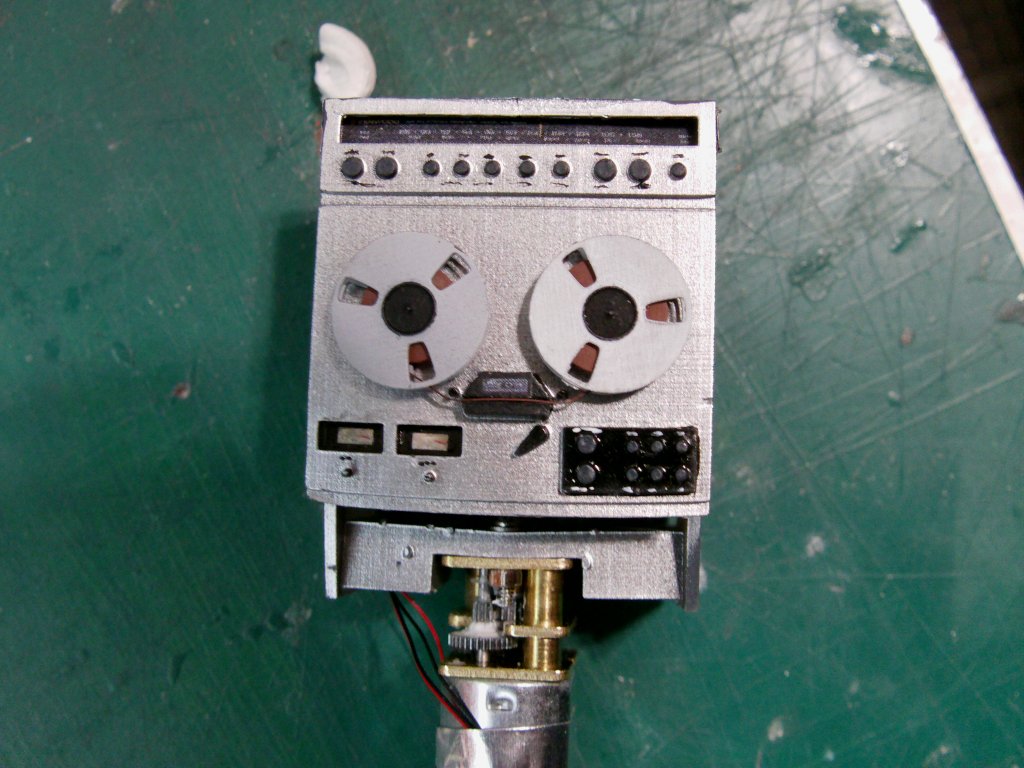
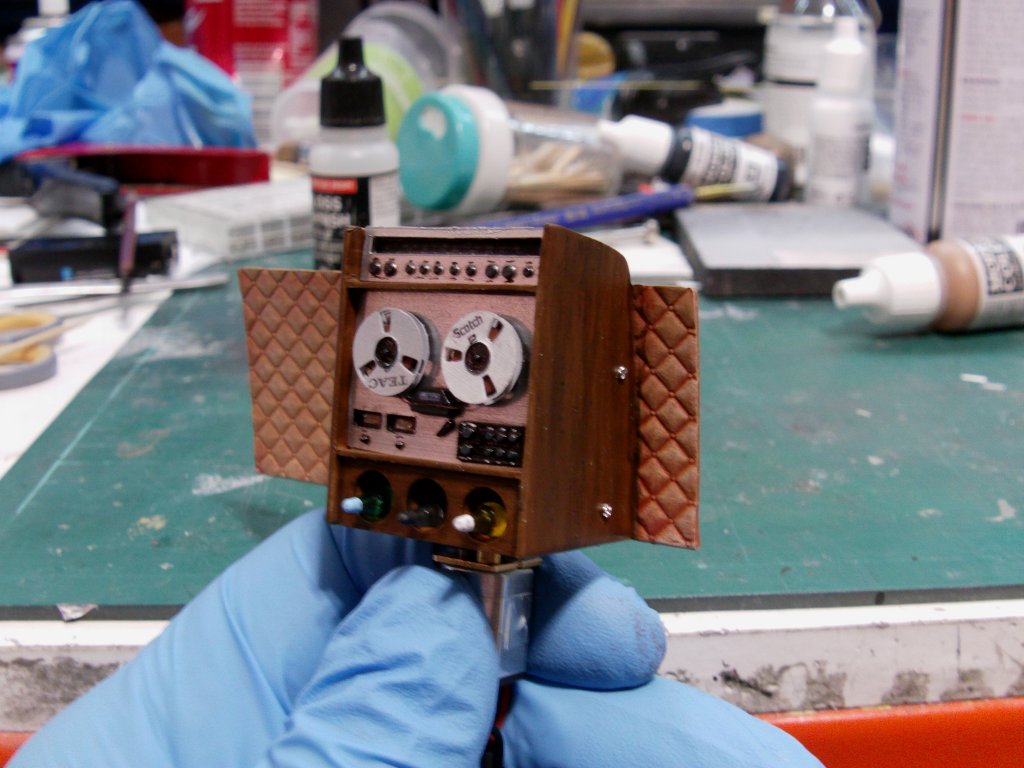
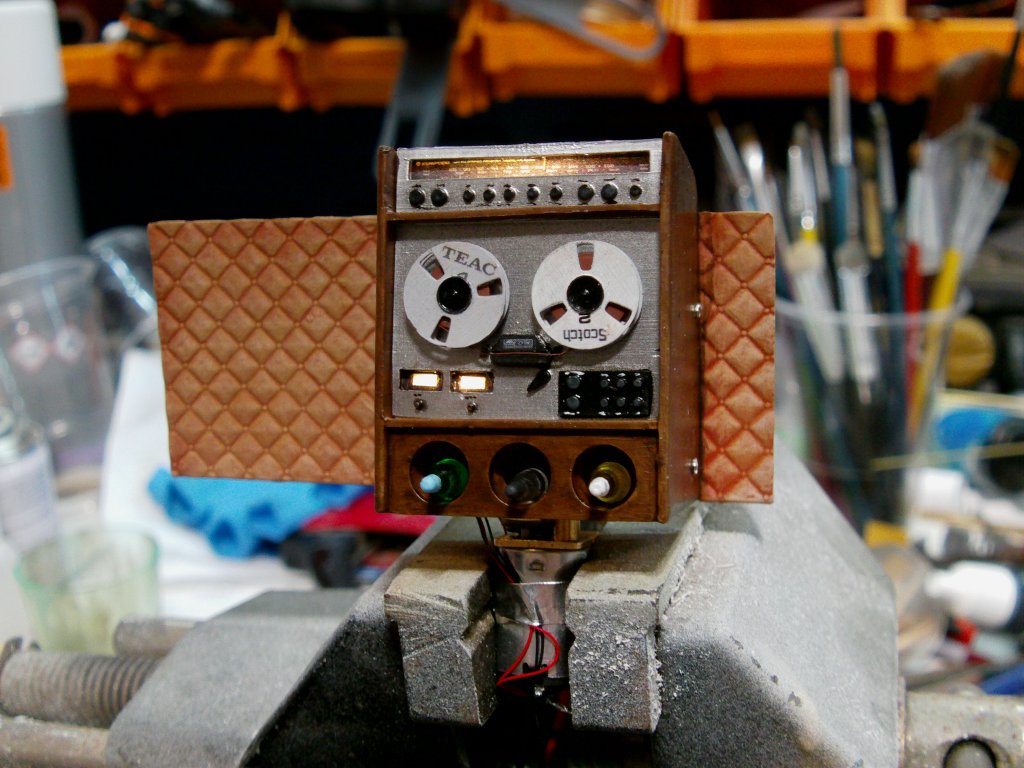
The reel to reel tape deck.
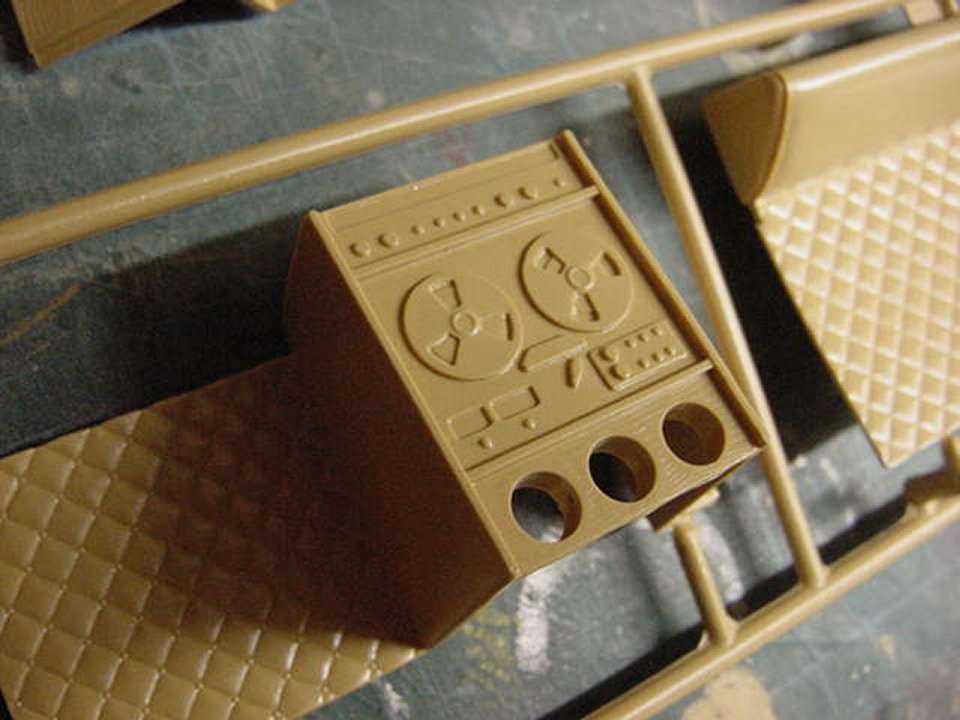
I will replace that with a 3D printed one.
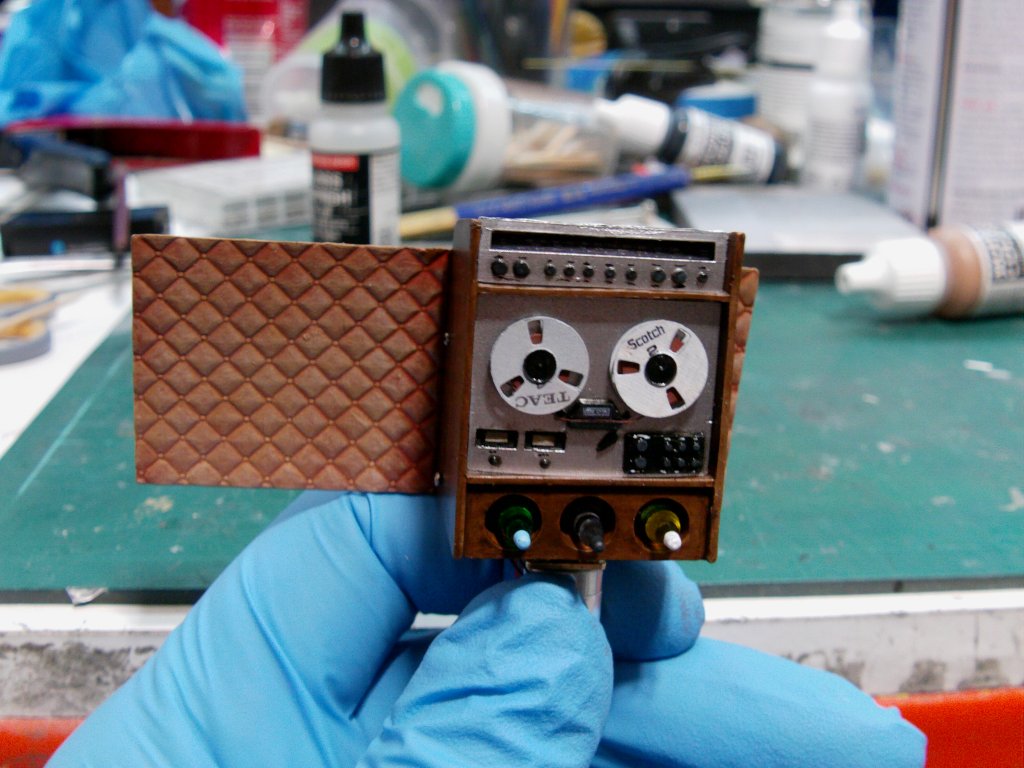
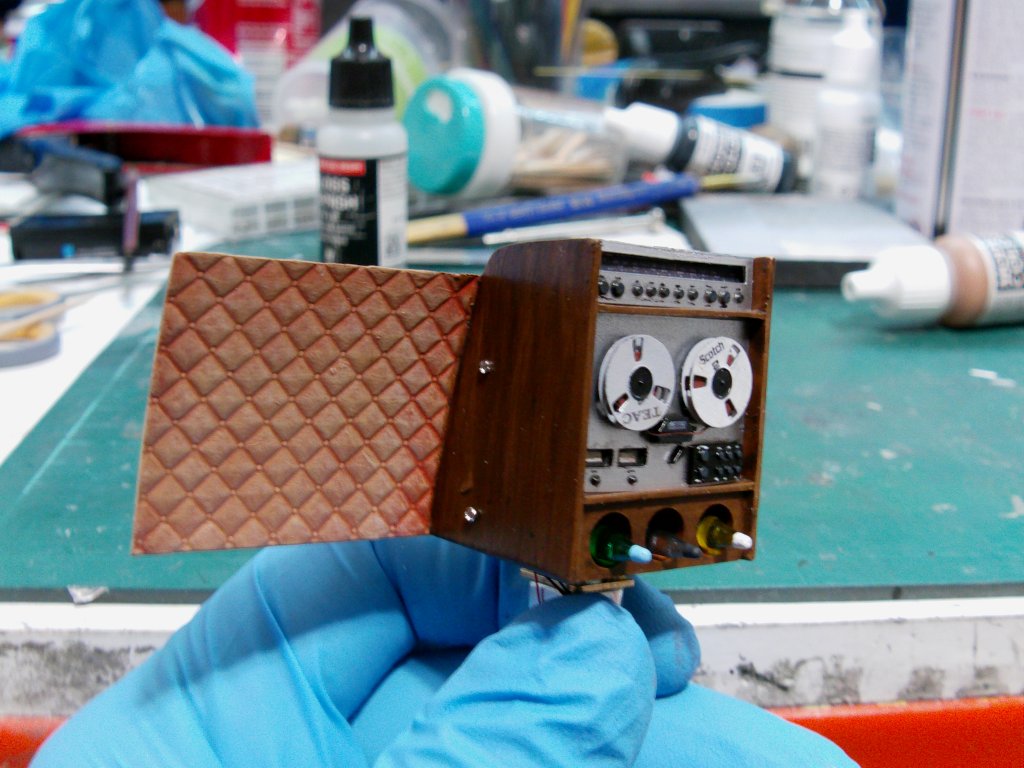
The built in black and white TV and plenty of diamond pattern Naugahyde vynil on the walls.
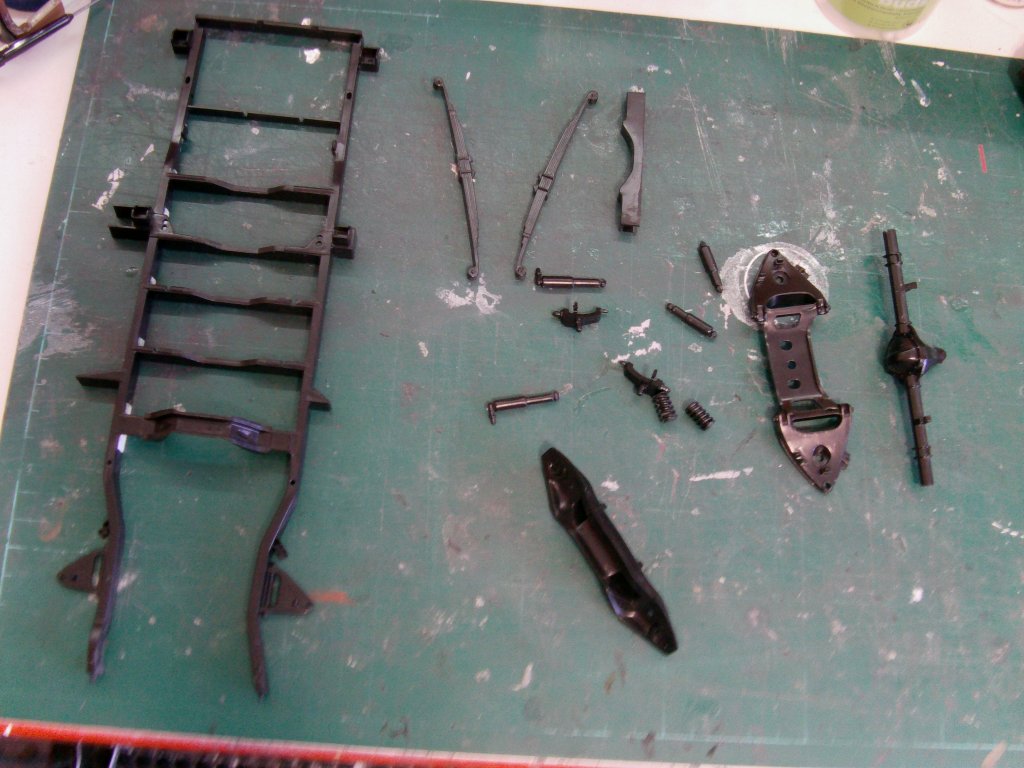
Right then, the start of the build...
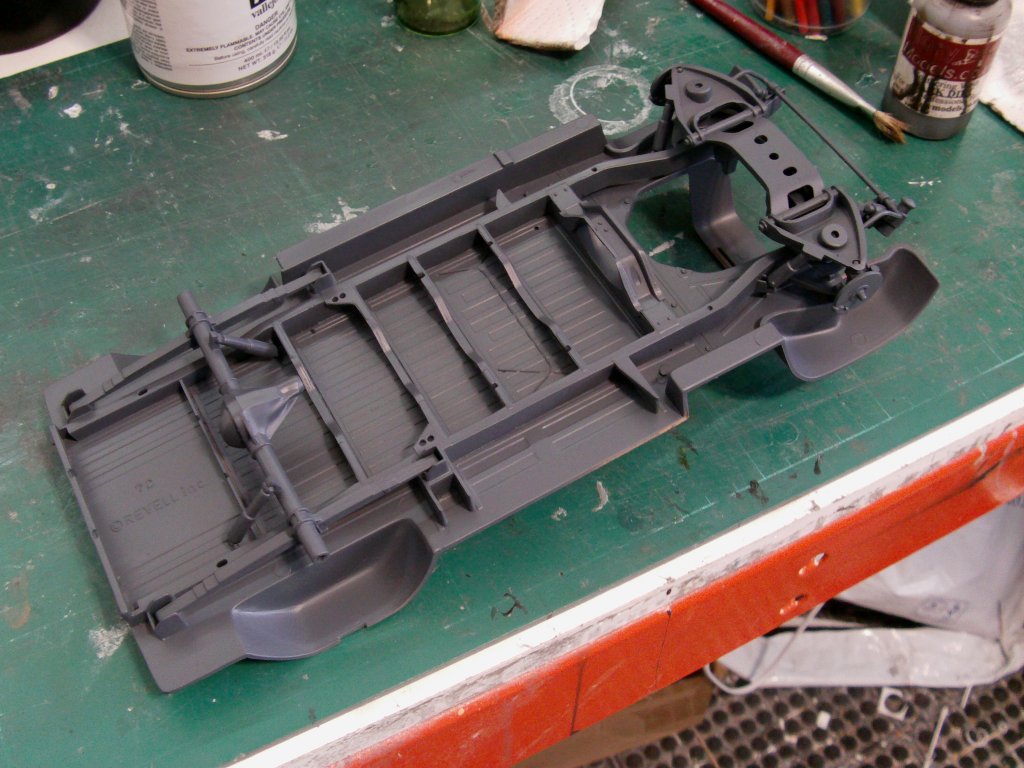
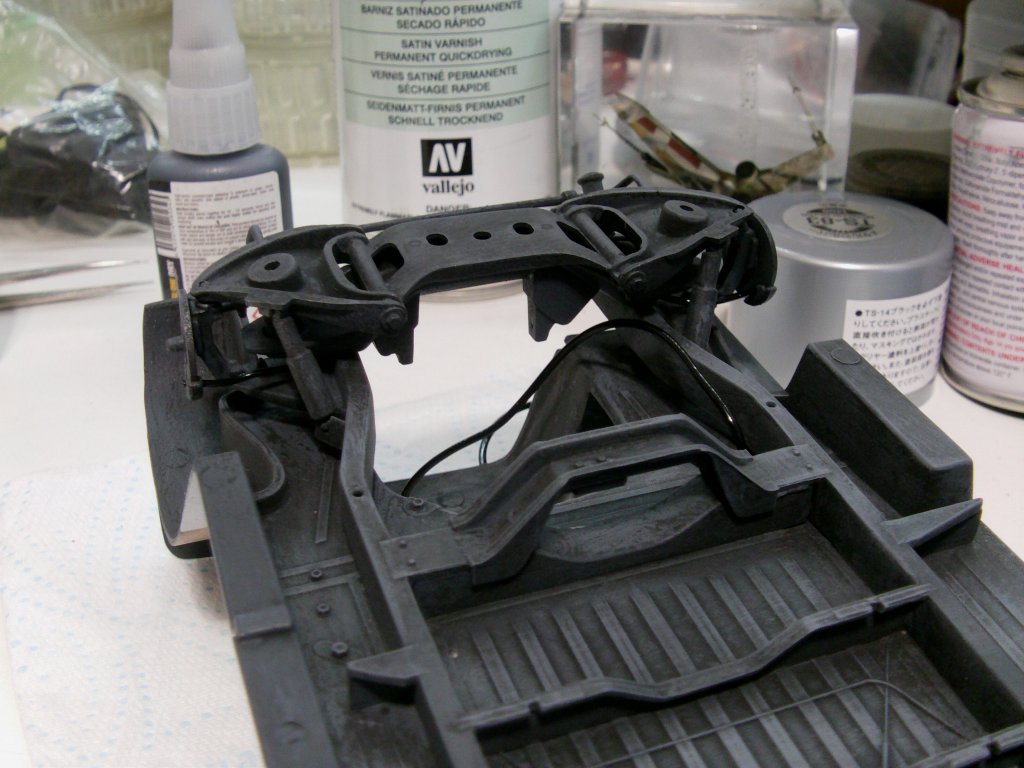
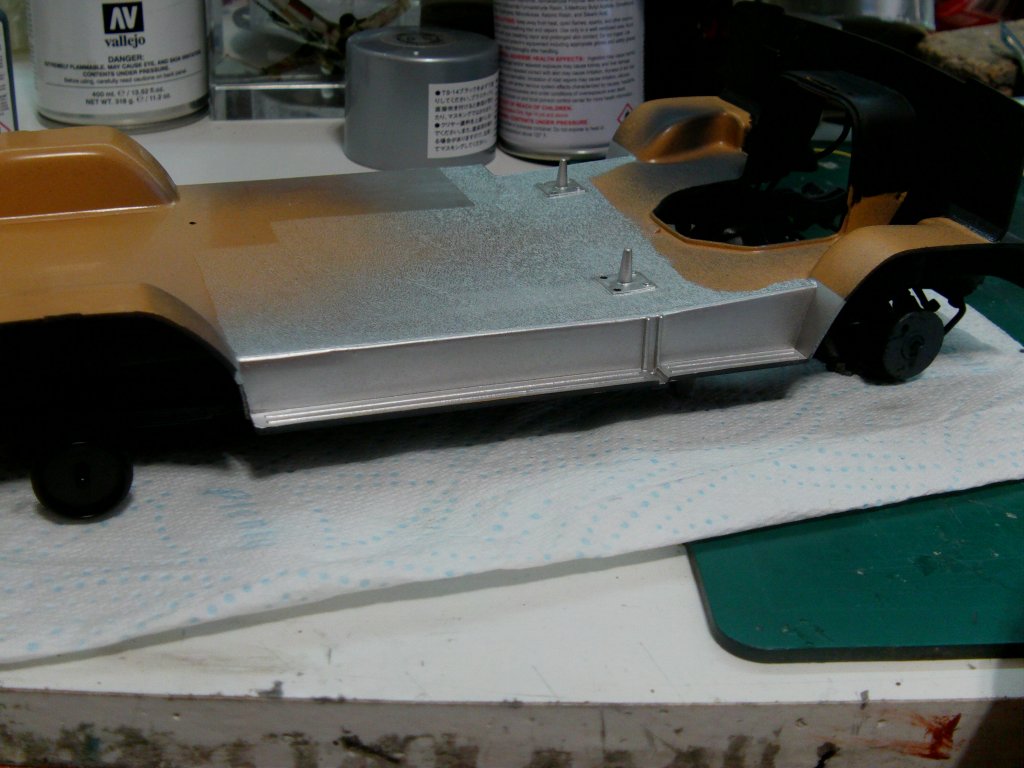
The frame/chassis parts cleaned up with the steps and holes it shouldn't have, patched and filled as required.
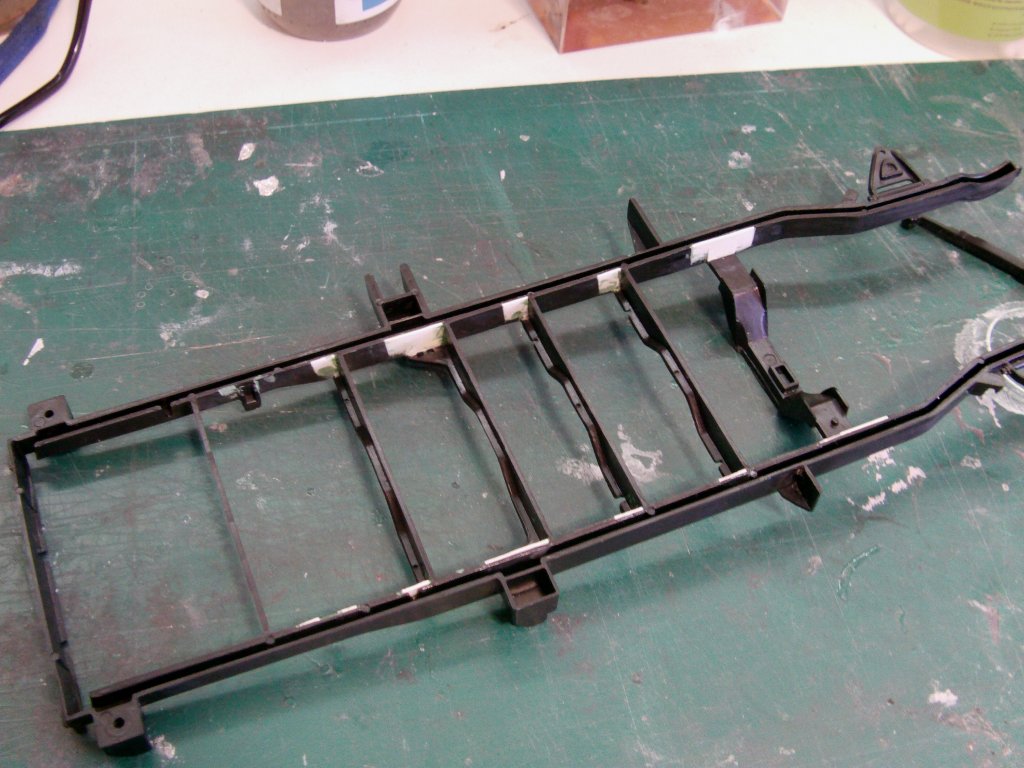
Frame with steering/suspension stuff all assembled by the numbers and glued to the floor plate.
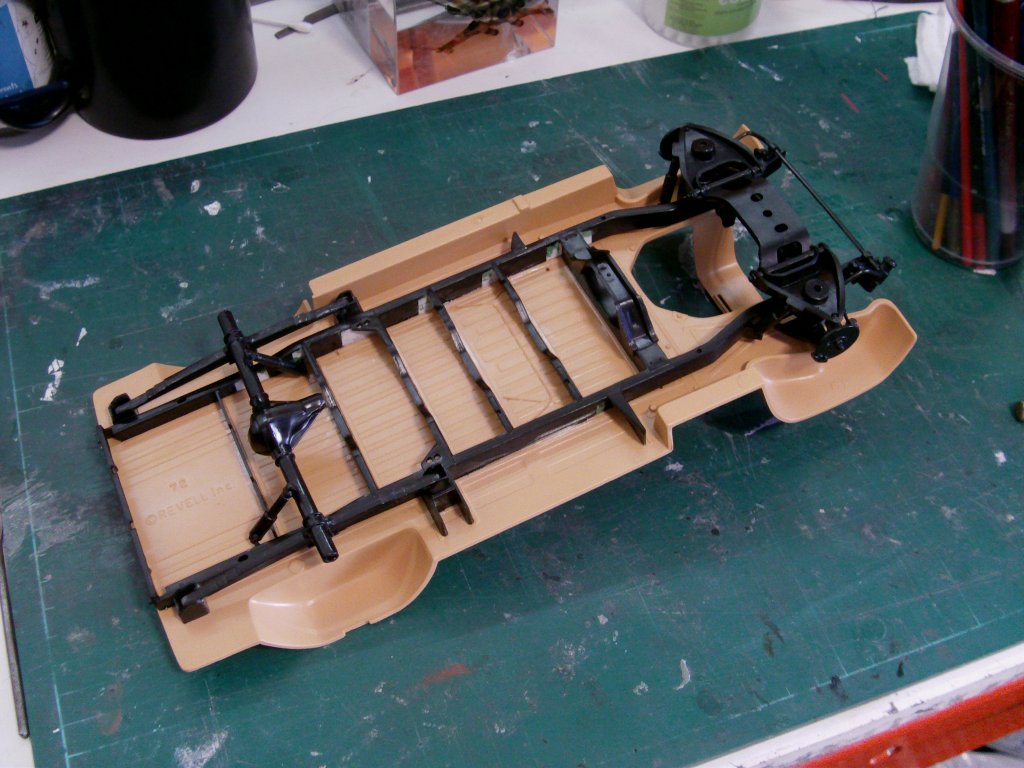
A decent coat of gunship grey...
Mucho black wash and neutral grey drybrushing later gets this...
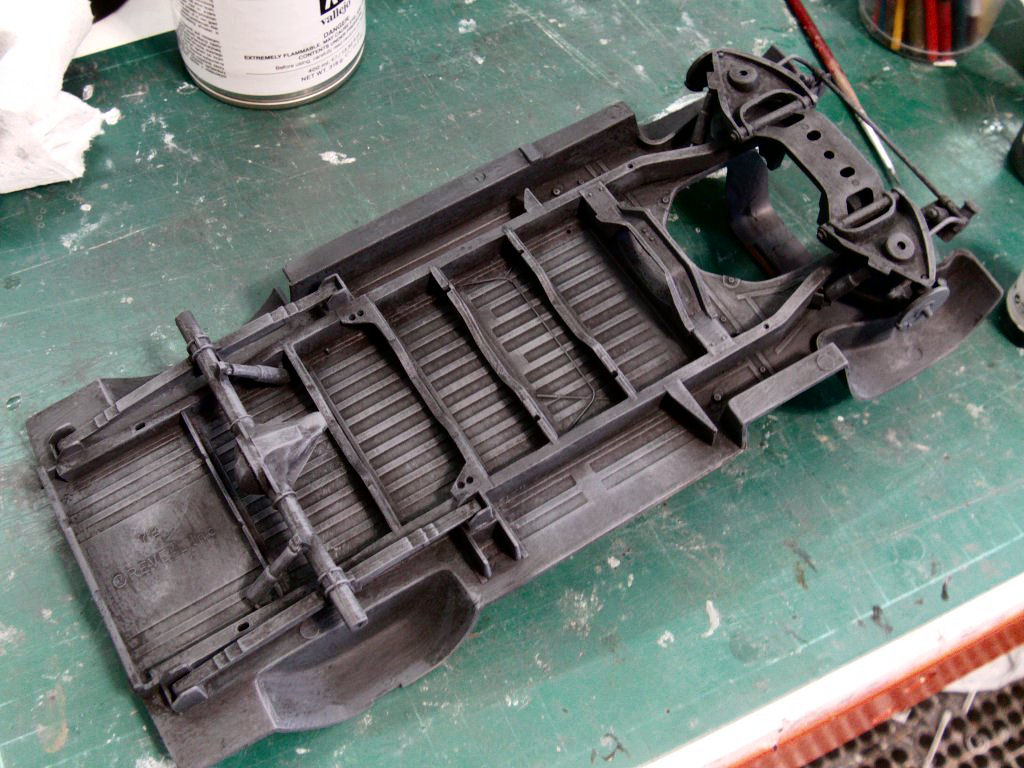
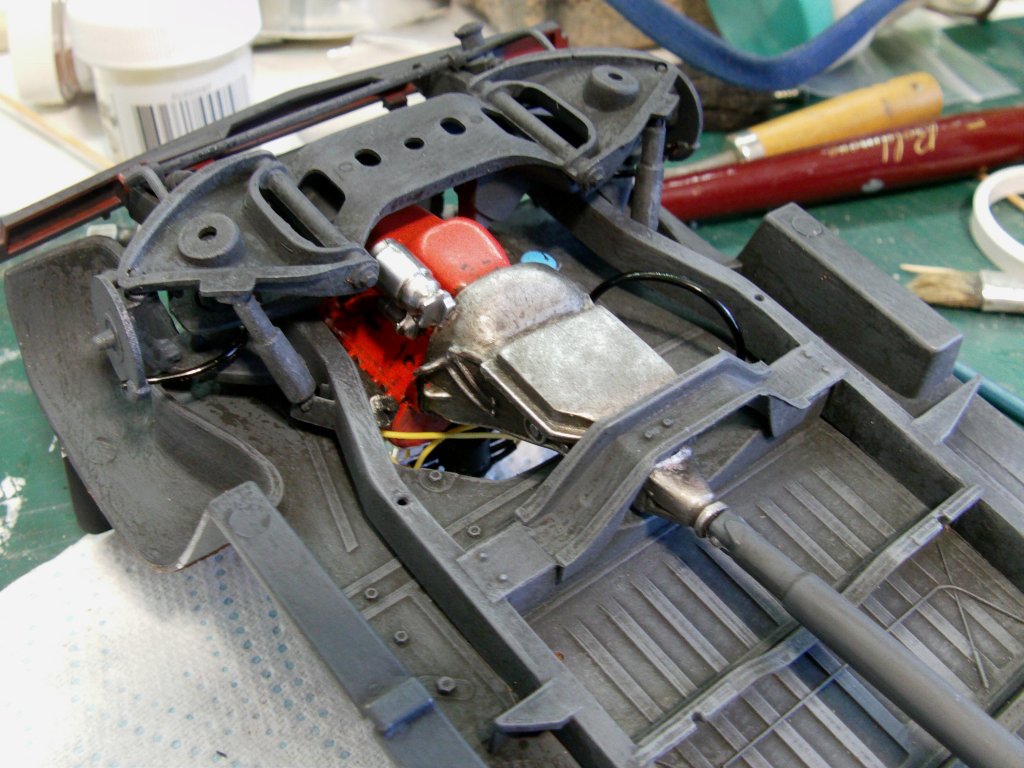
Firewall, supplied piping and brake lines all on.
Granted that this is most likely never going to get seen once the model is done but it's a decent paintwork excercise so all good.
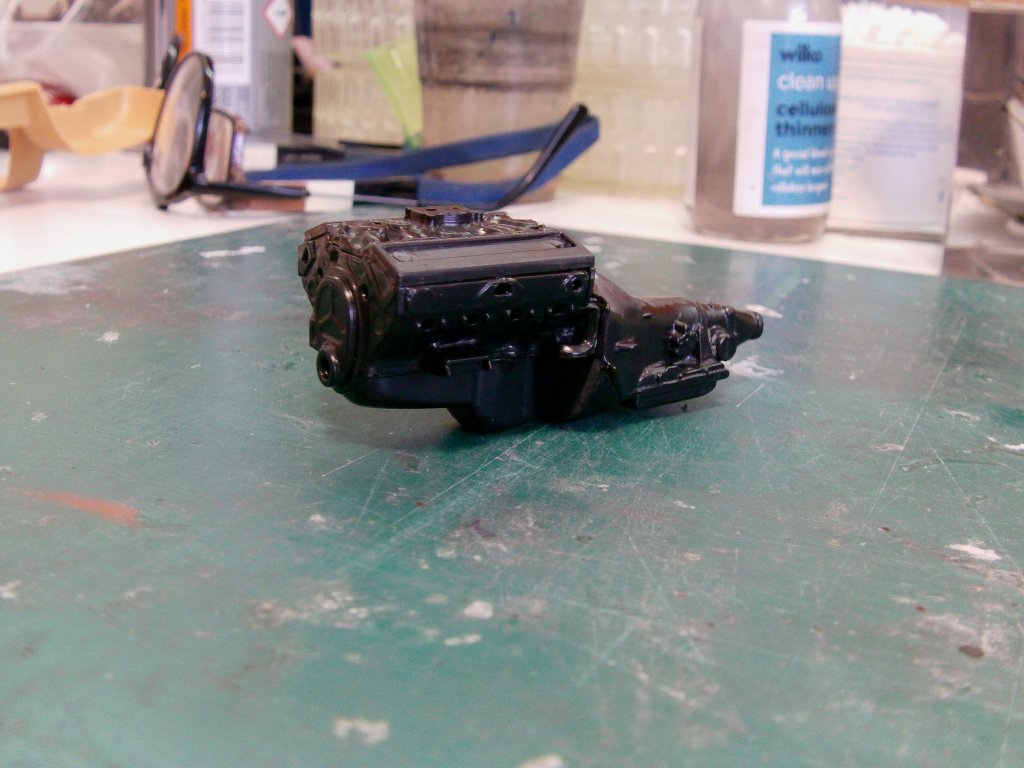
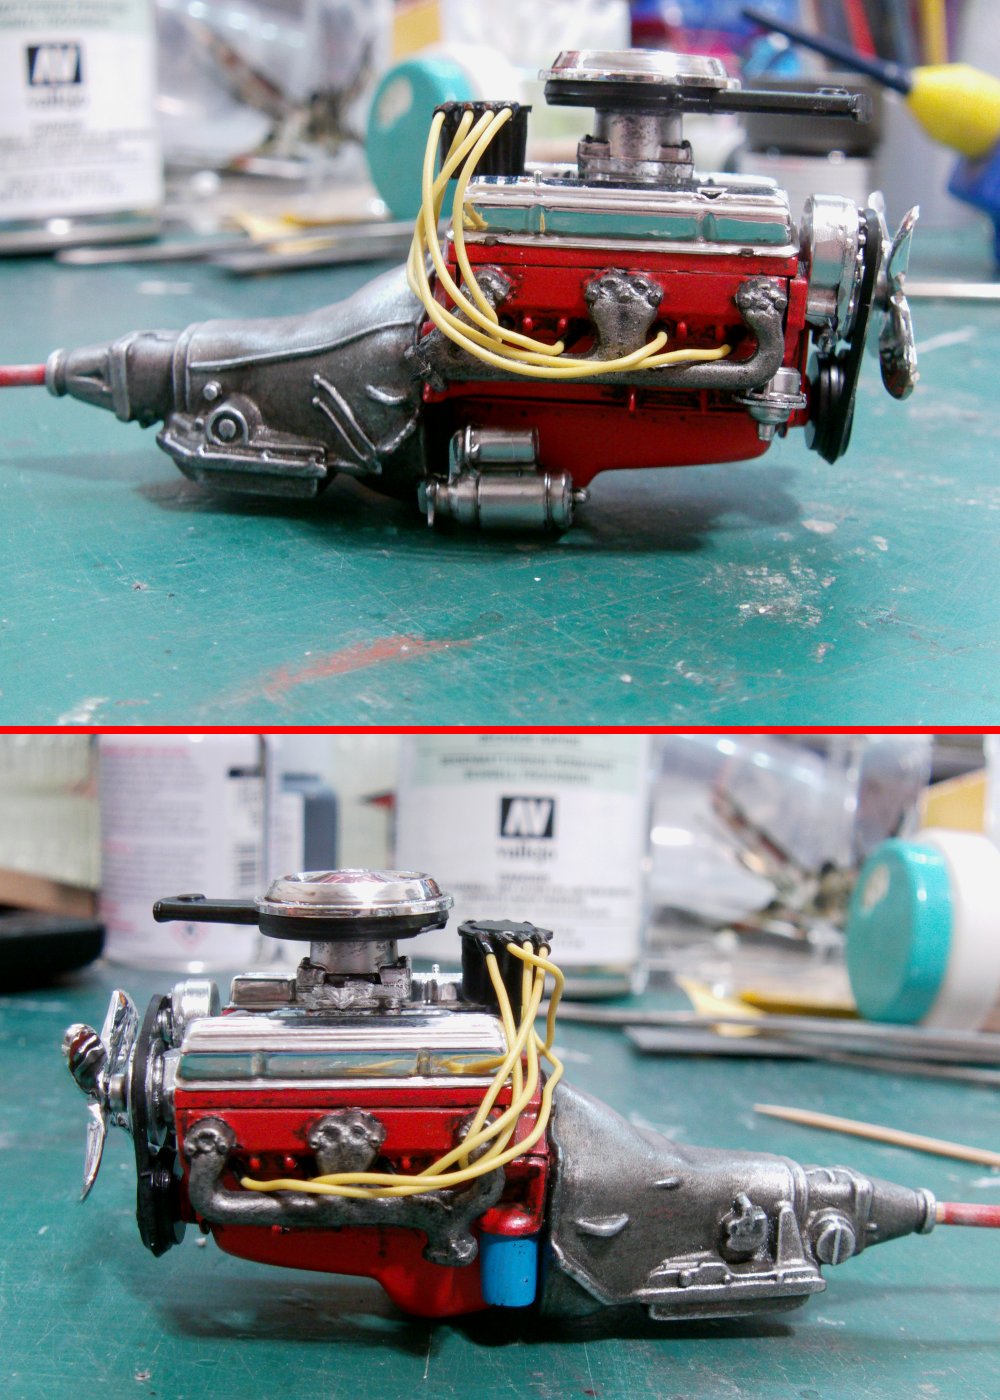
Same will be true for the engine, speaking of which and a by the numbers assembly again with only the supplied parts.
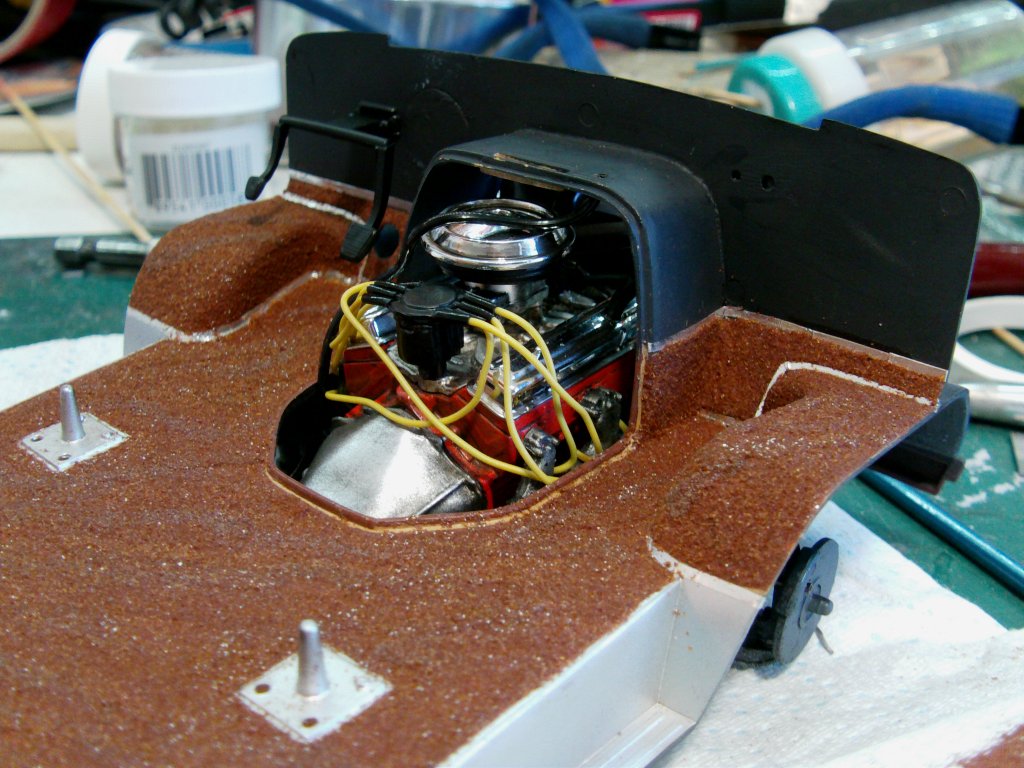
The assembled and cleaned up small block V8 and transmission.
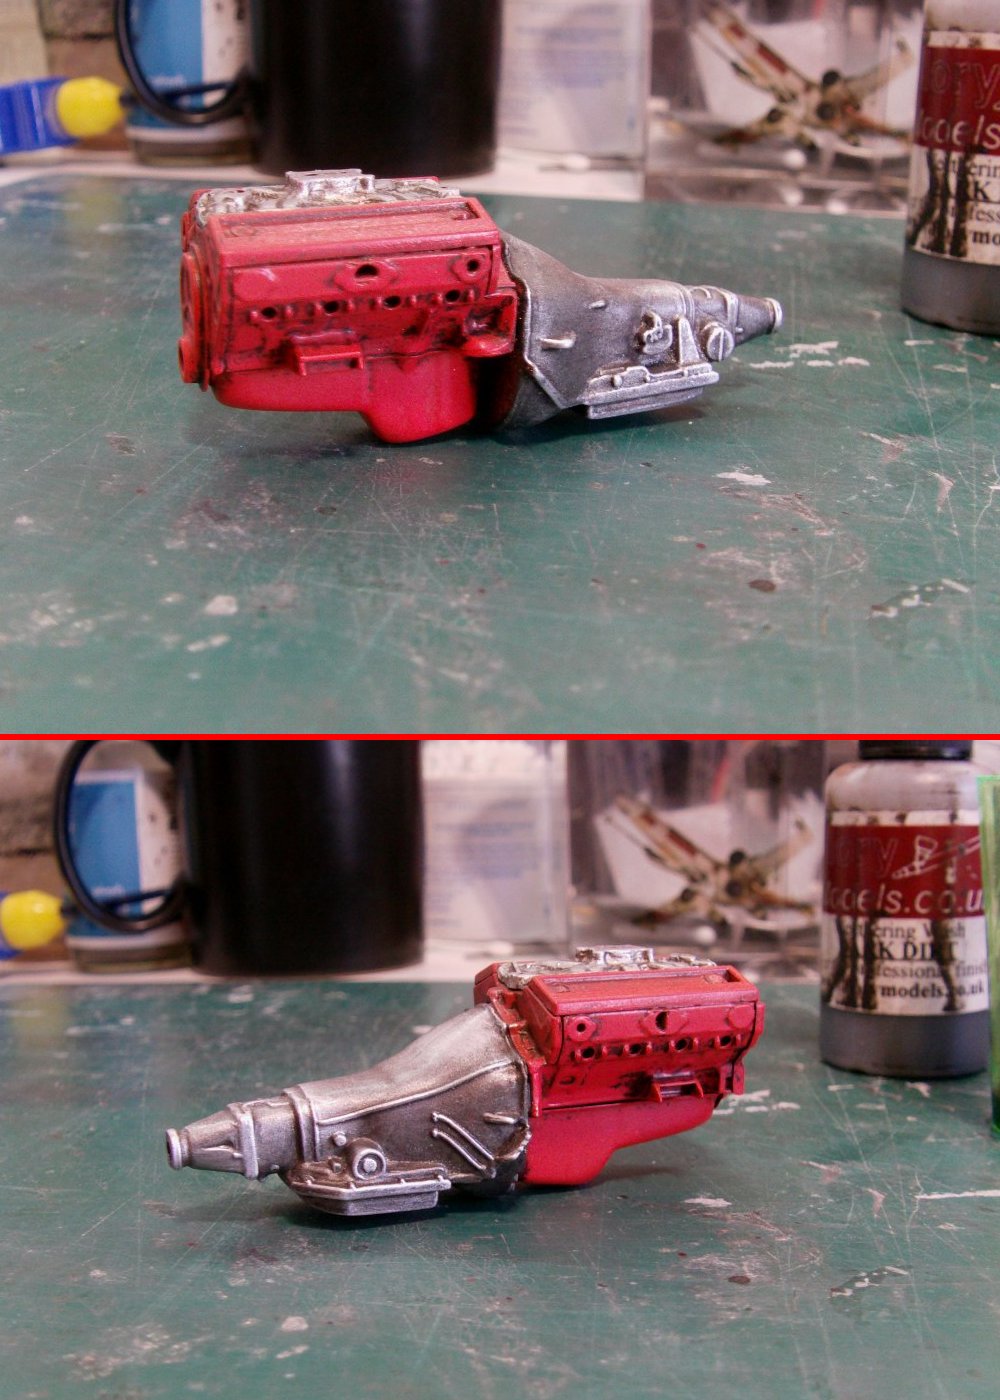
Dark orange, metallic grey and silver where needed, dark dirt wash and a bit of drybrushing got the basis done.
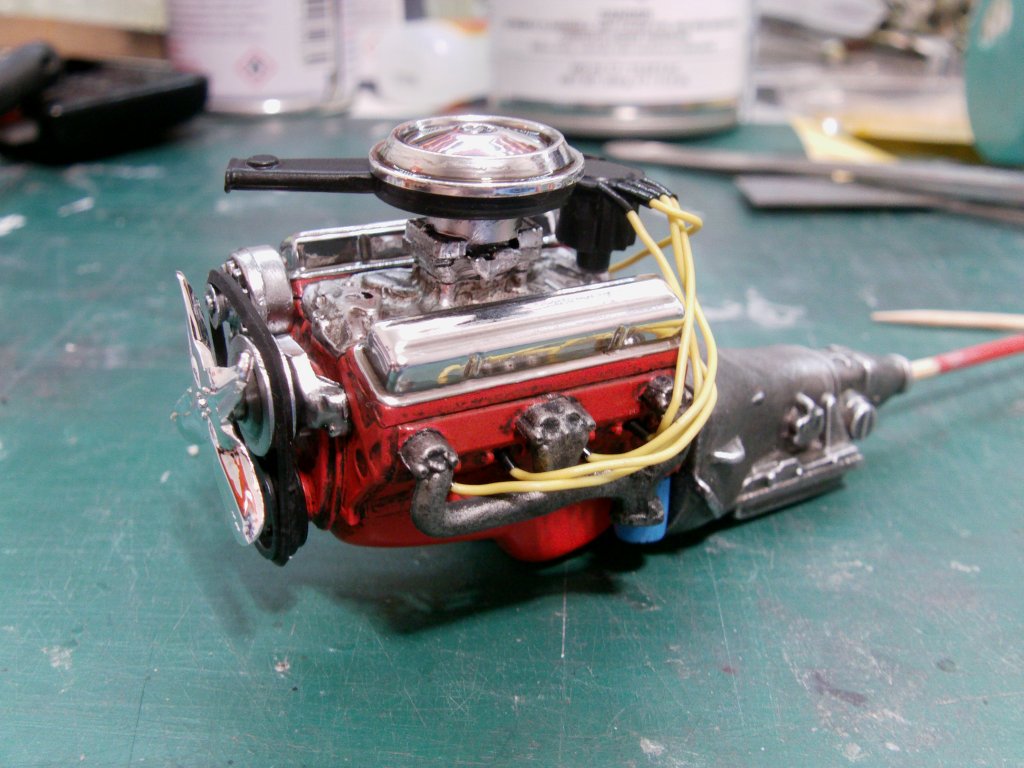
The rest of the detail bits got thrown at it, the supplied ingnition wiring also.
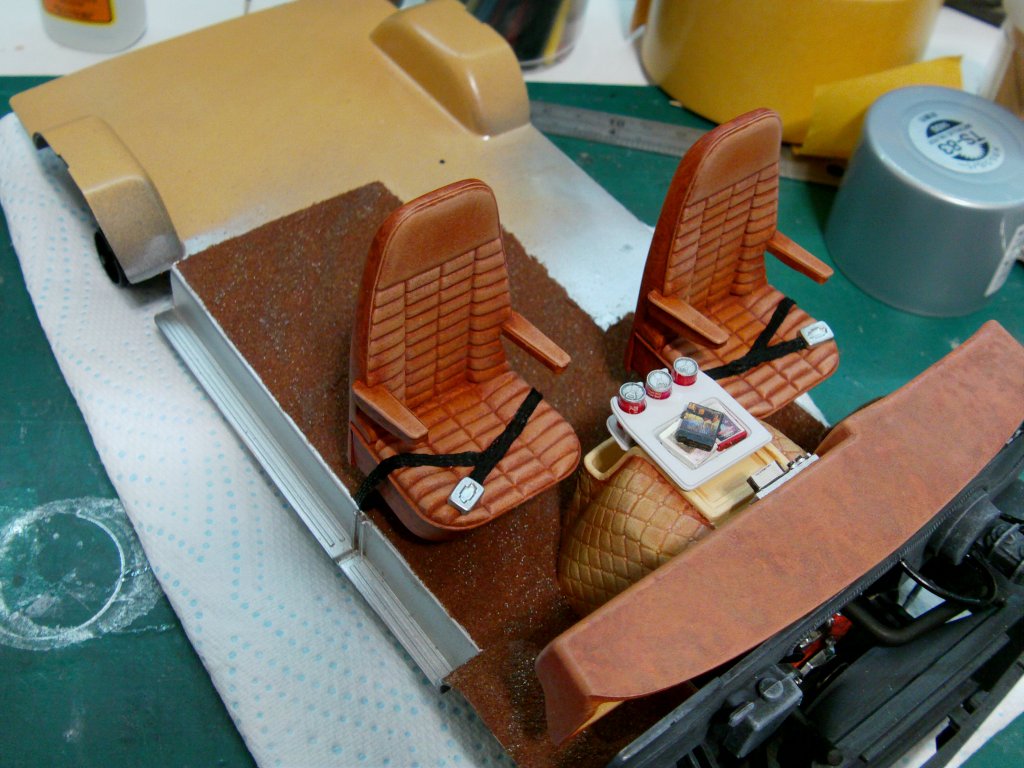
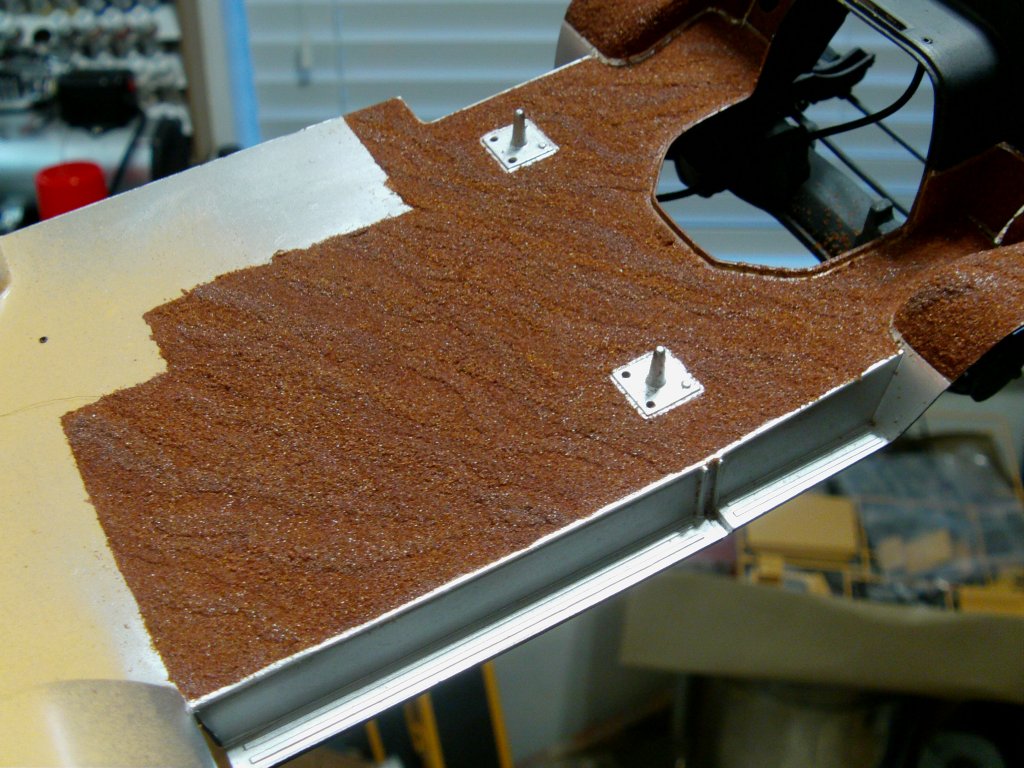
Sides of the floor plate given a lick of silver, some aluminium foil tape for carpet divider strips laid on.
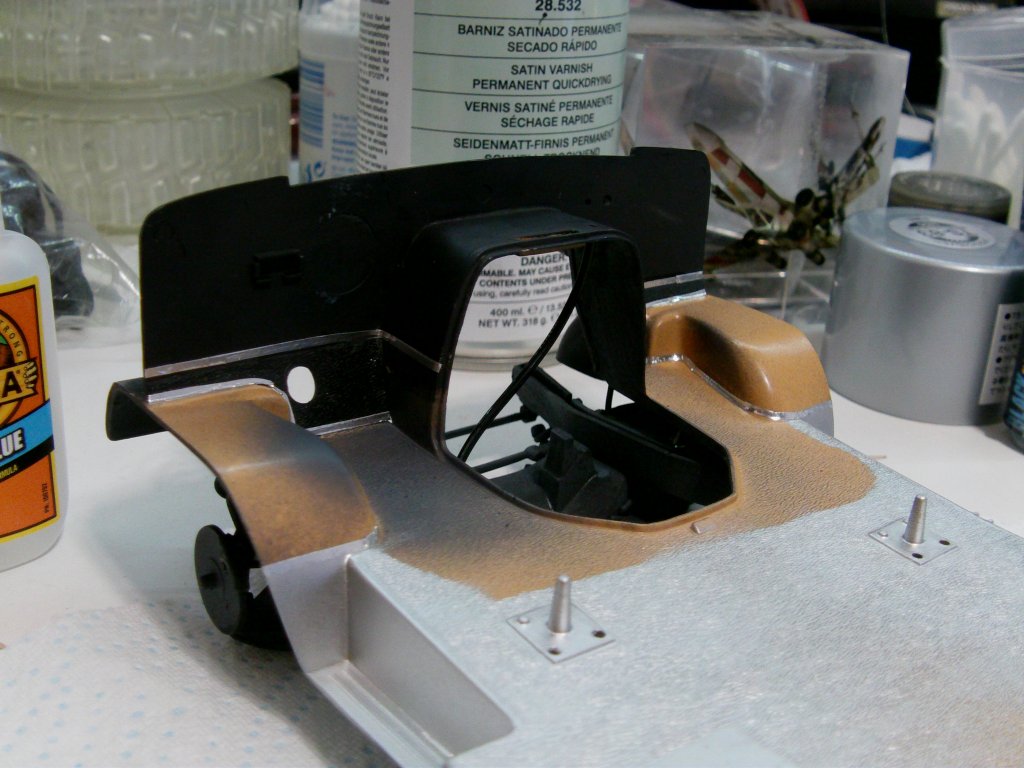
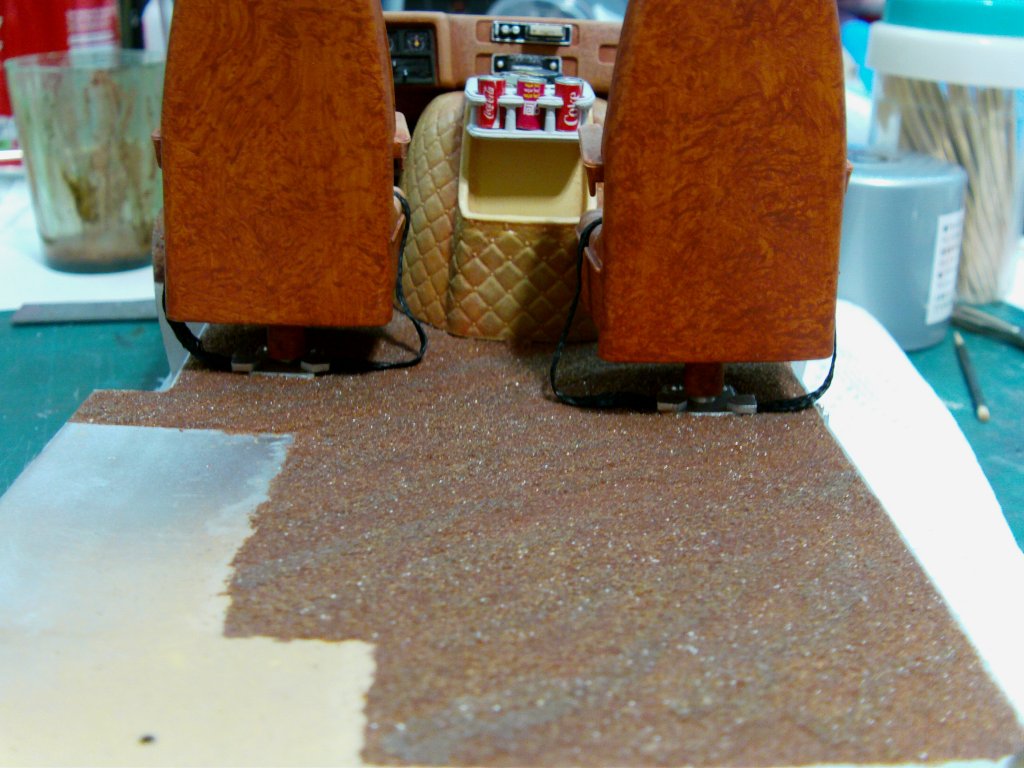
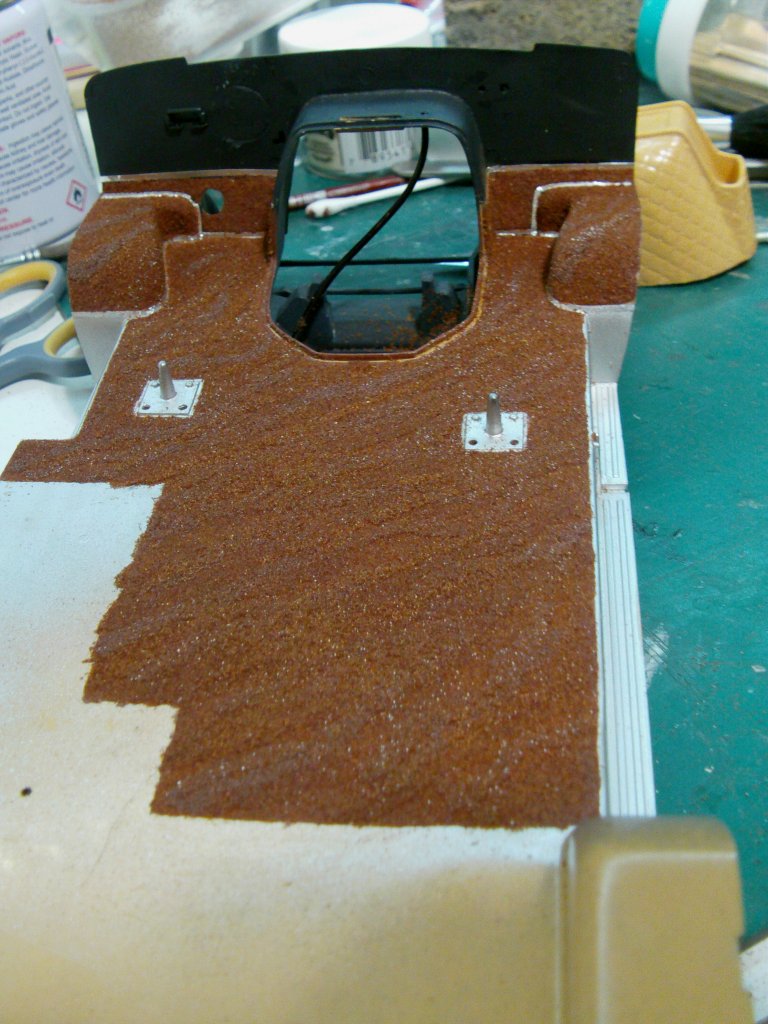
Flocking time of a sort! Red leather painted in the areas to get the slightly fuzzy stuff.

Used embossing powder for the carpet, much raw and thinneed PVA got slapped on in sveral layers to get the ruffled/70's shagplie effect as near as I could manage.
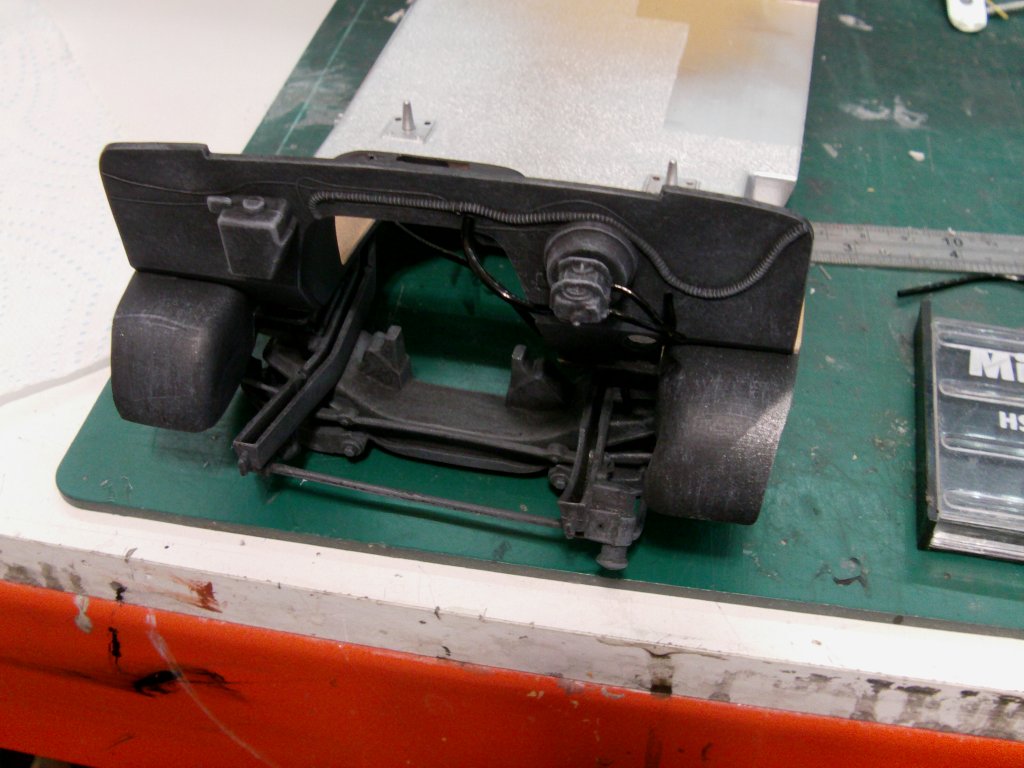
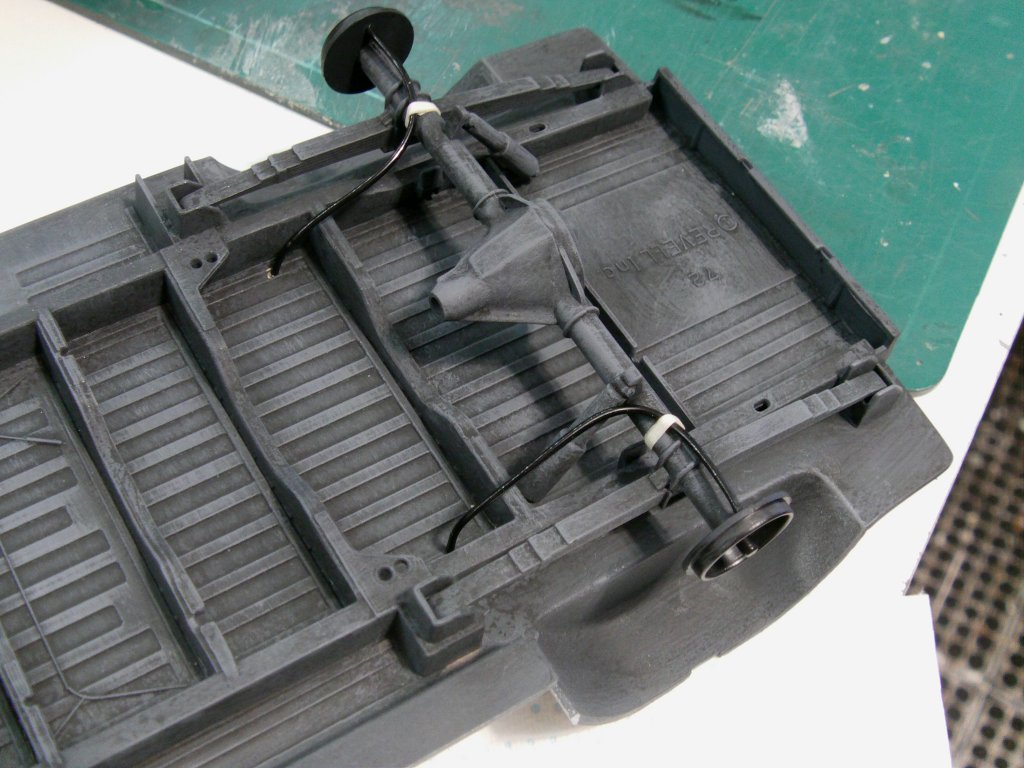
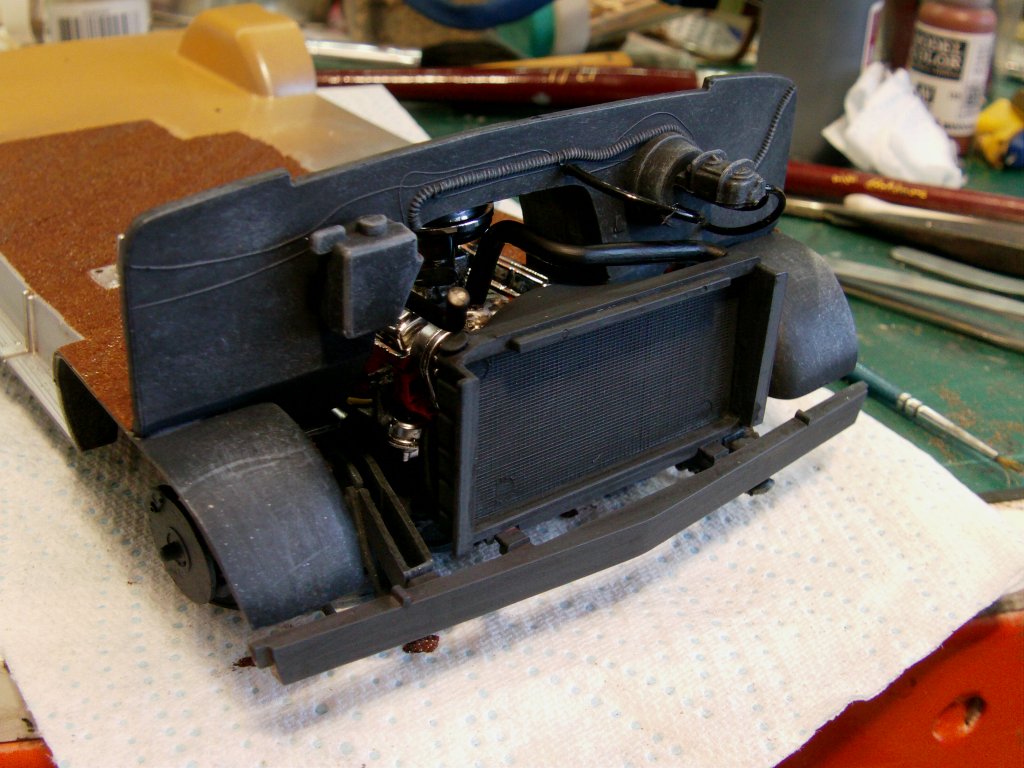
That will do. Radiator, piping, engine, drive shaft and fuel tank installed.
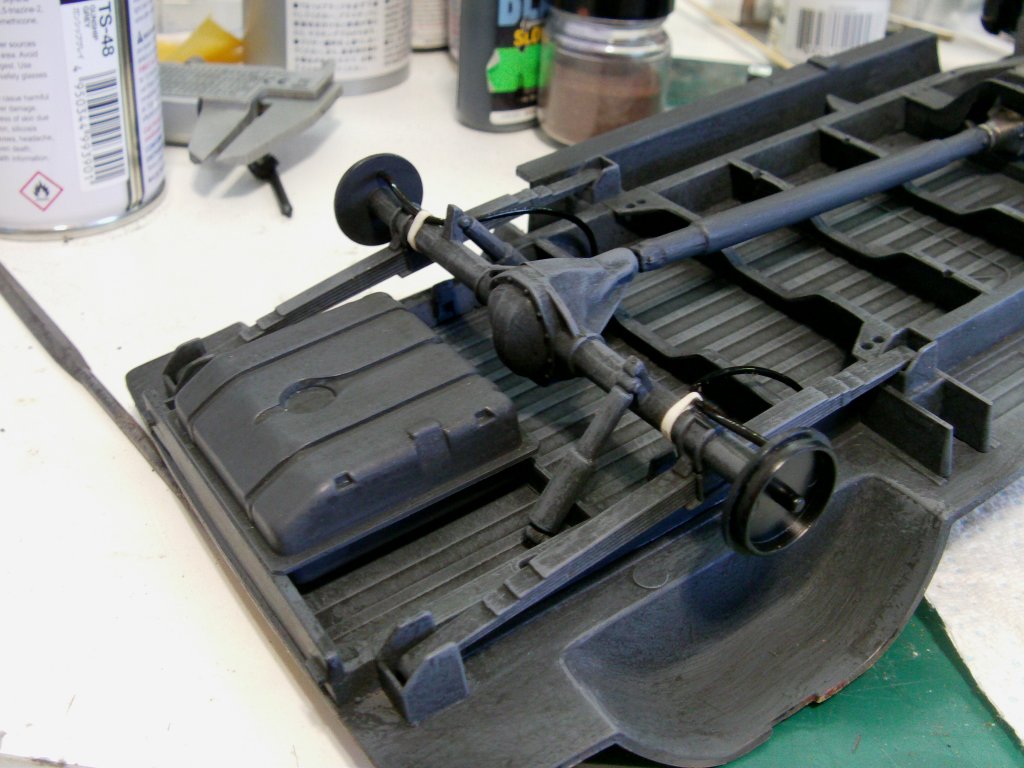
Now to turn my attention to the meat of the matter, the interior stuff.
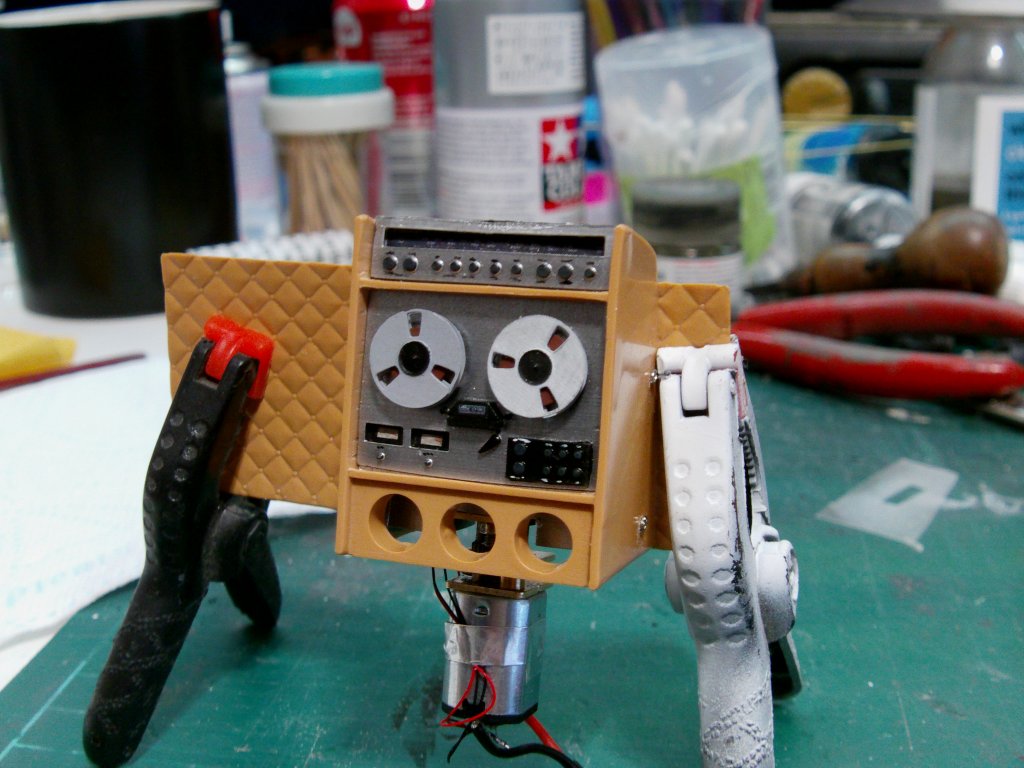
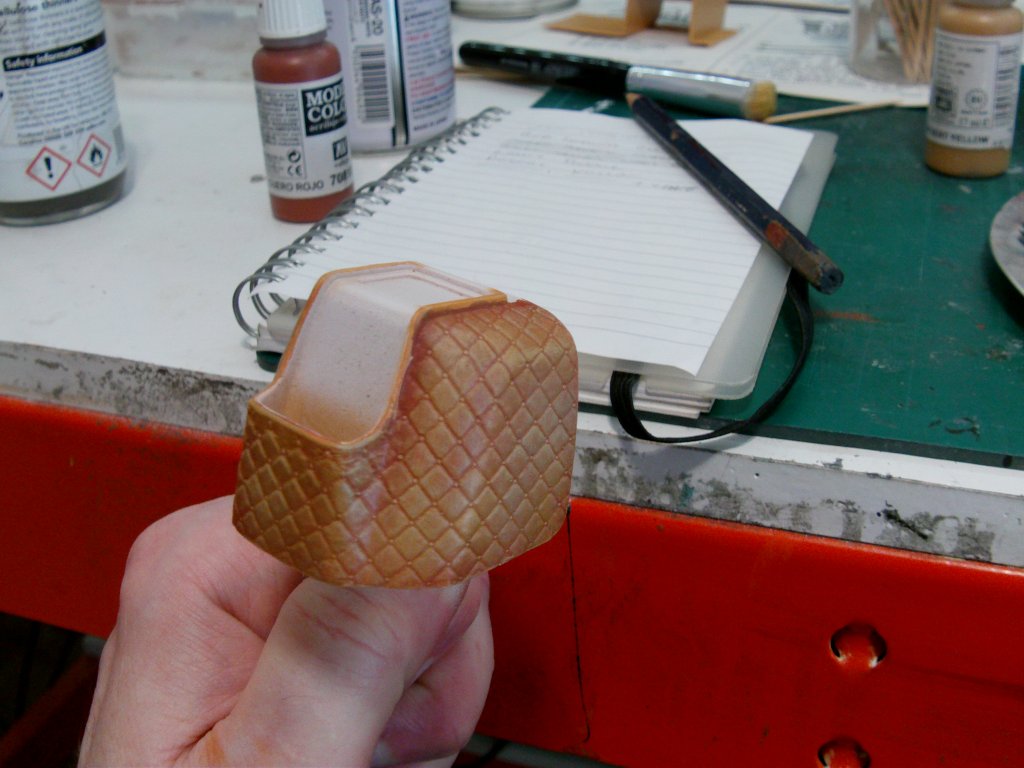
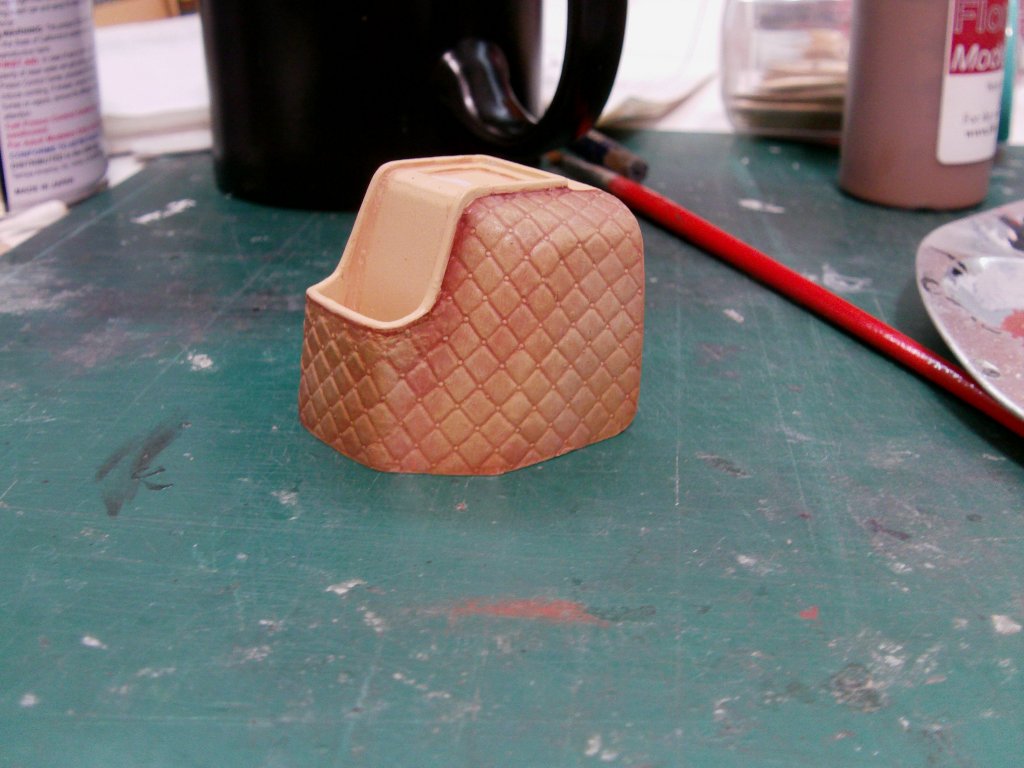
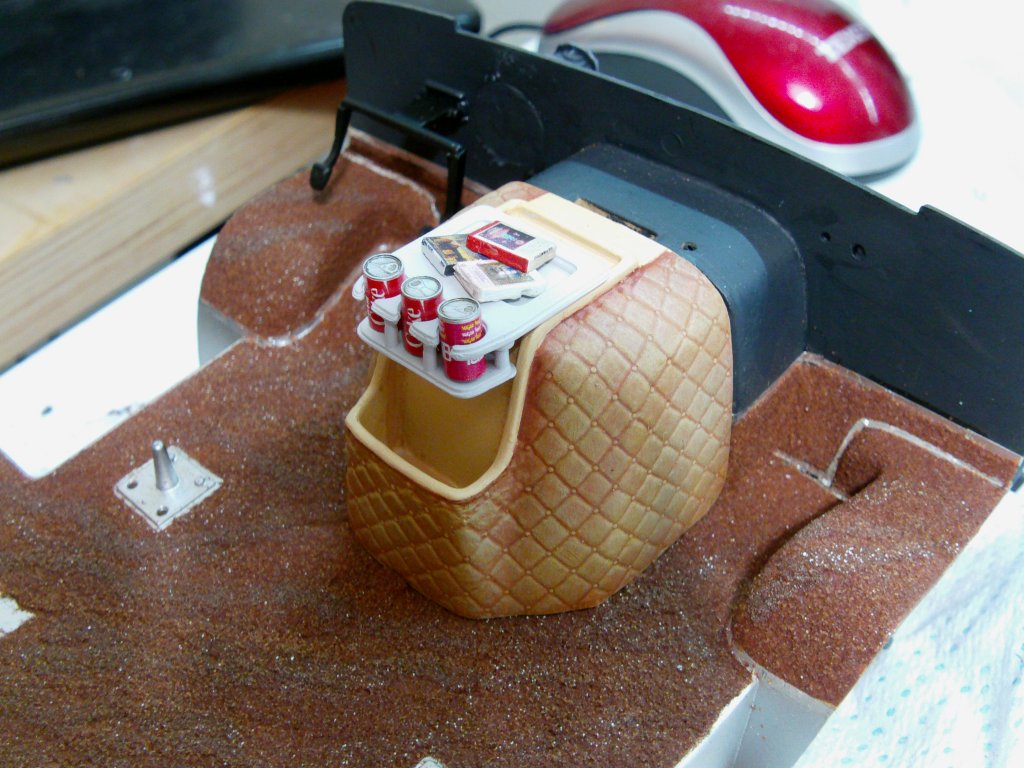
The engine cover part. Vallejo red leather base, drybrushed up with light brown, desert yellow, then the same in two layers with some white added.
A coat of satin varnish for the genuine 70's Naugahyde vynil look.
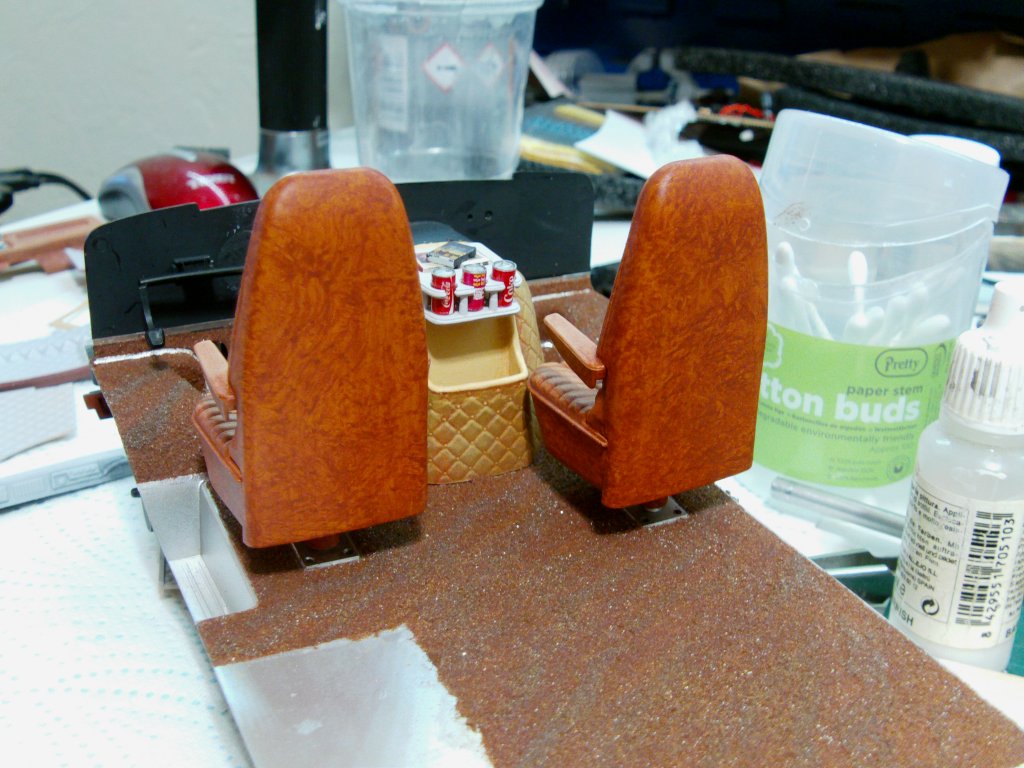
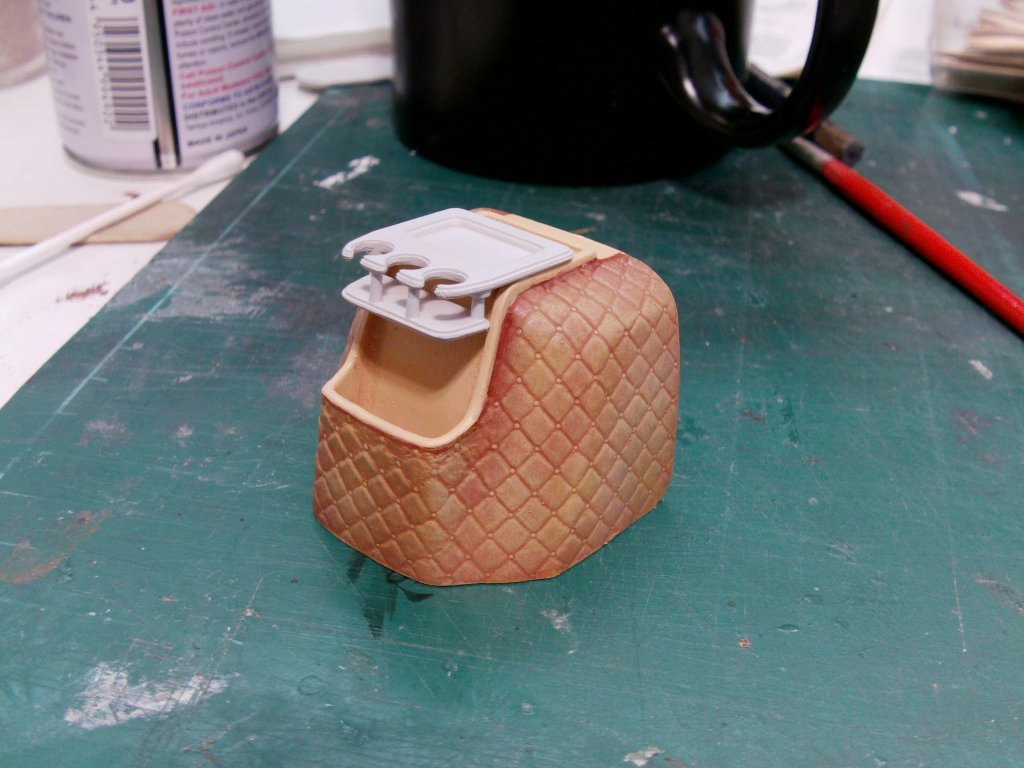
The tray/storage bin gone over with the left over desert yellow/white mix.
Drinks tray done in insignia white.
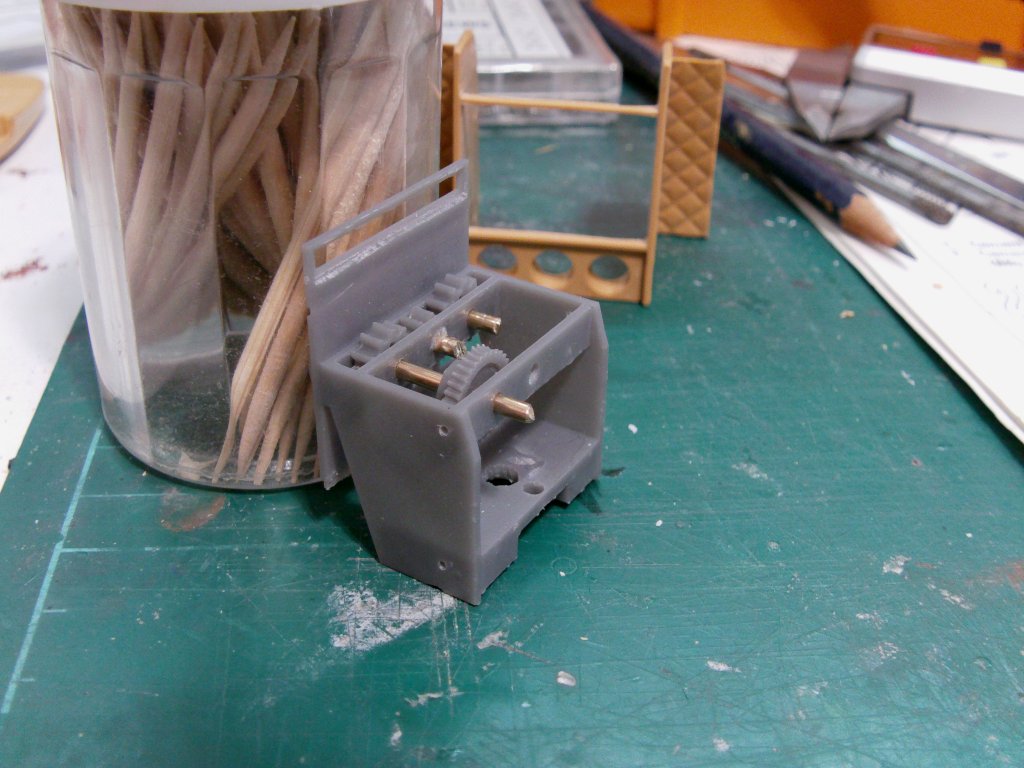
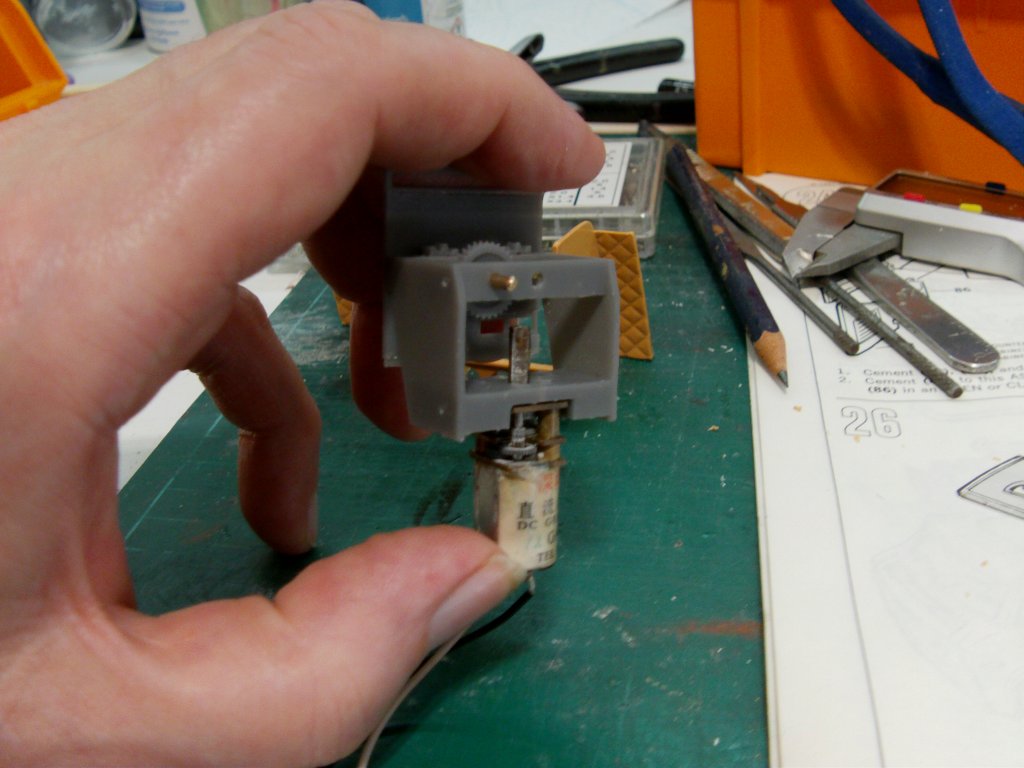
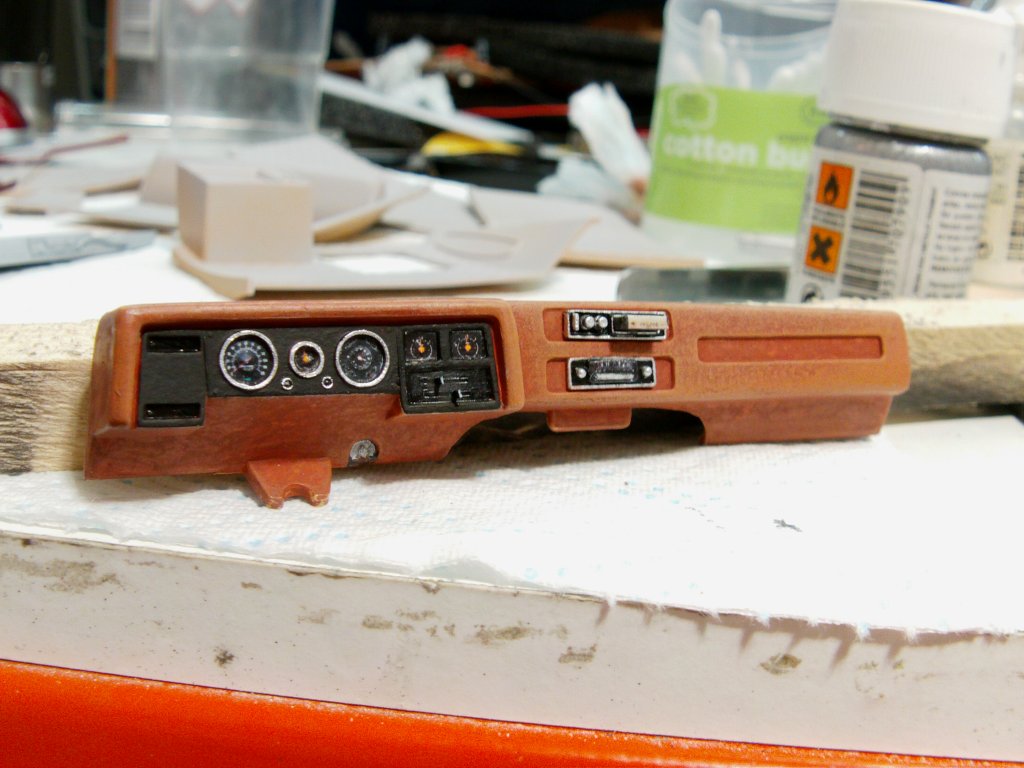
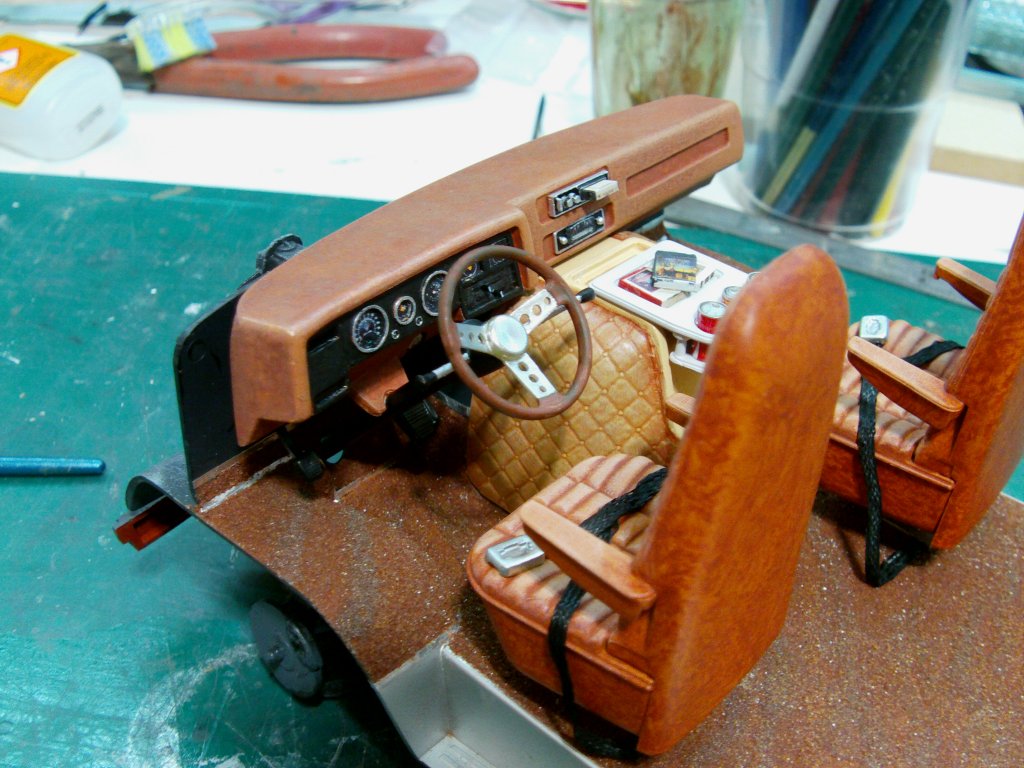
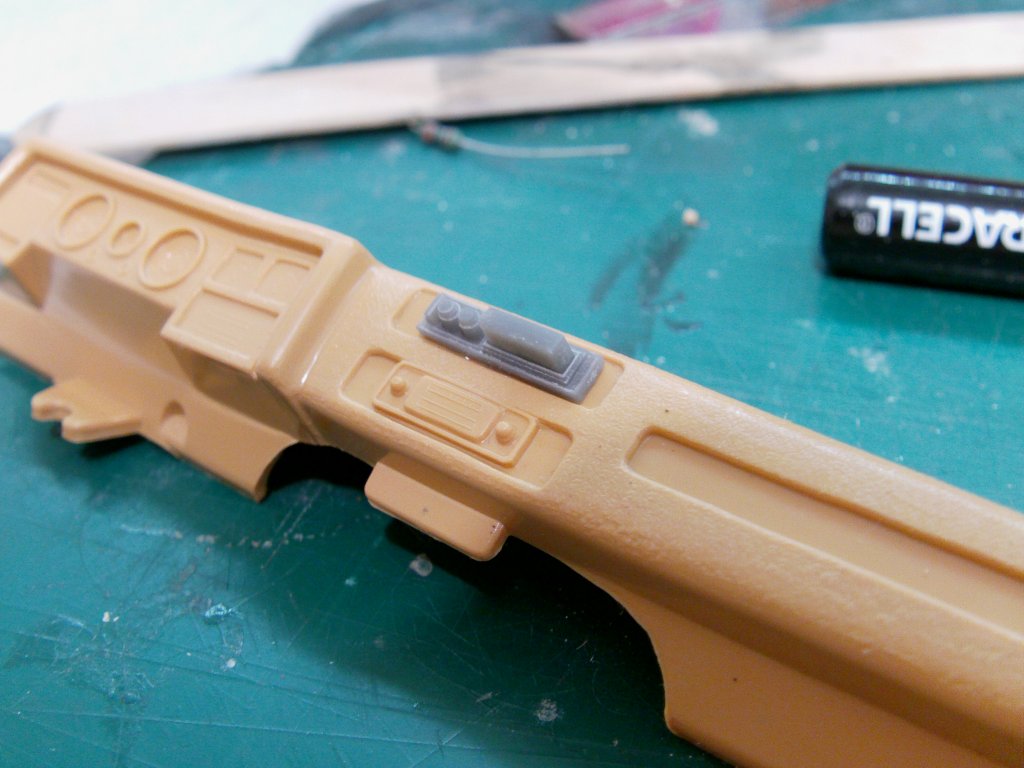
Now since this is a 70's van, we have a reel to reel tape deck but always in need of an 8 Track player so
some 3D printing got one installed in the dash.
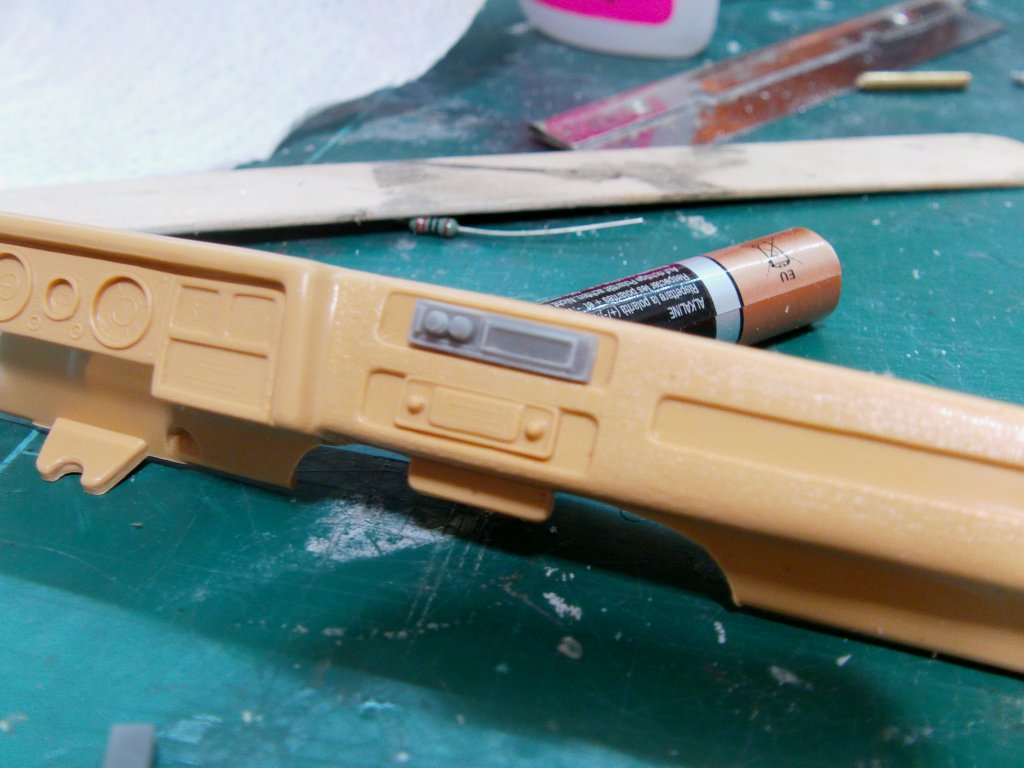
And a dry fitted cassette end.
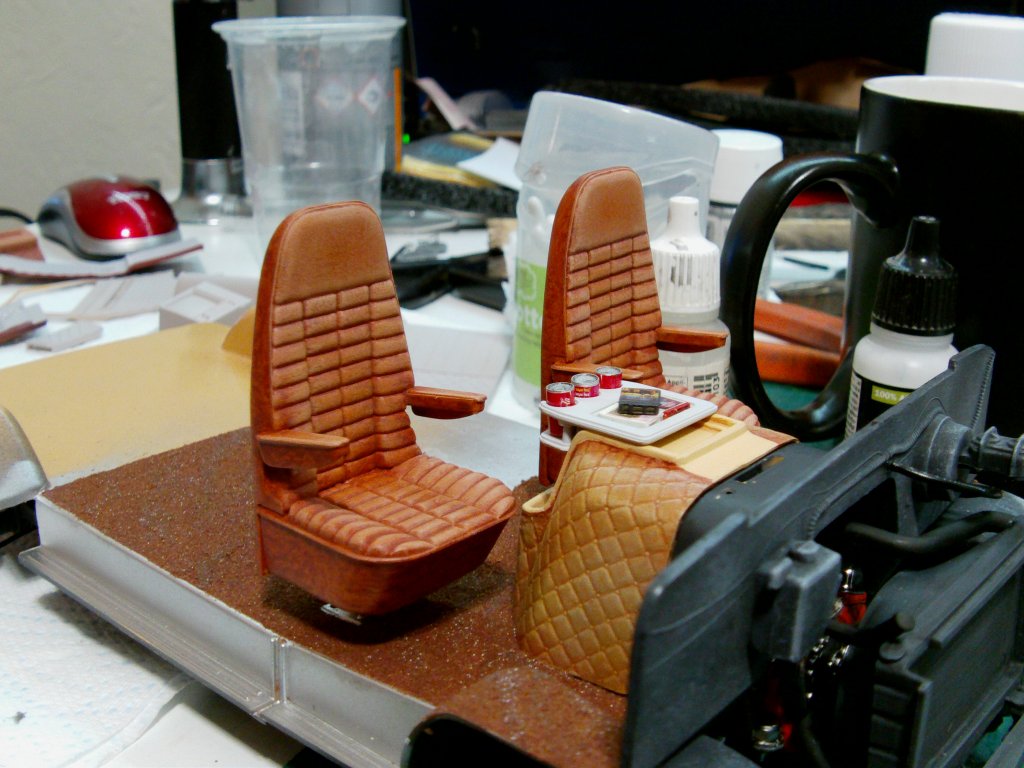
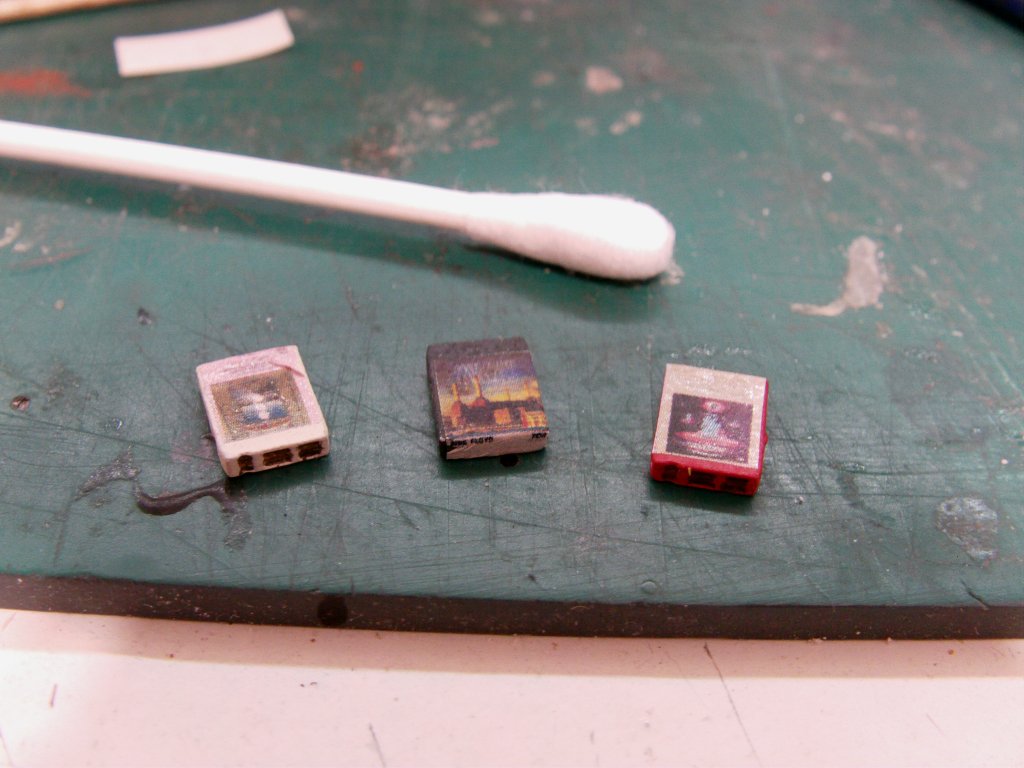
Of course we need some driving music and can't go wrong with some Pink Floyd, The Doobie Brothers and Boston.
3D printed cores, a bit of paint and some DIY waterslide decals.
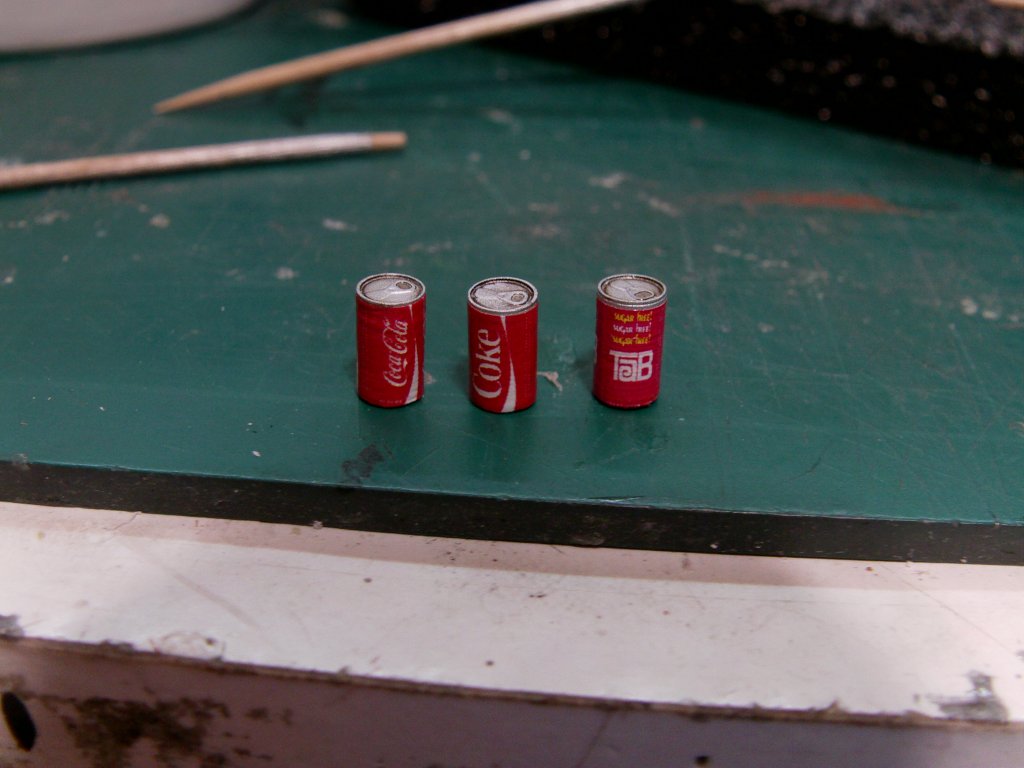
And what road trip happens without soda?
Like the tapes, 3D printed cores, paint and decals.
Dry fit looksee and methinks I kinda like what I see so it's a start.
That'll do it for now, more to come at some point.