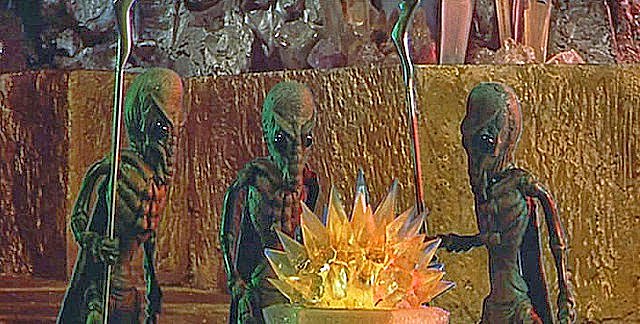
My next project is a Selenite Guard from 'First Men in the Moon', a 1964 adaptation of the H.G. Well's novel with special effects by Ray Harryhausen.
The Selenites are sapient ant-like beings that inhabit the moon. They are described as having a light physical constitution with a fragile body due to the Moon's lower gravity, making them vulnerable to human strength. Like ants, Selenites are divided into various castes, each with distinct roles and appearances, and they are omnivorous, consuming mooncalves and fungi.
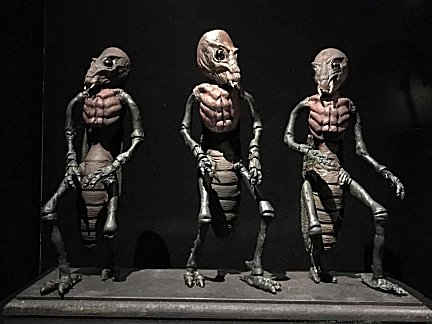
The kit is by Mooncrest Models in the UK: http://www.mooncrest-models.co.uk/. They produce models of the three castes of Selenite: The Guard, The Worker and The Grand Luna. I have all 3 and they are top notch kits with excellent detail, great fit and almost no clean-up.
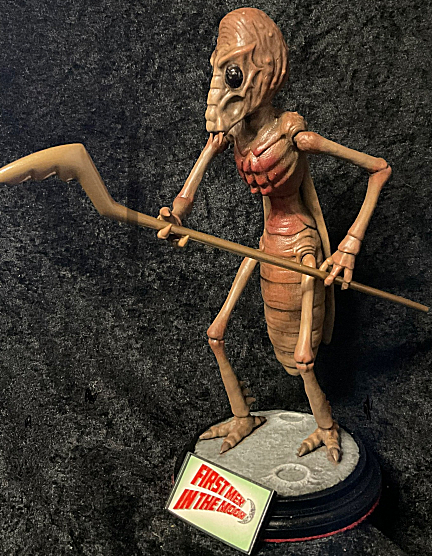

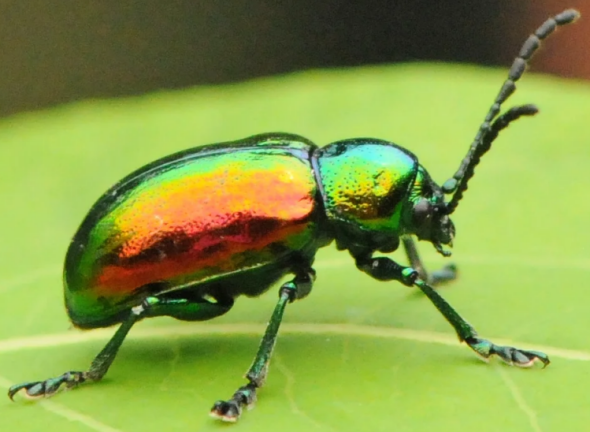
While the suggested colour scheme (above) is faithful to the film and nice enough I wanted to go in a different direction. Here's my reference/inspiration:
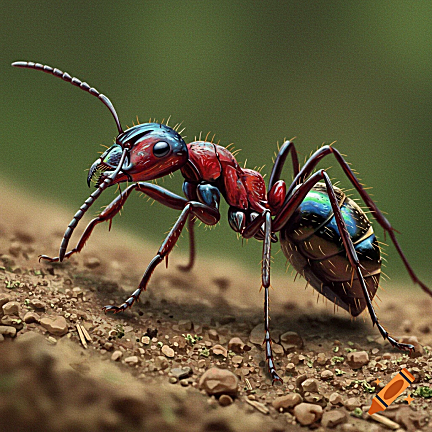
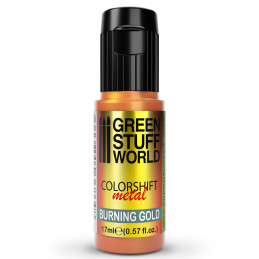
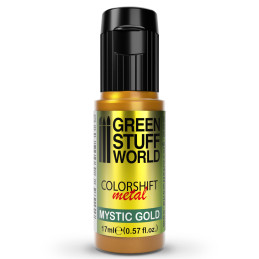
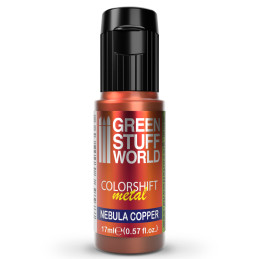
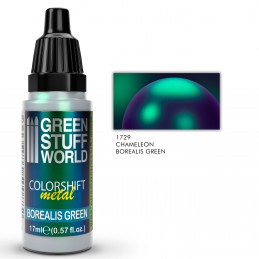
The Iridomyrmex genus of ants native to Australia, also known as rainbow ants, is renowned for their iridescent blue-green sheen. I believe using this color scheme will give the build a more other-worldly effect. If successful I will also use Green Stuff's Chameleon paint for The Worker and The Grand Luna. I note that in the movie Harryhausen often sought a similar blue-green effect through lighting. I'll be using standard acrylic paint as well as Green Stuff World Color Shift Metal paint (or Chameleon paint) for my paint scheme:

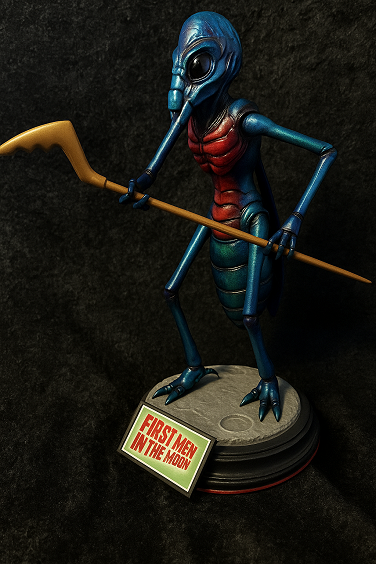
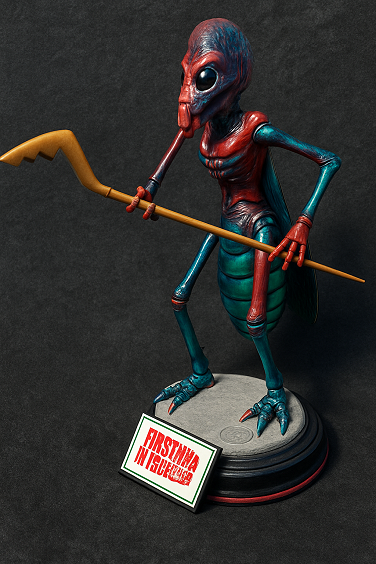
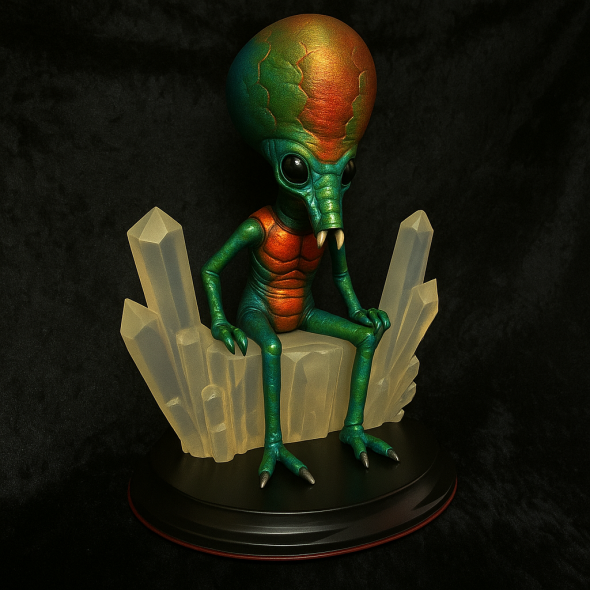
Two A.I. color scheme prototypes.
Chameleon paint is a metallic acrylic that changes color depending on the angle at which light falls on them. A color changing paint is also known as iridescent. It can be applied either by brush or airbrush.
To apply Green Stuff World Color Shift Metal paint:
1. Prepare the Figure: Start by painting the miniature black, then apply a layer of gloss to enhance the effect. This can be done using an airbrush for better detail and control.
2. Apply the Paint: Remember to shake the container well for a perfect mixture of pigment before application. Use multiple thin layers of the paint until the desired look is achieved. The paint will appear different when wet compared to the final result.
3. Drying and Coating: Allow each coat to dry before applying the next one. Use varnish only when the paint is completely dry to ensure durability. I'm going to experiment with a coat of Tamiya spray gloss clear between coats.
4. Final Touches: For the best results, apply several light coats until the desired tone is shown. The larger the figure, the greater the appreciation of the effect.