Just incase you have probs seeing the pics, Wip gallery on my site starts at the link thing below:
http://www.ianlawrencemodels.com/wipsamuraiarmour.html
Ok, subject wise a bit off the beaten track, around the corner, down the alley and over the hill but why not.
A bit of a grail kit for me so to speak. Wanted one for a while but as usual, didn't get ne when they were available.
Thankfully some helpful soul on Weevilbay had one up for a decent price so ponied up the UK beer tokens and from California to my place in a jiffy, a largish box arrived at my door.
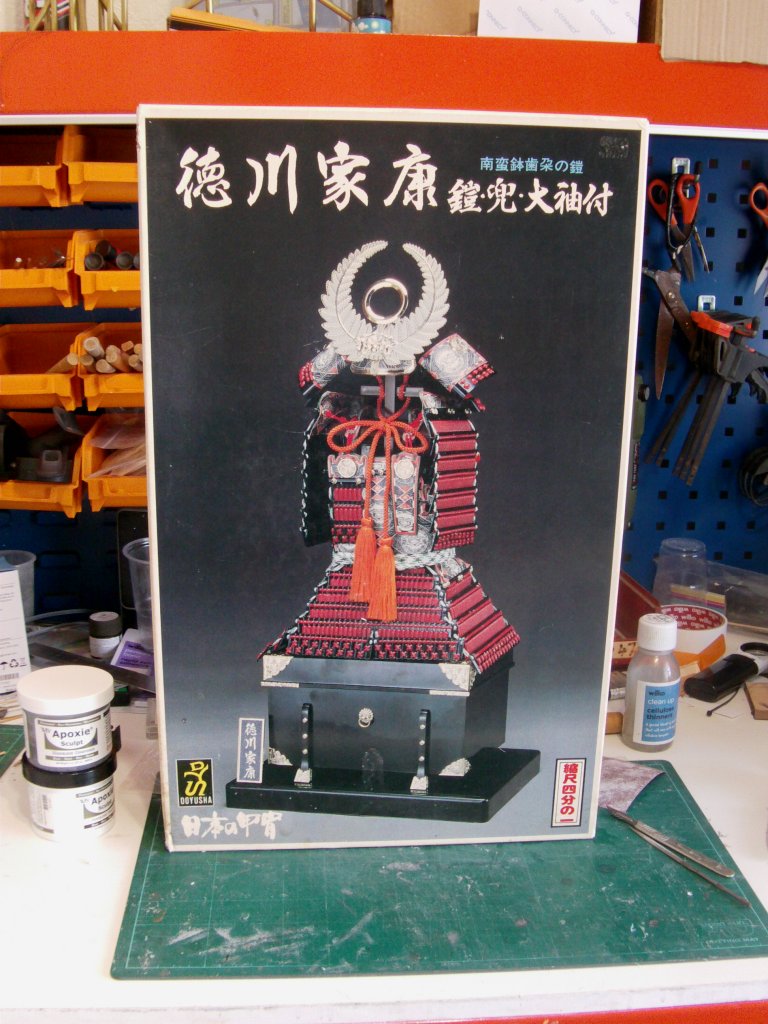
I think this is an issue from the early 80's.
These Samurai armour model kits started life with the Minamoto no Yoshiie armour
produced by Aihara Models in Japan back in the mid 1960's.
Doyusha expanded it a fair bit with more armour kits and Daisho sword sets but the swords
were done in 1/3rd scale for some obscure reason.
Right then, what's in the box.
Well a fair bit of plastic for starters...
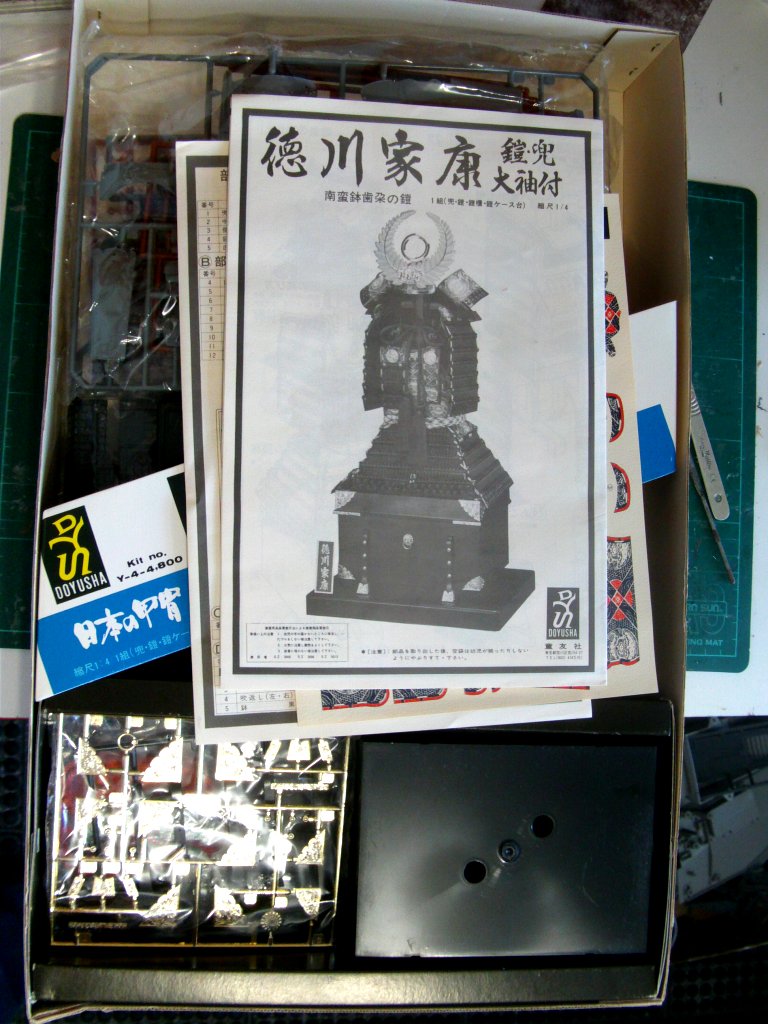
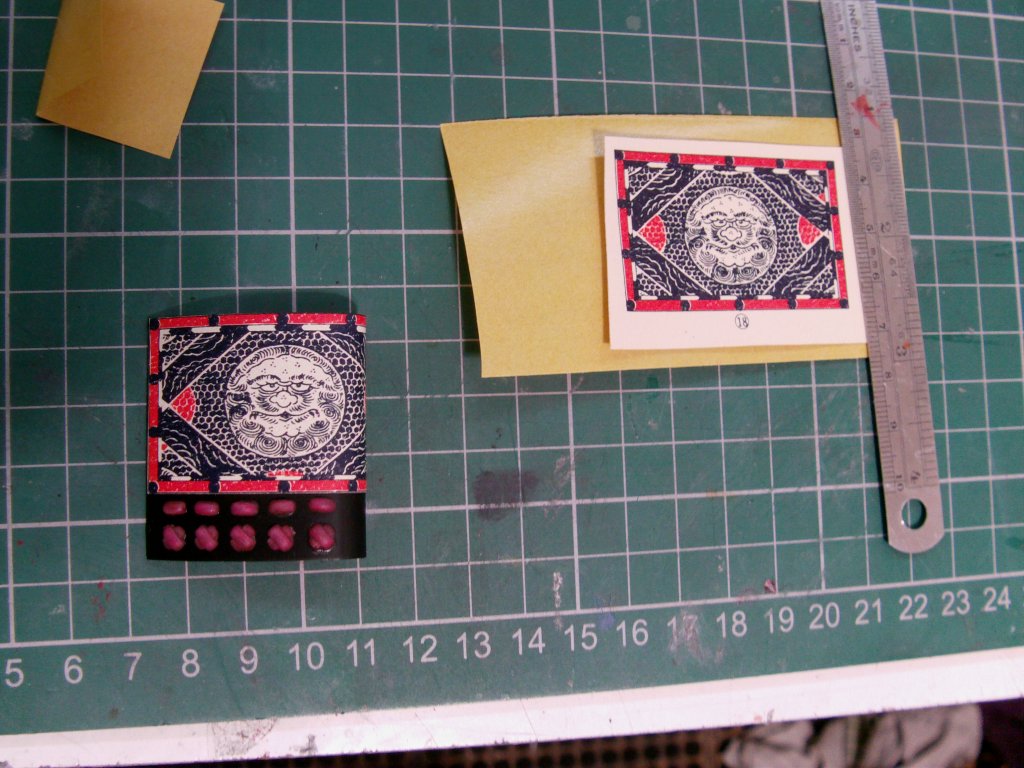
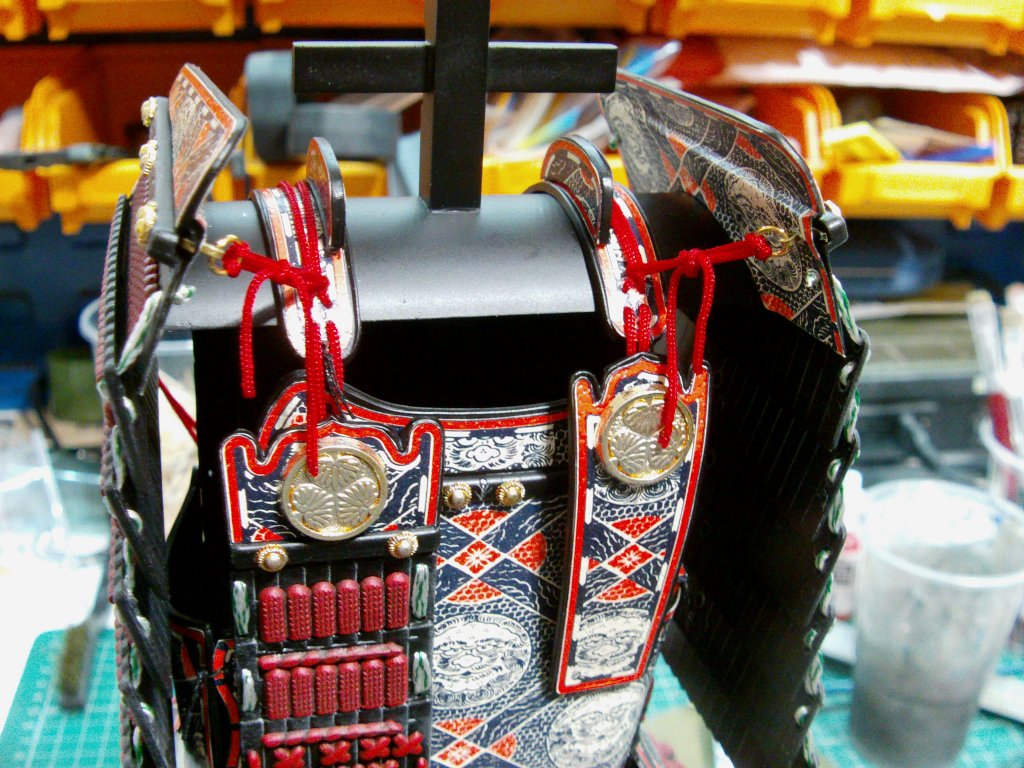
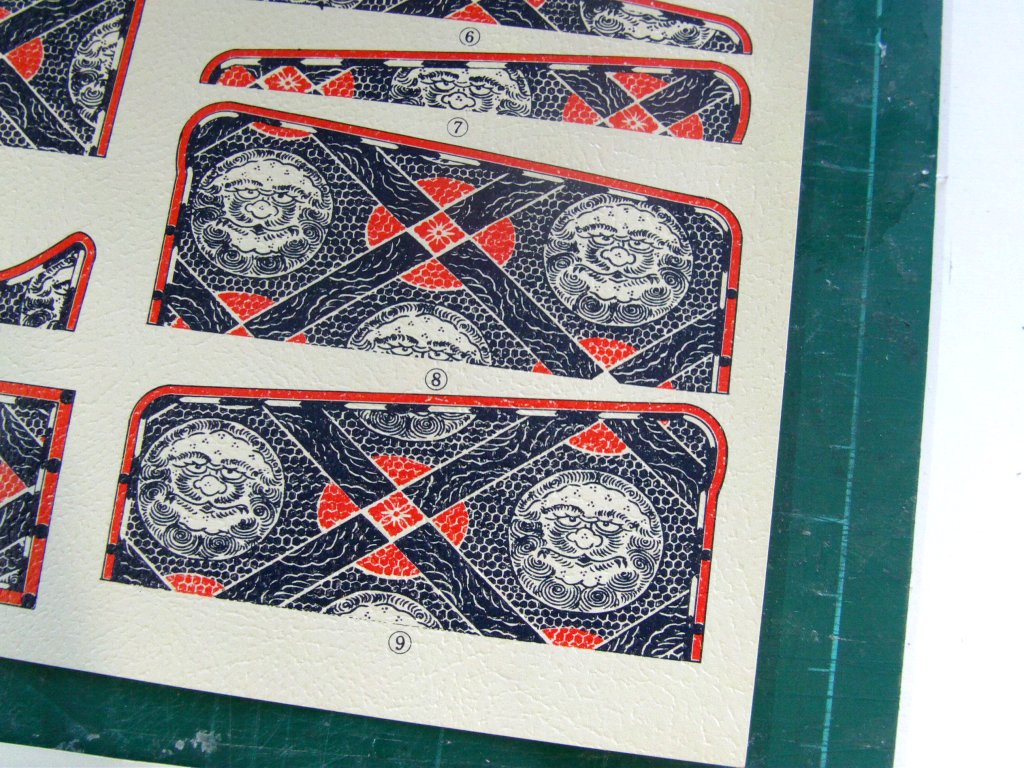
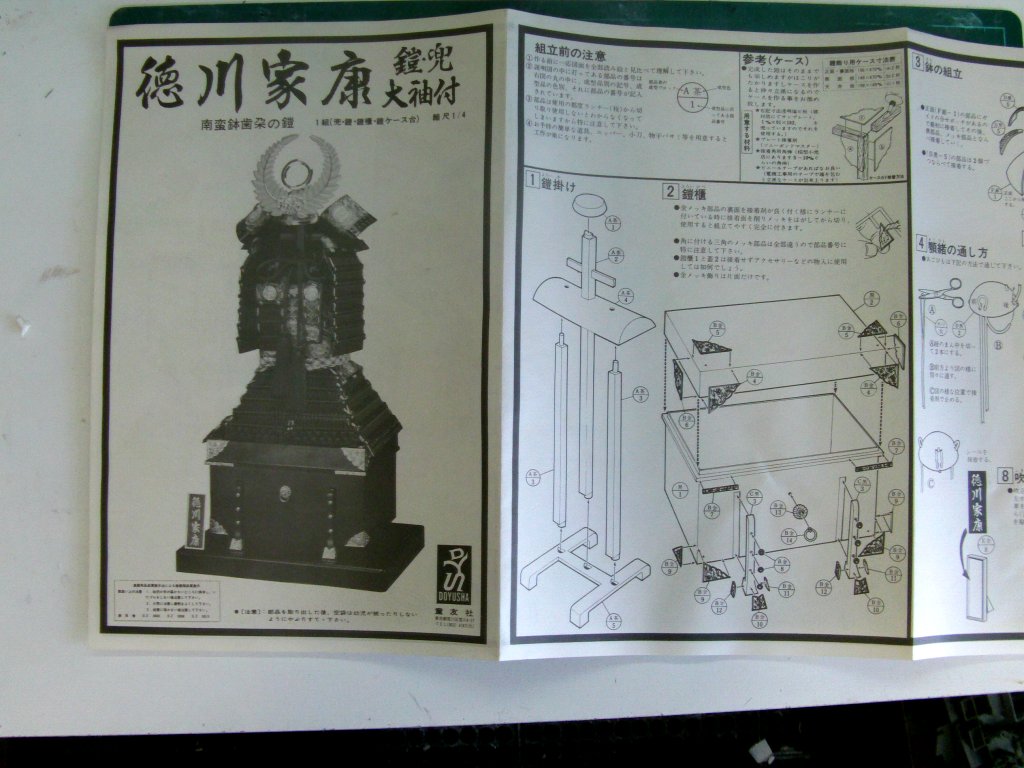
The required paperwork and a nice faux leather embossed
texture printed sheet for decoration on the armour parts.
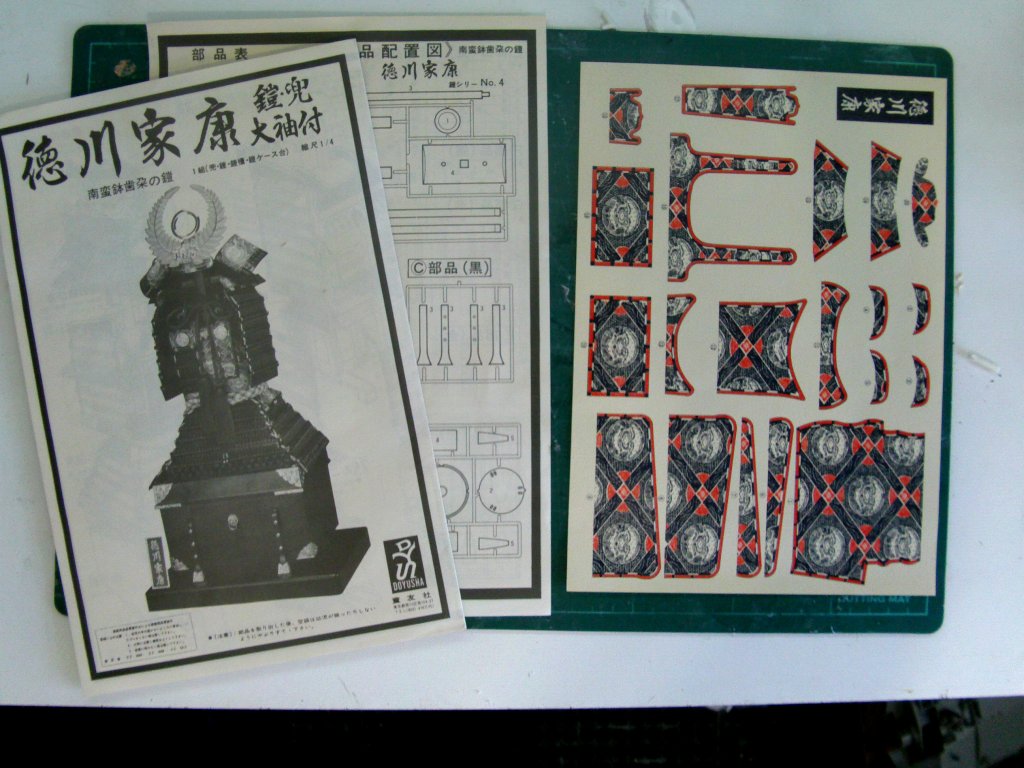
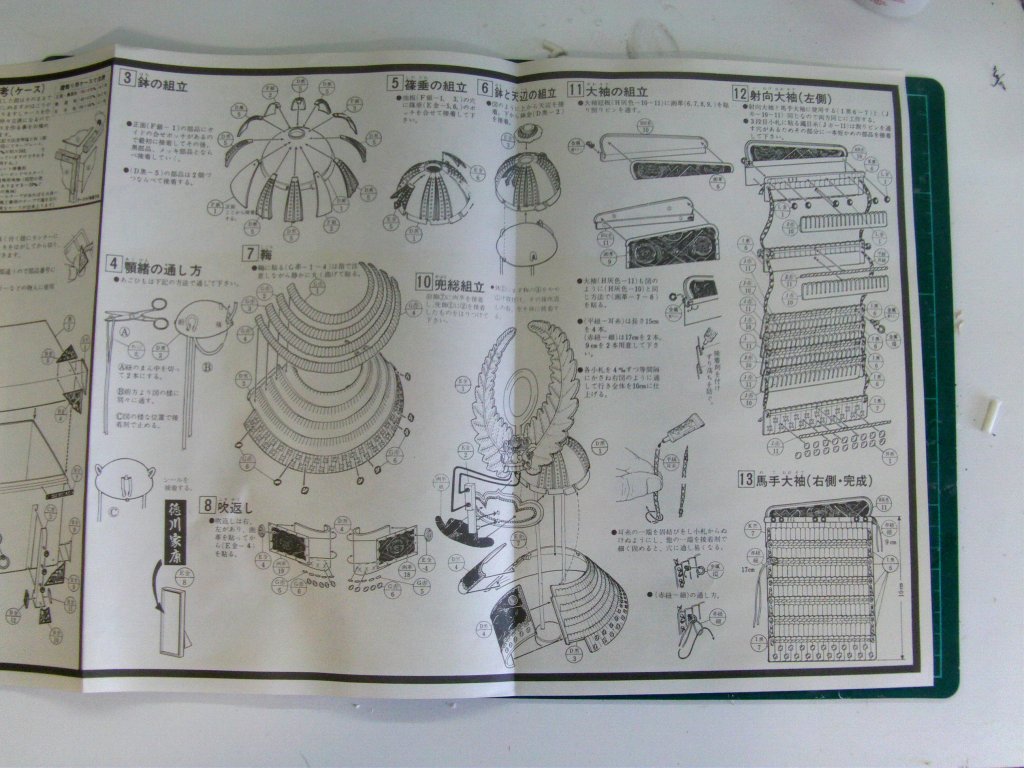
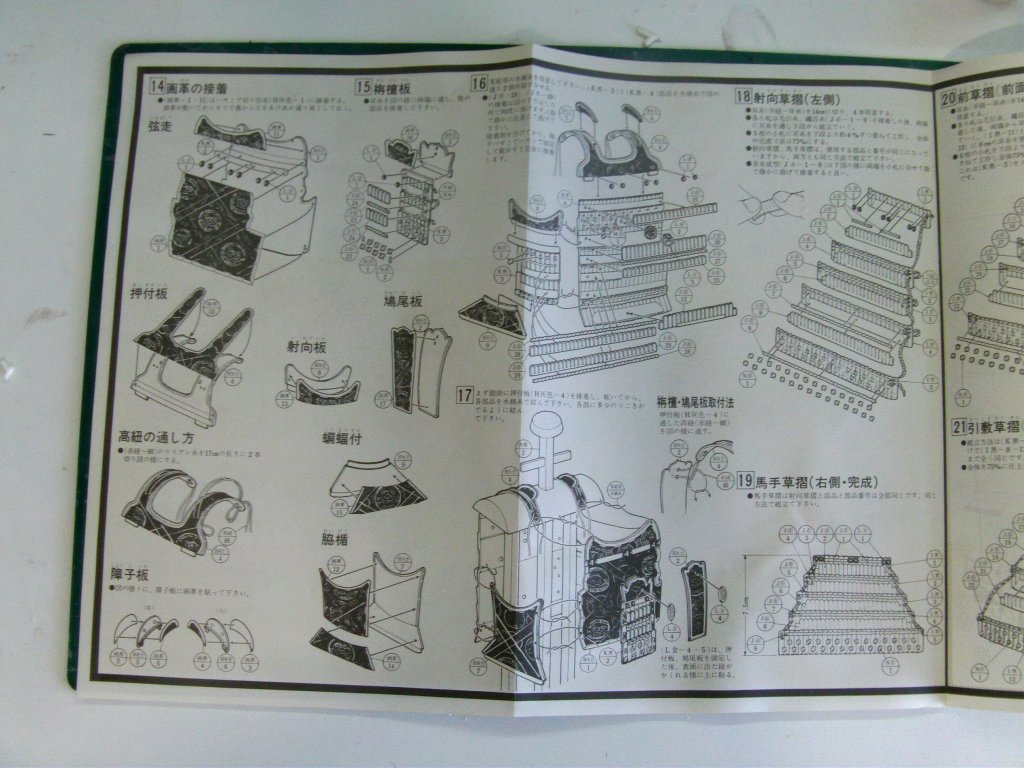
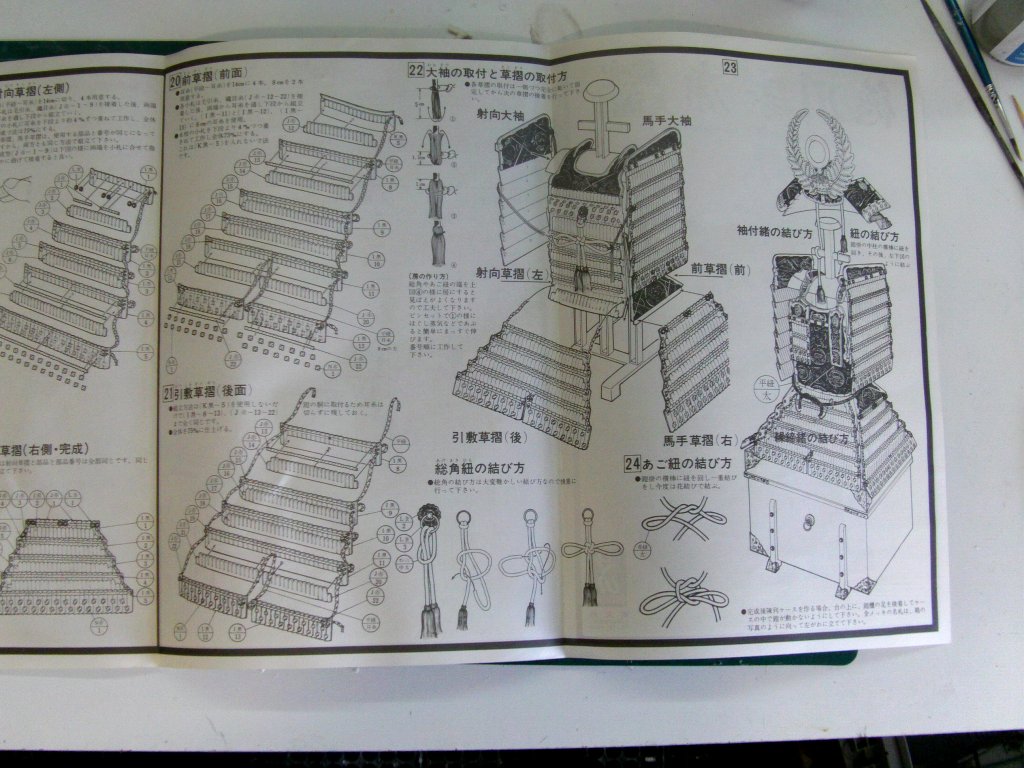
Double sided sheet with a sprue list and diagrams.
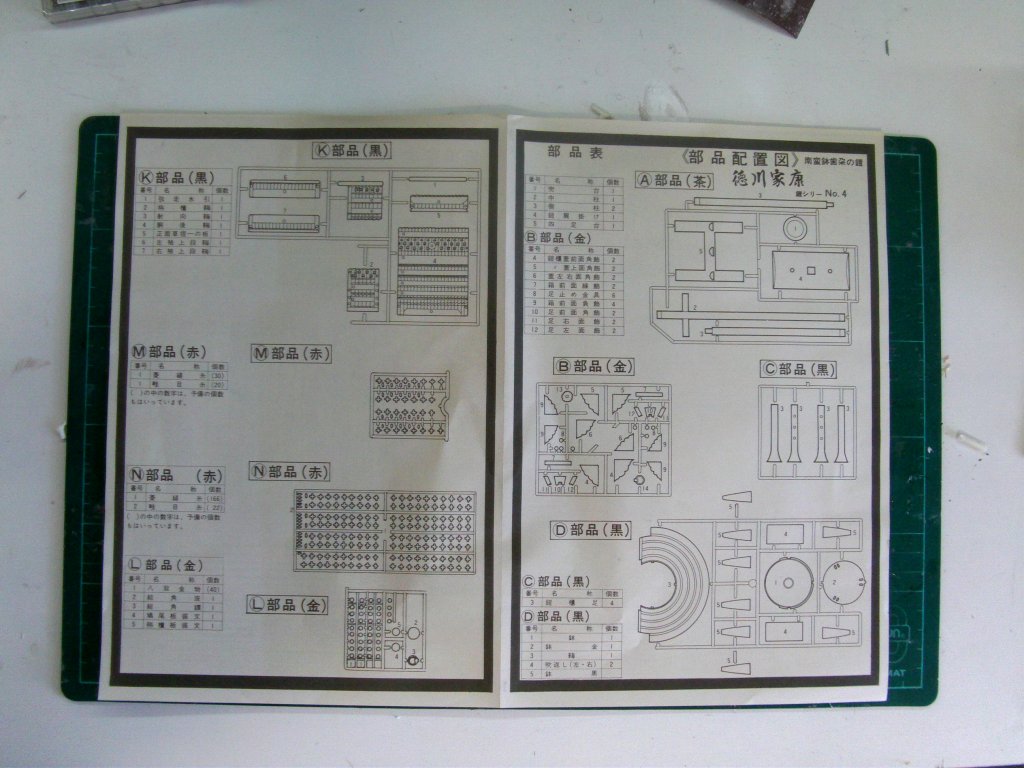
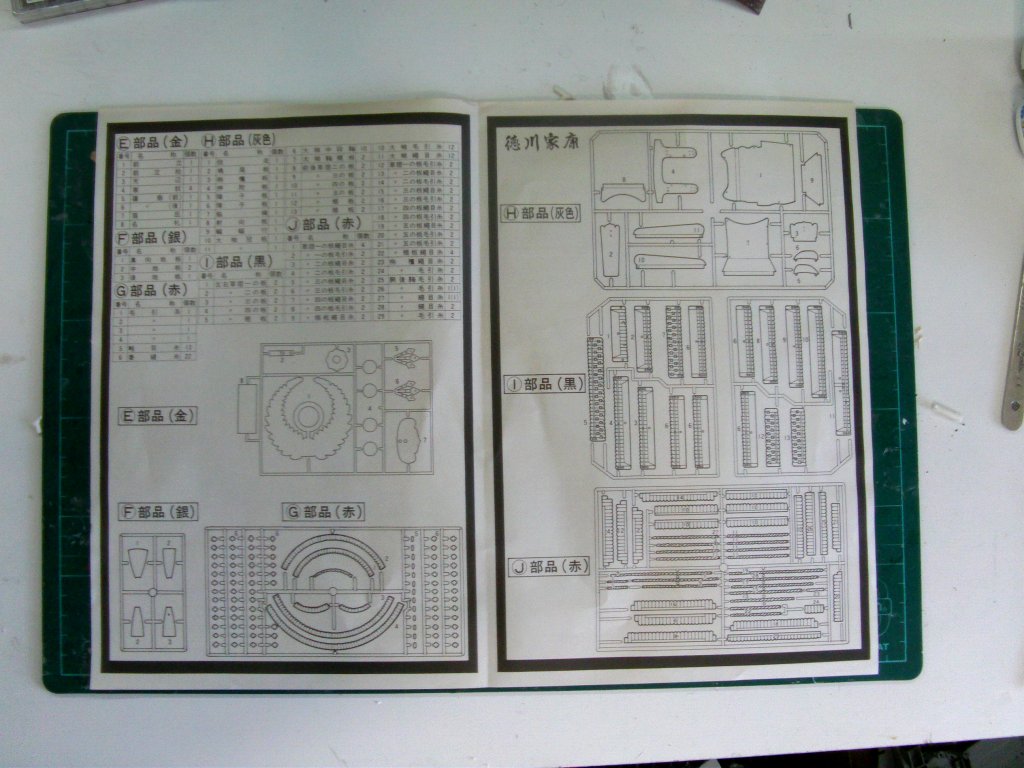
All text is in Japanese but this hairy Gaijin will muddle on through as always.
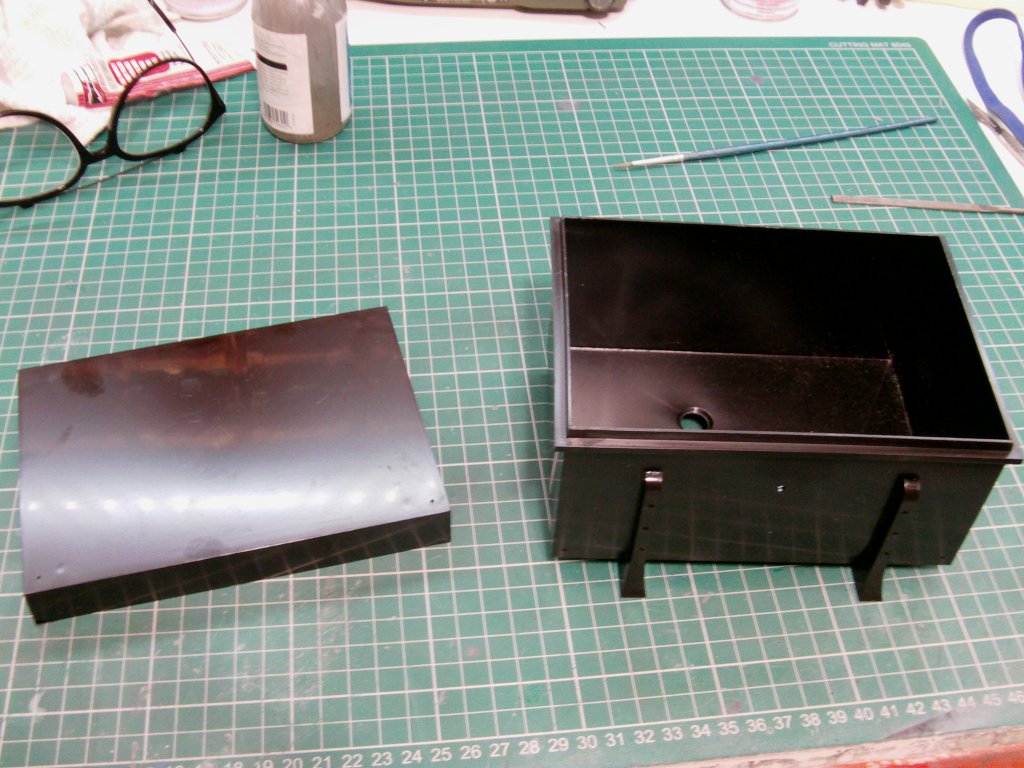
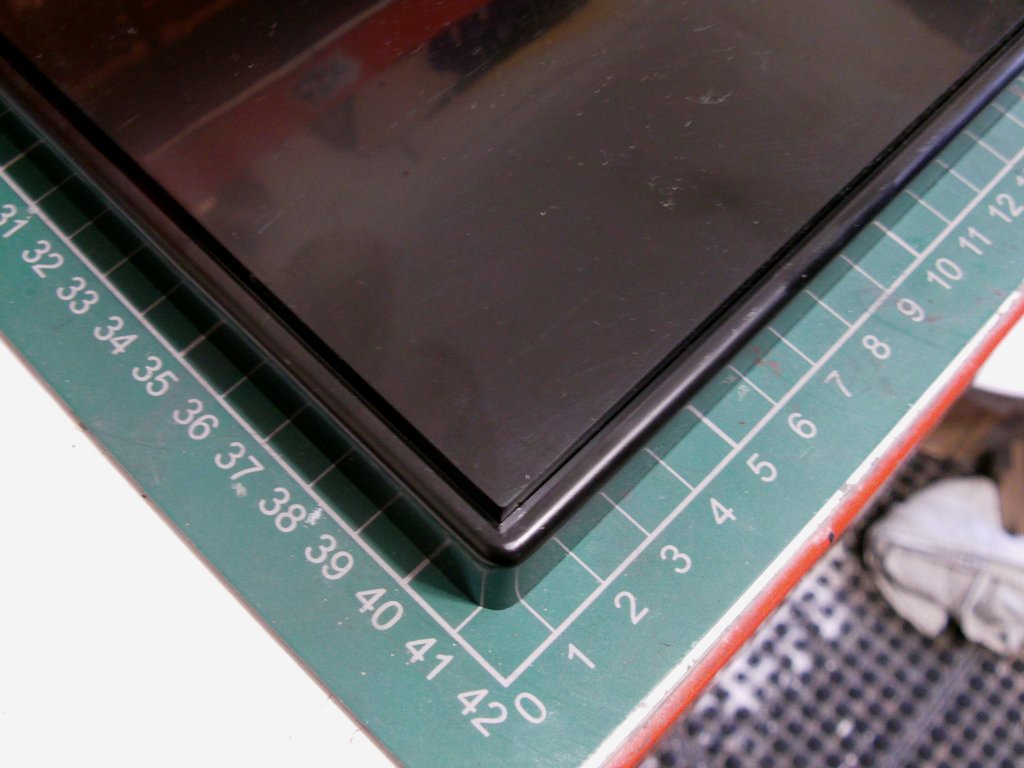
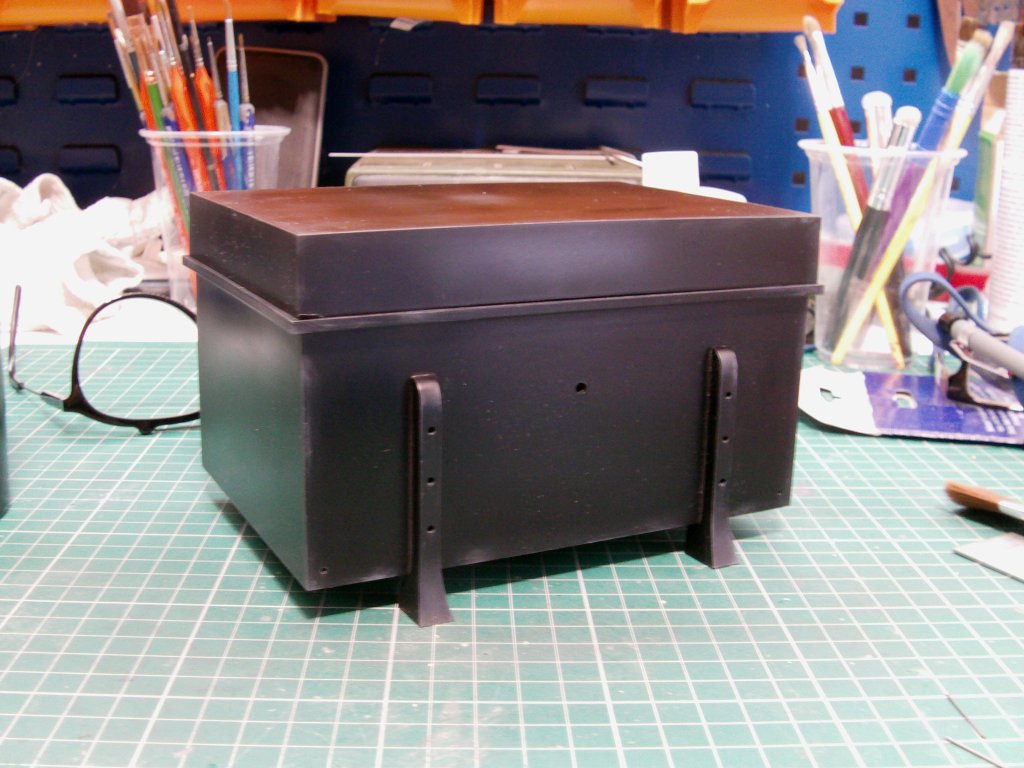
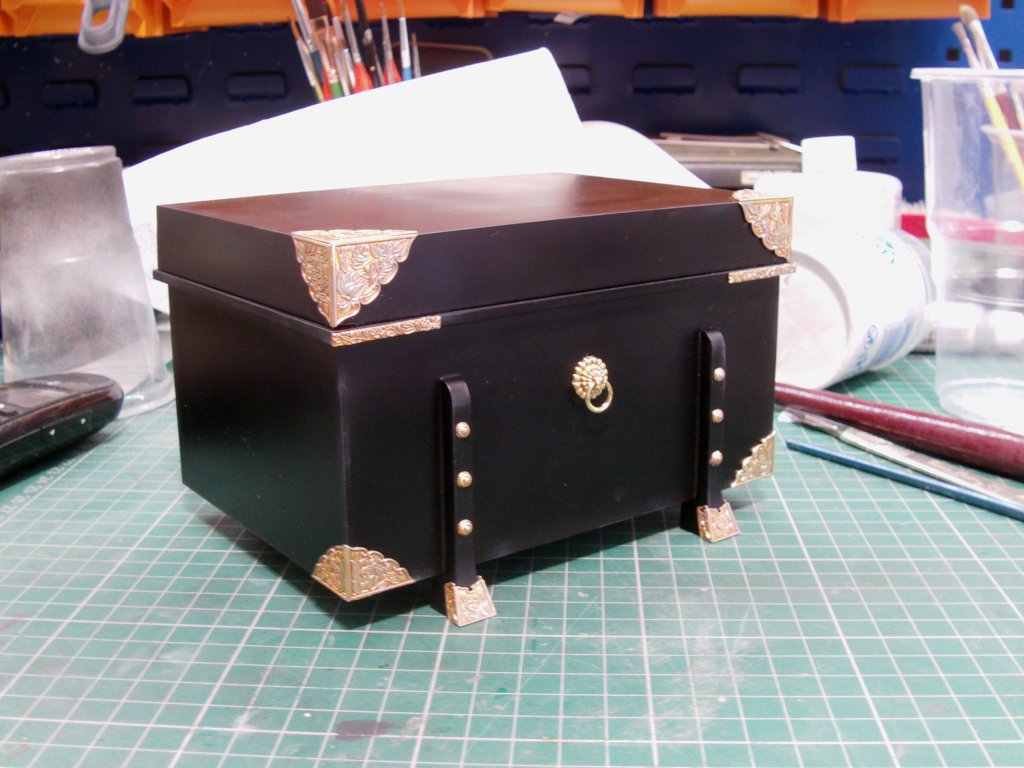
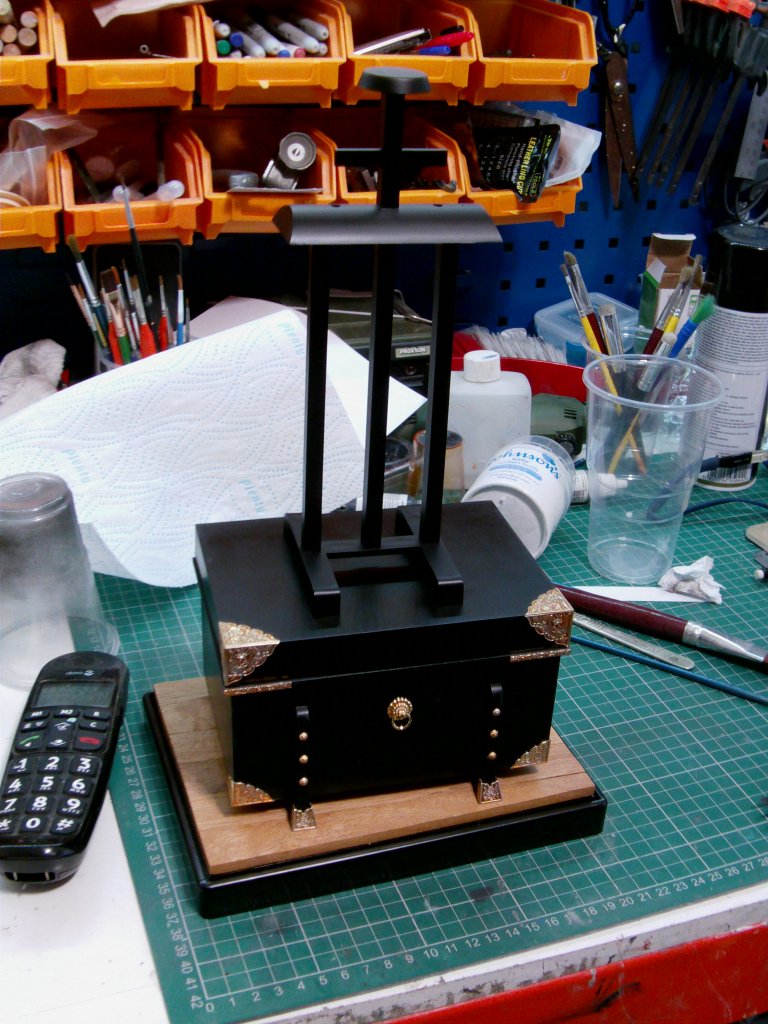
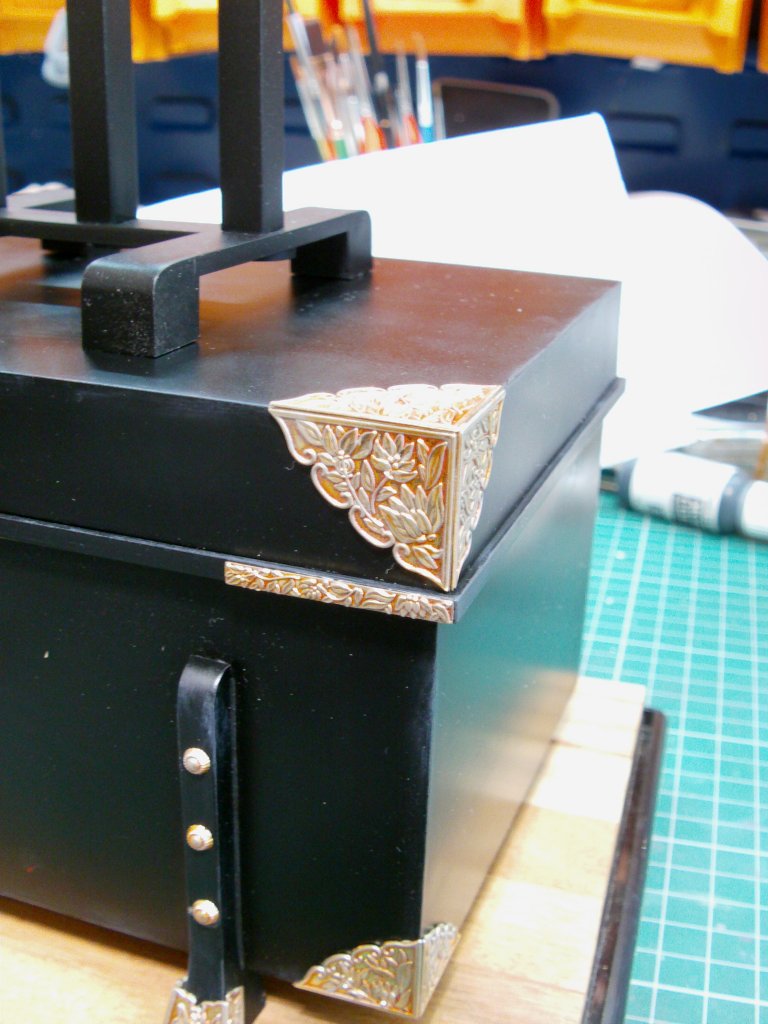
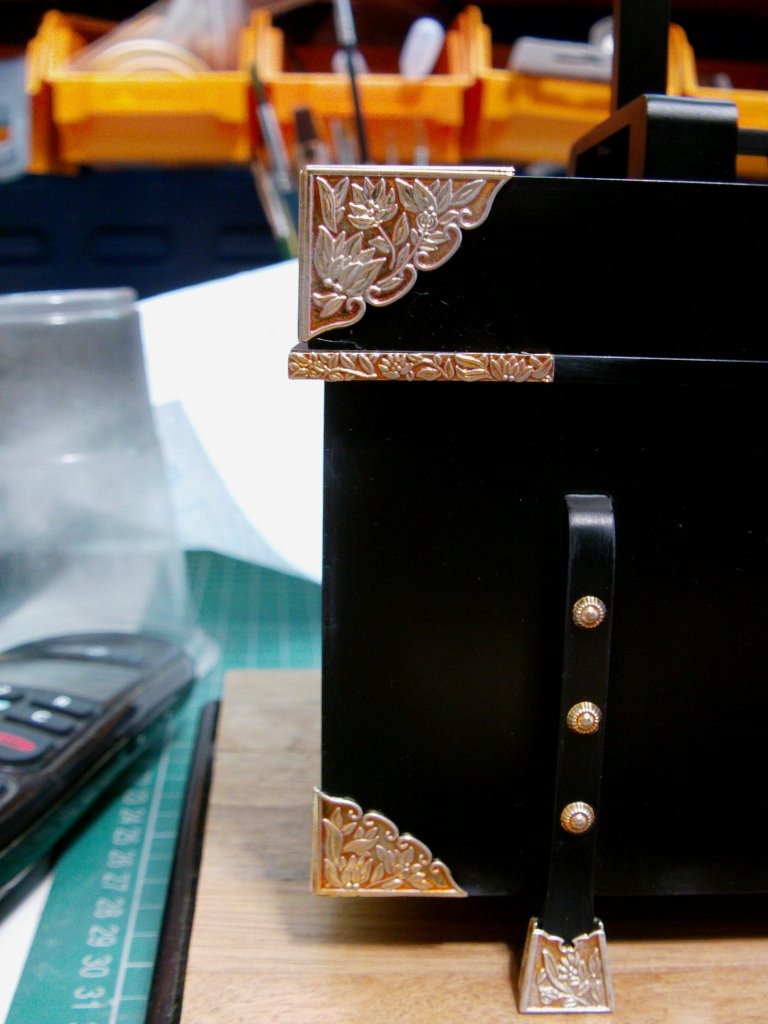
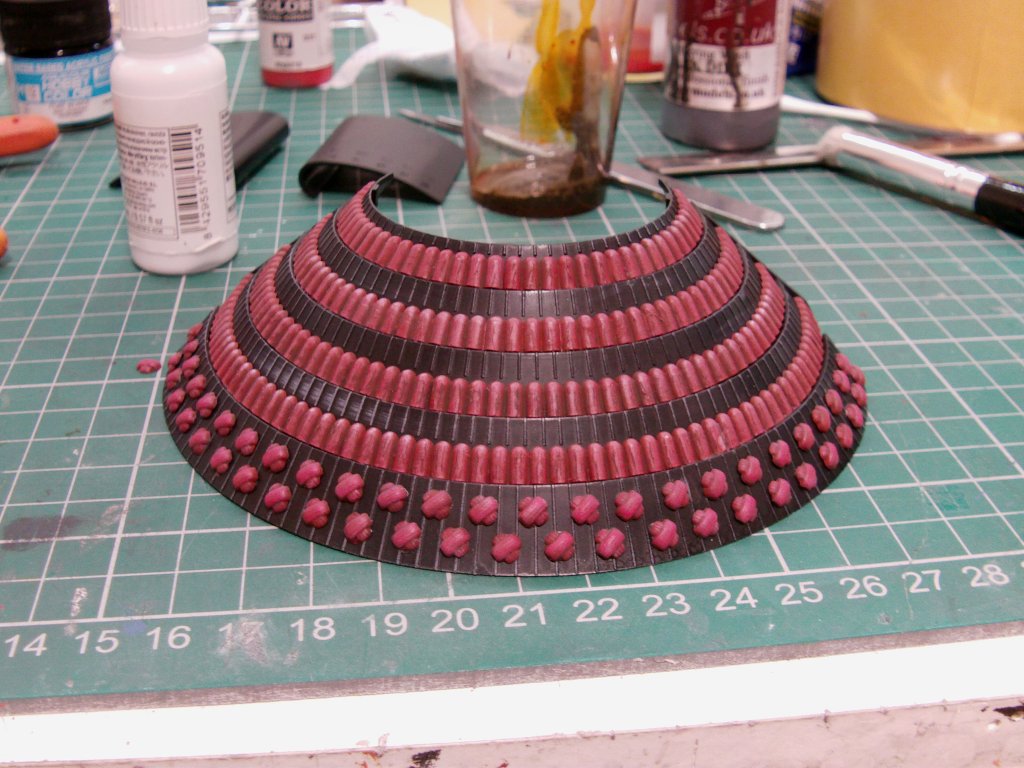
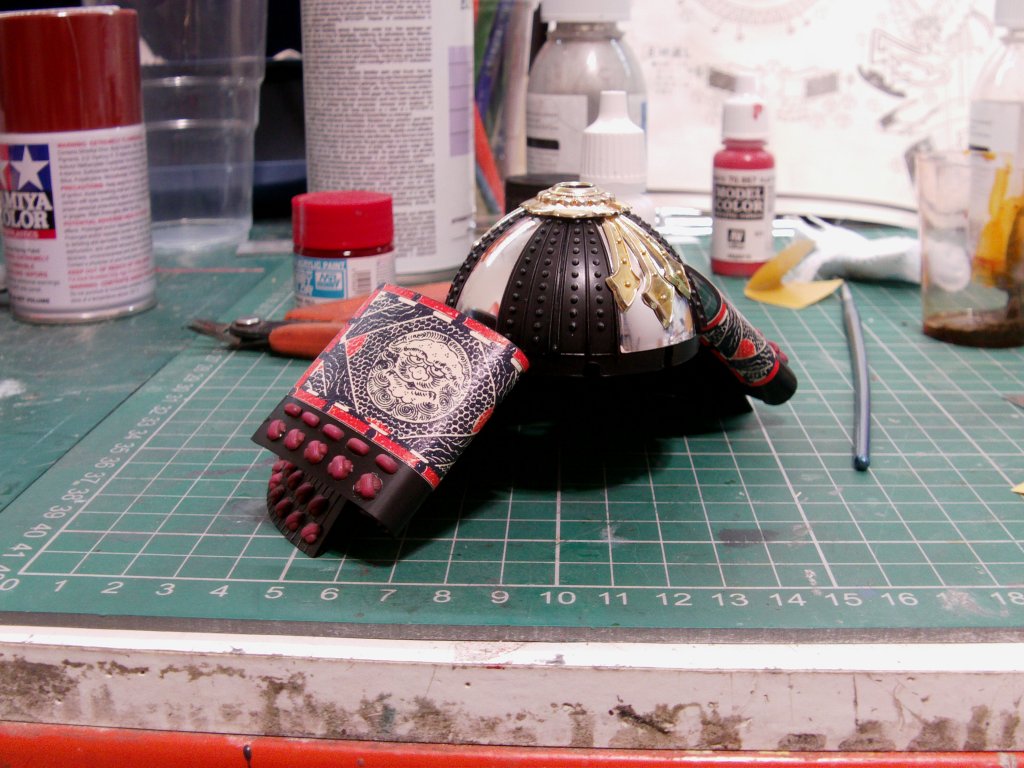
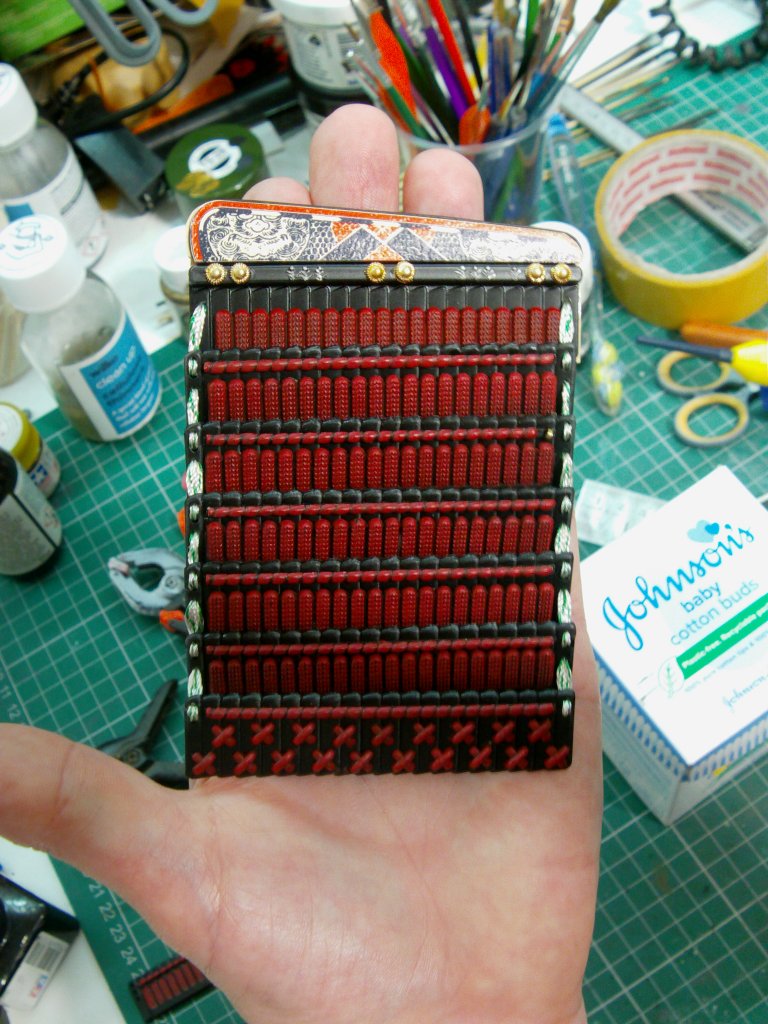
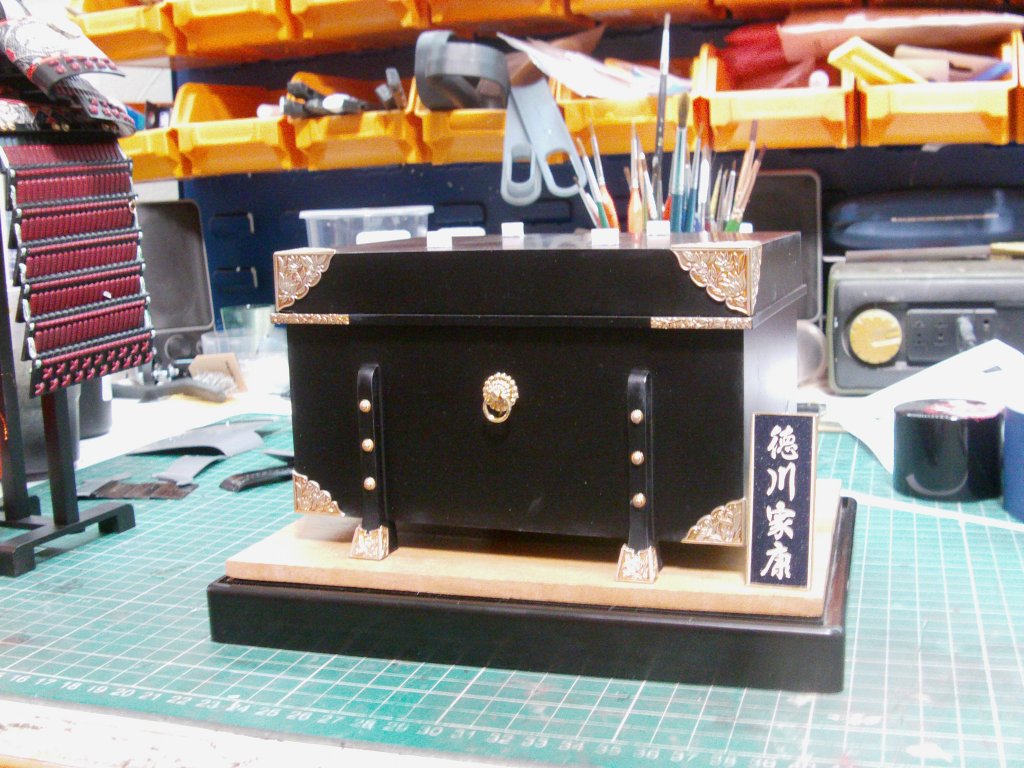
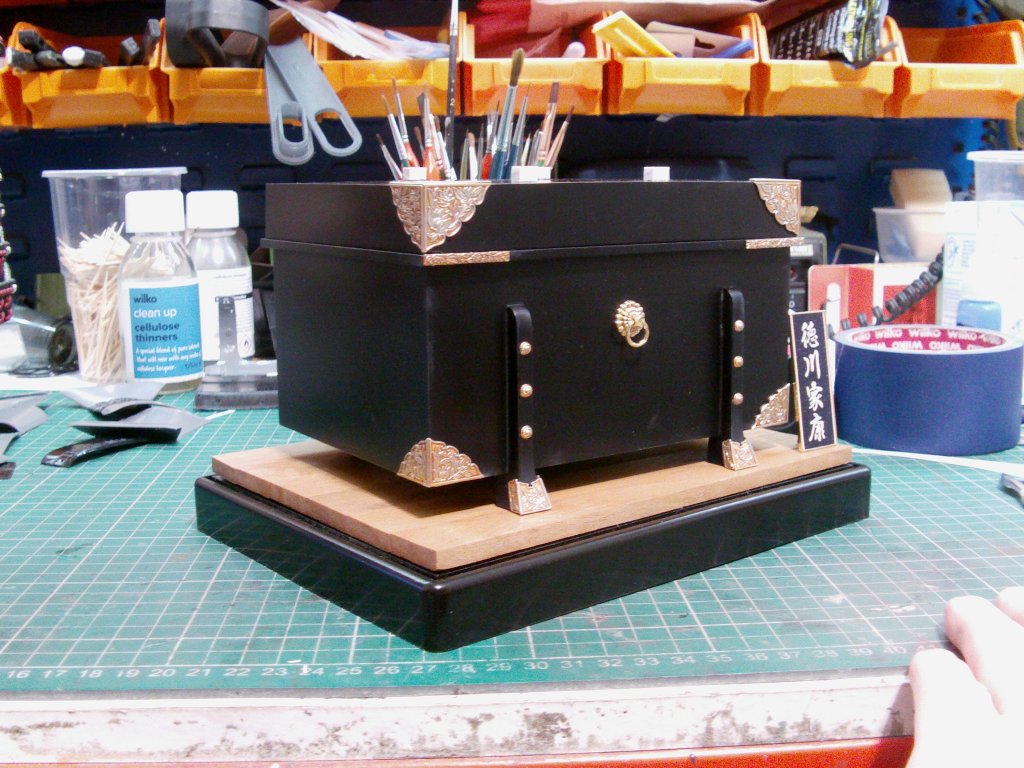
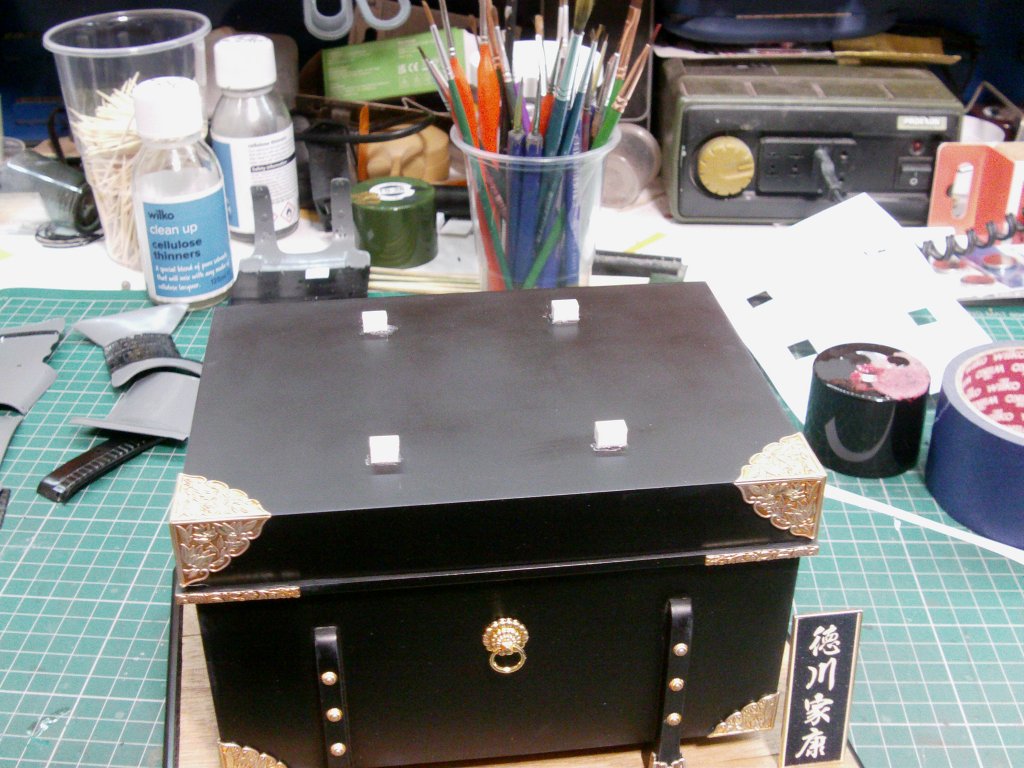
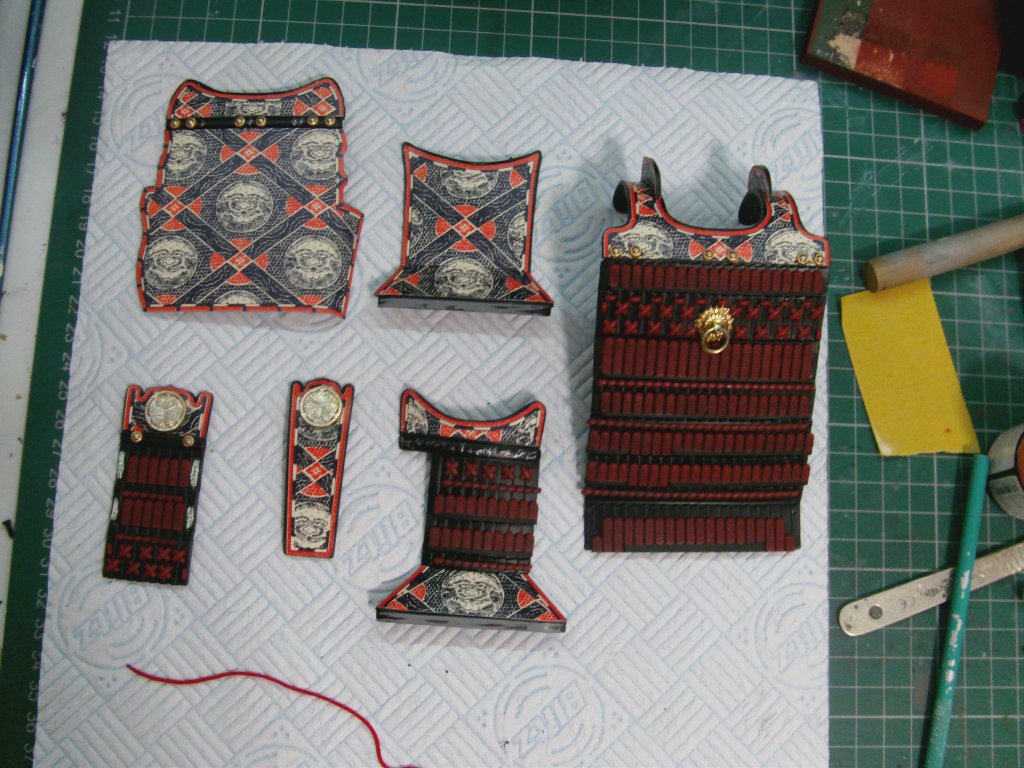
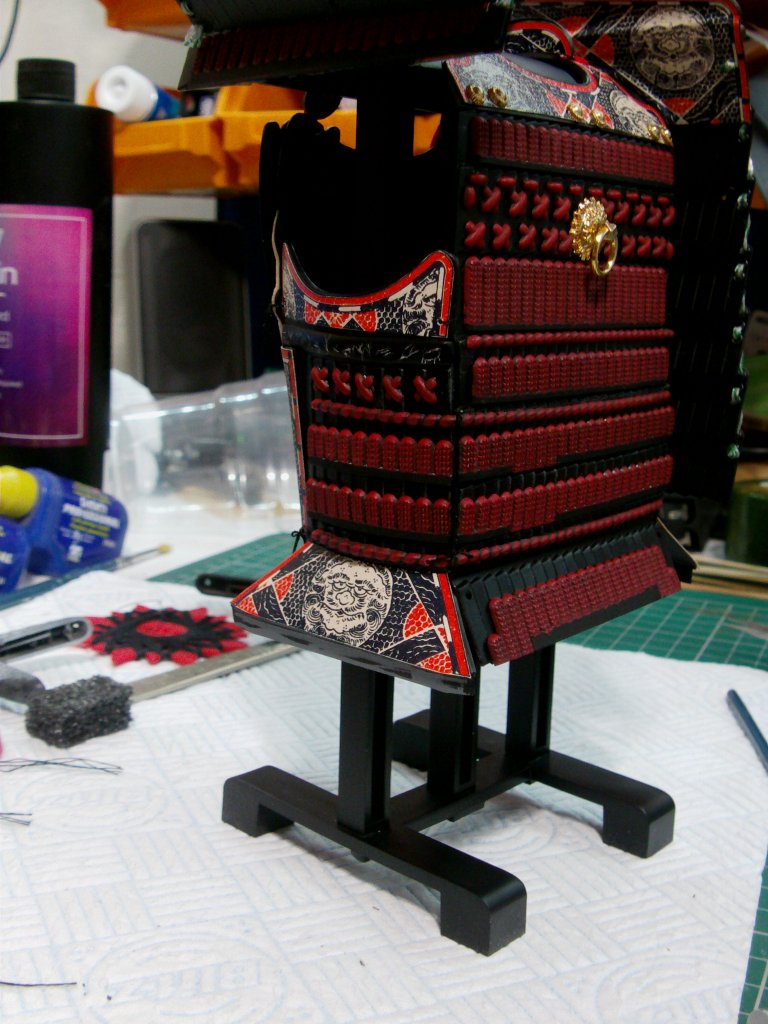
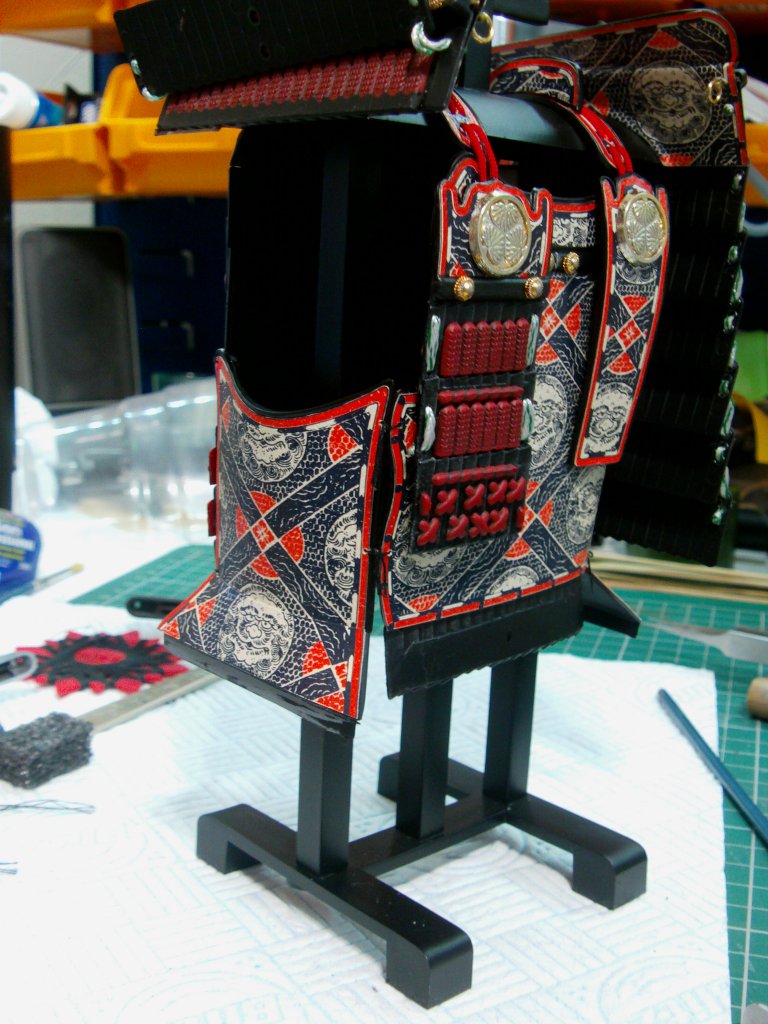
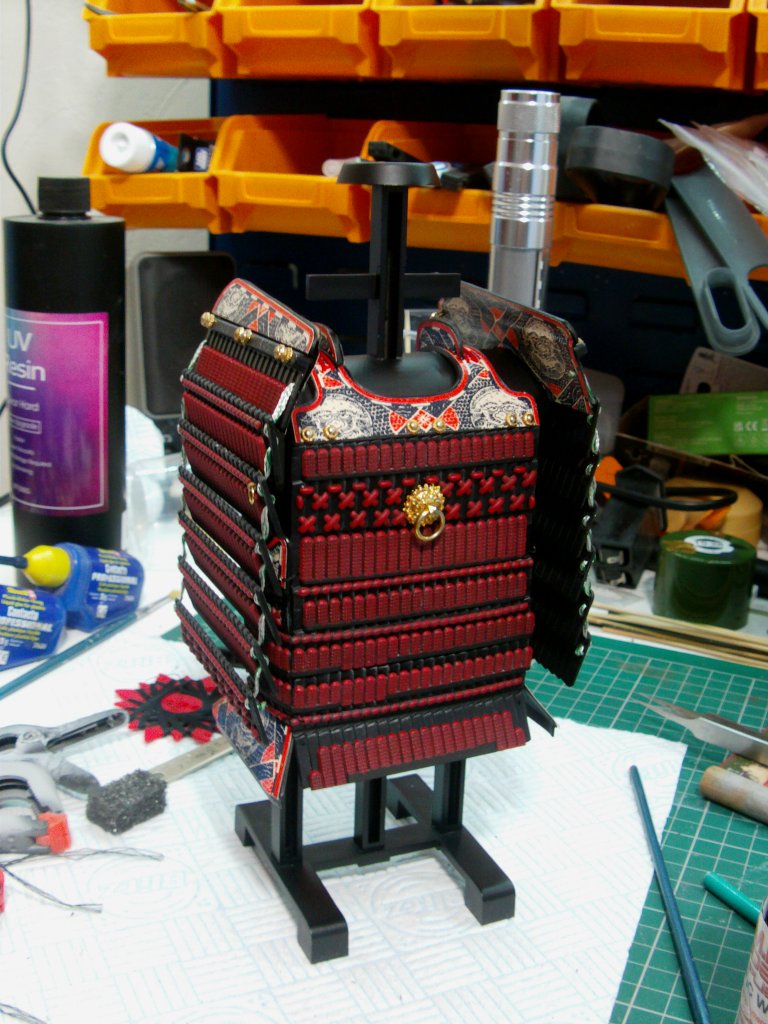
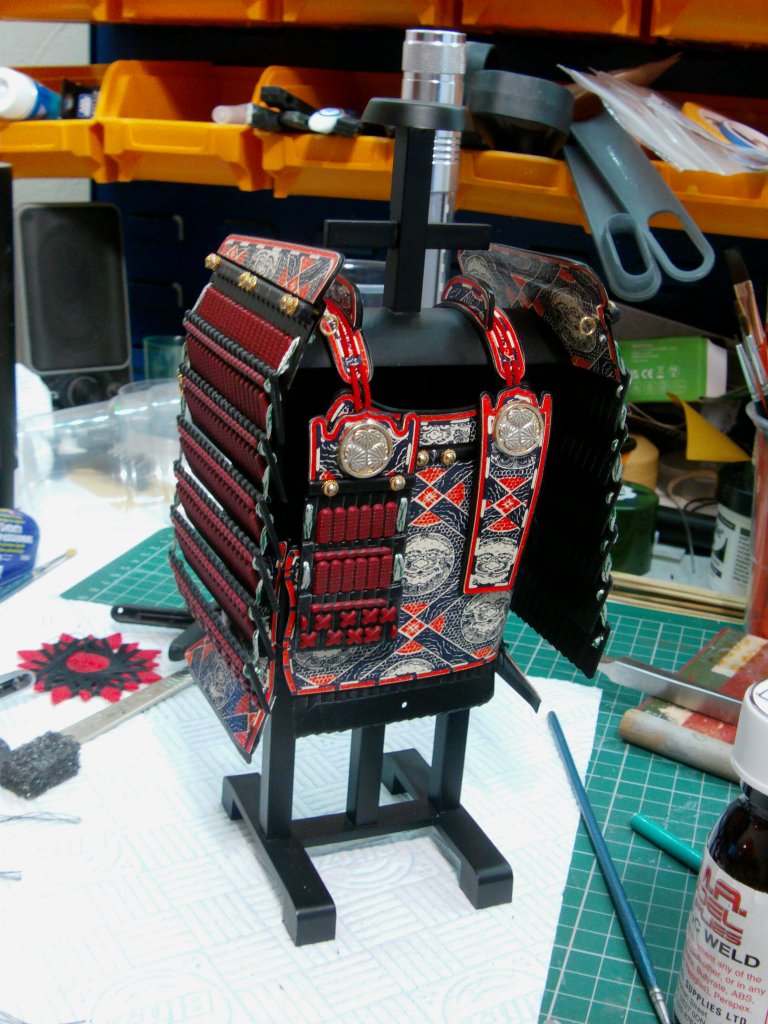
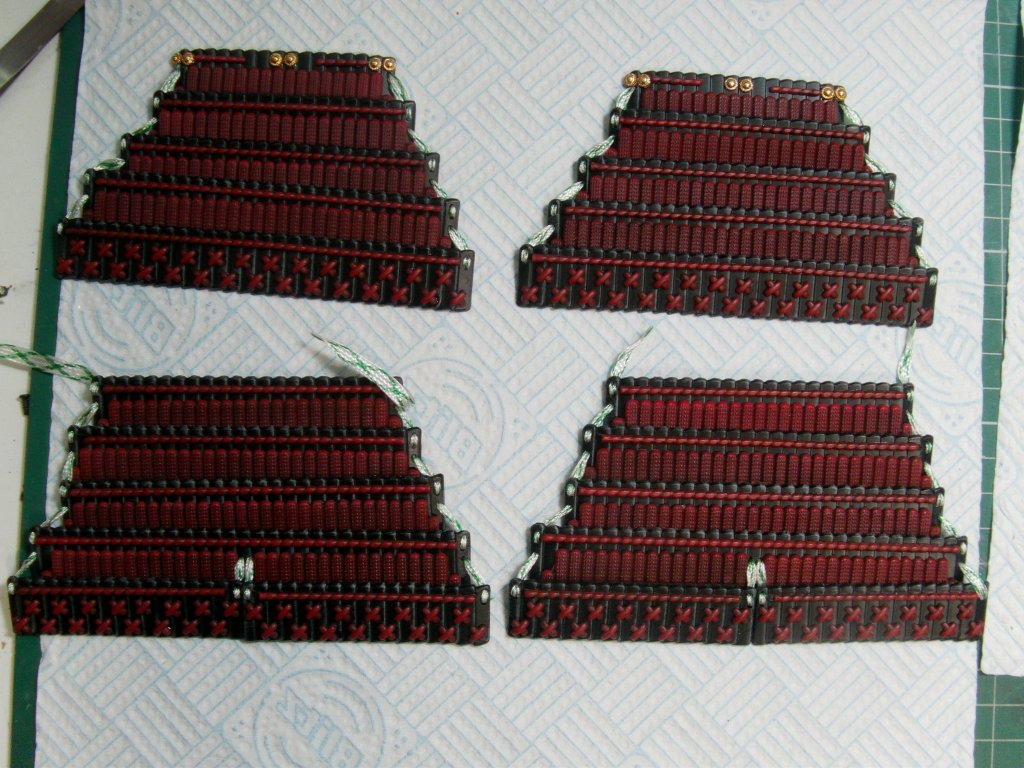
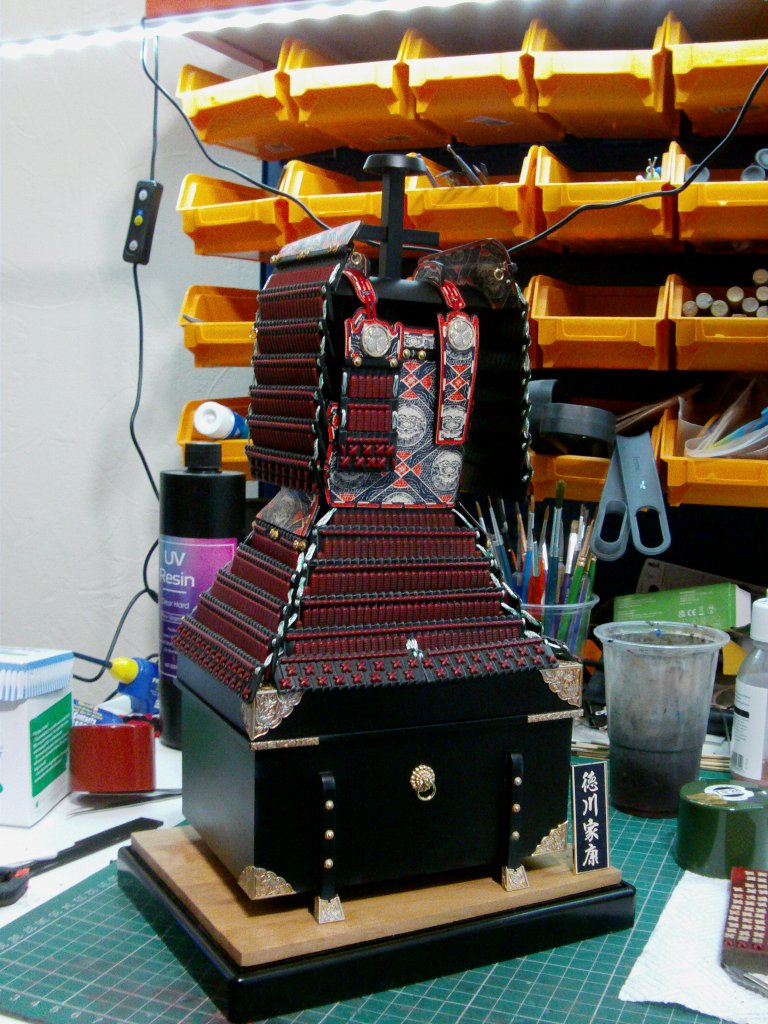
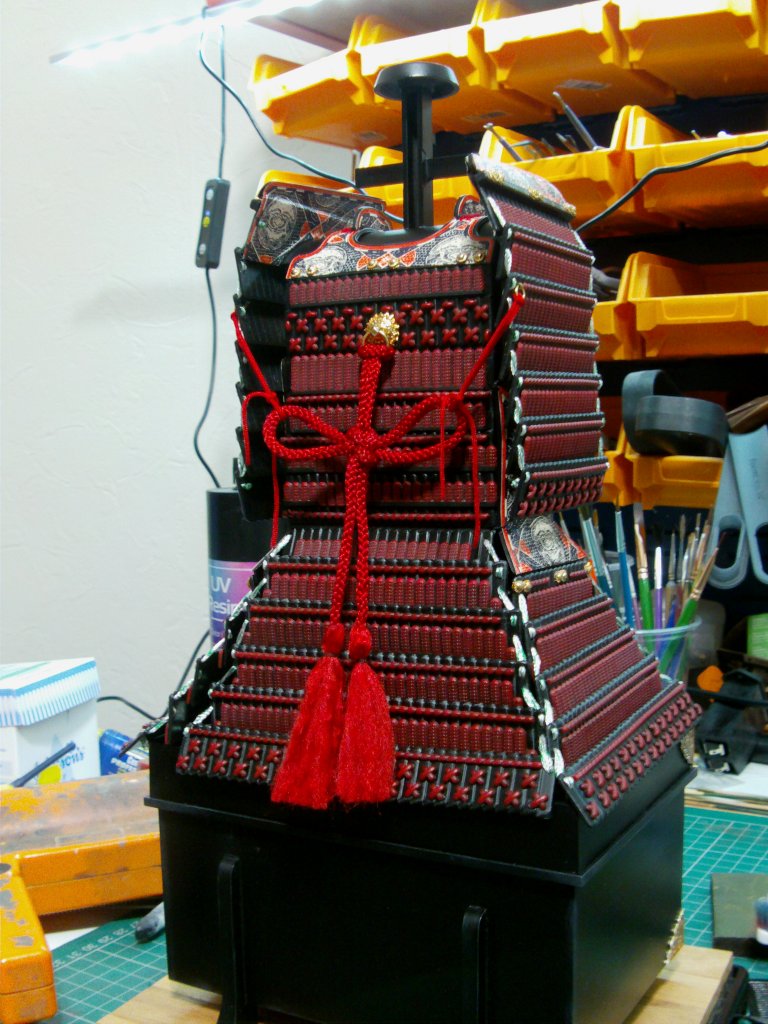
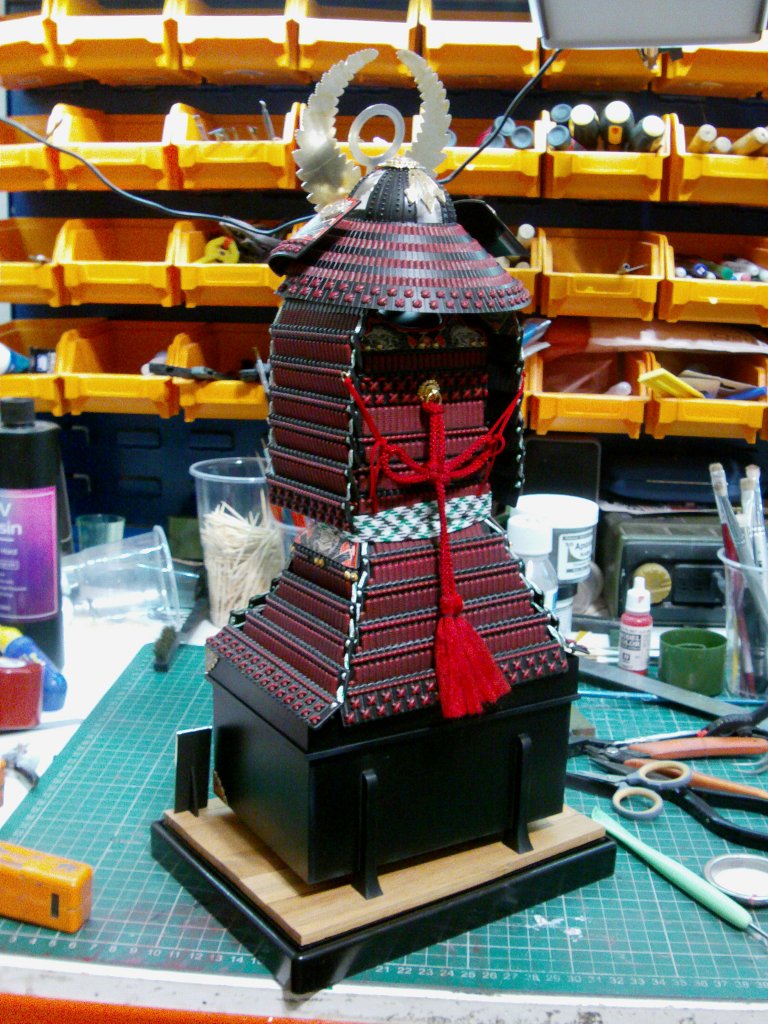
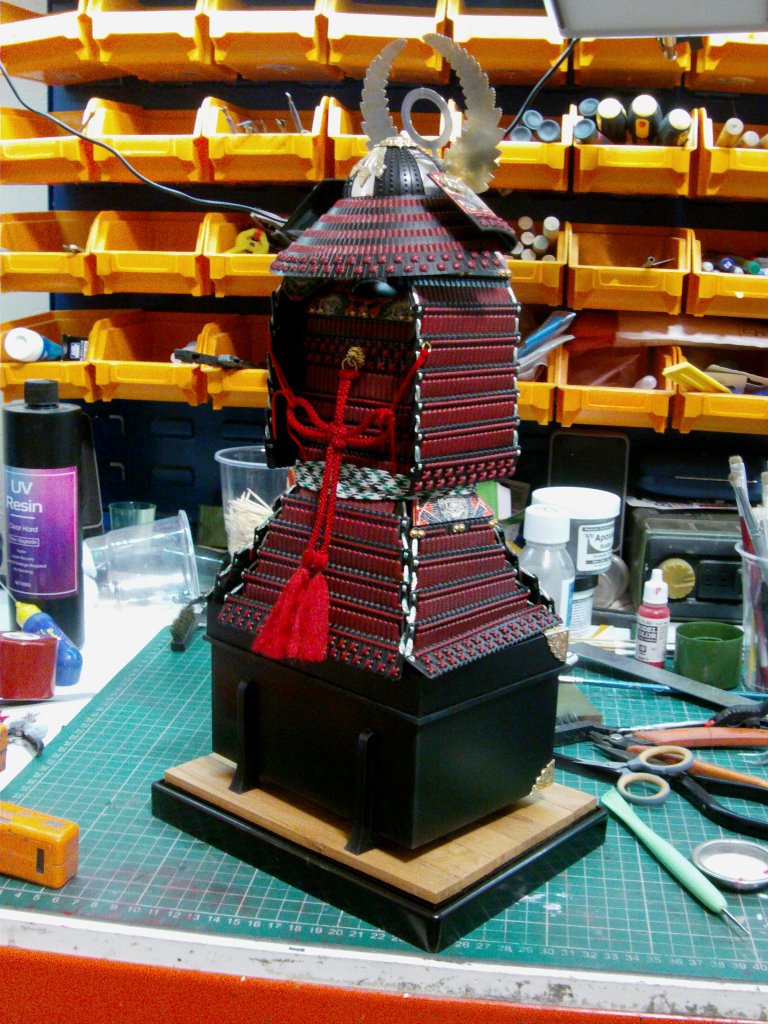
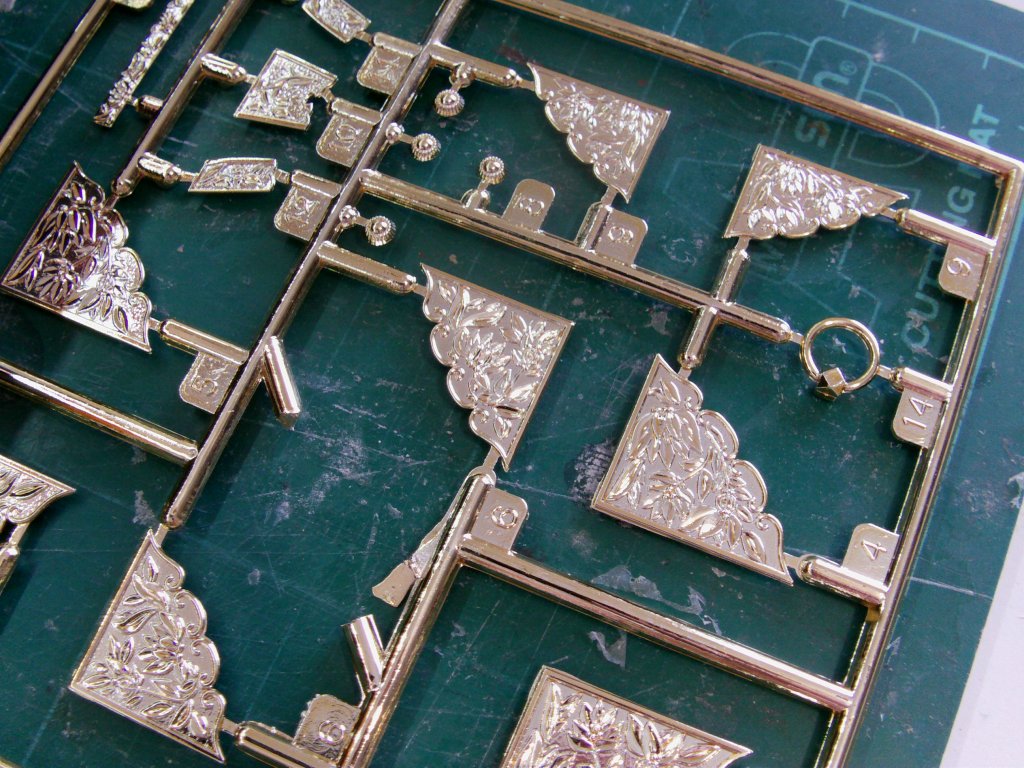
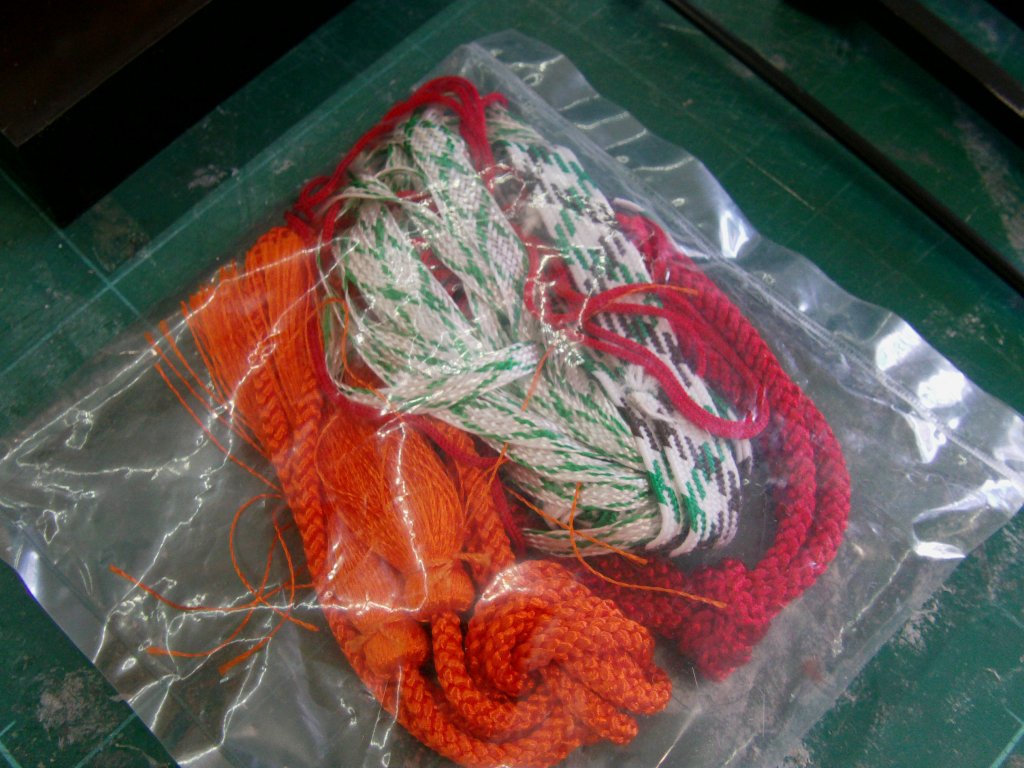
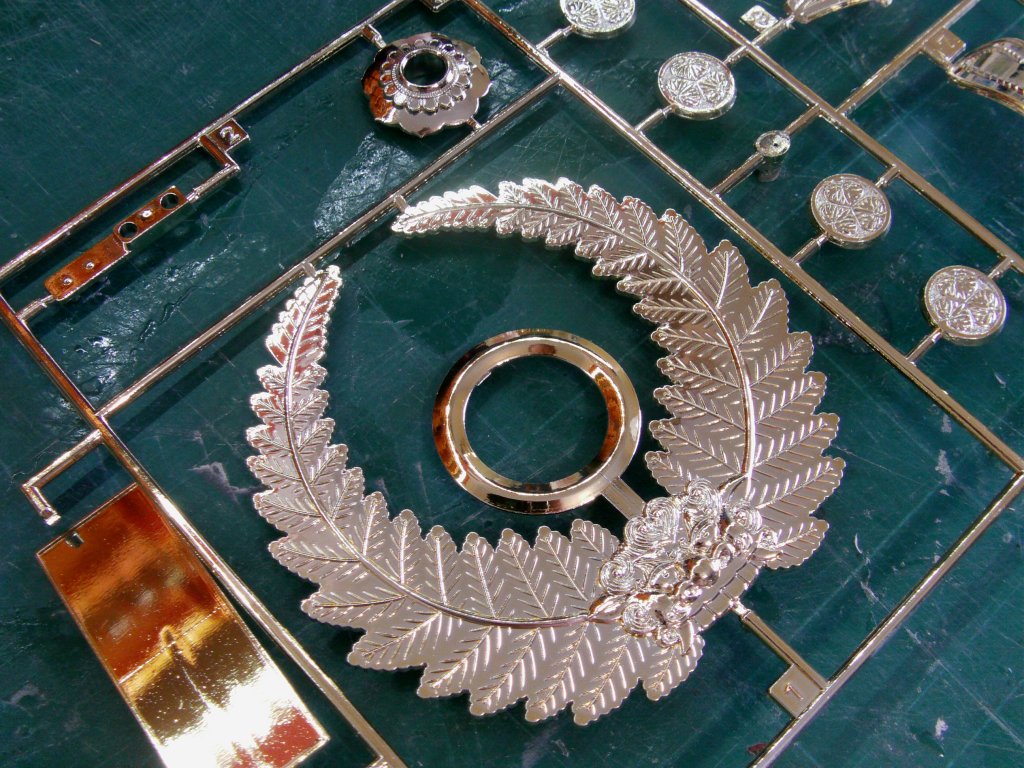
First of the bits. The armour chest, decorative trim and a bag of differing thread for holding the armour together.
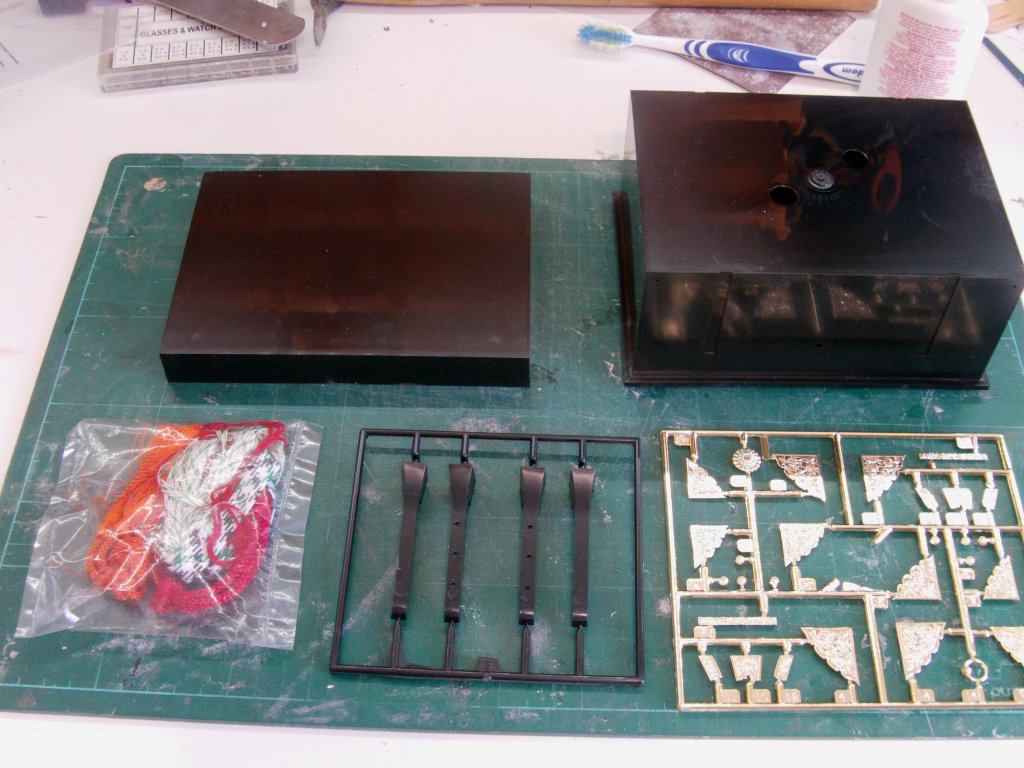
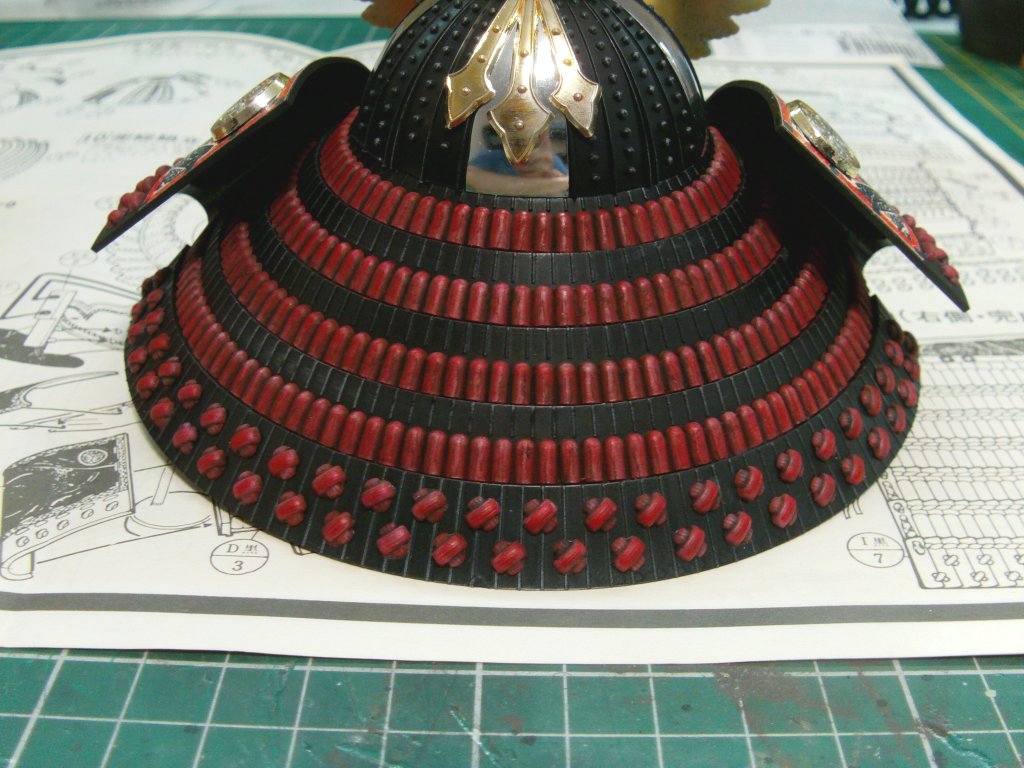
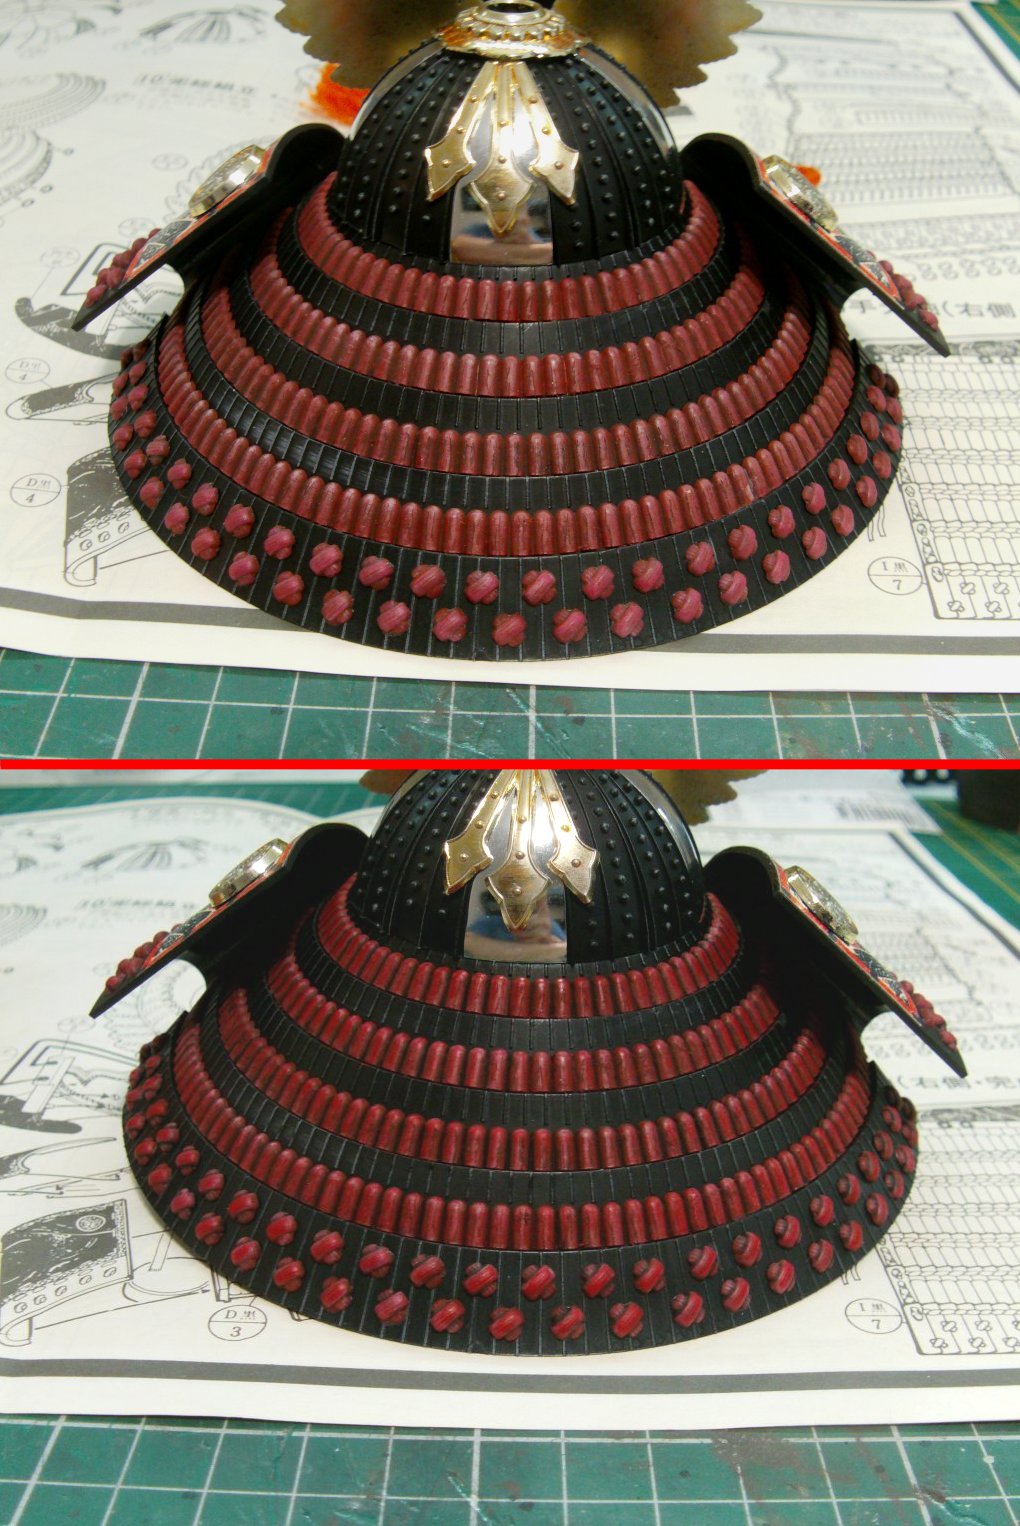
The plating is rather good so possibly no need for a strip down and paint which suits me just fine.
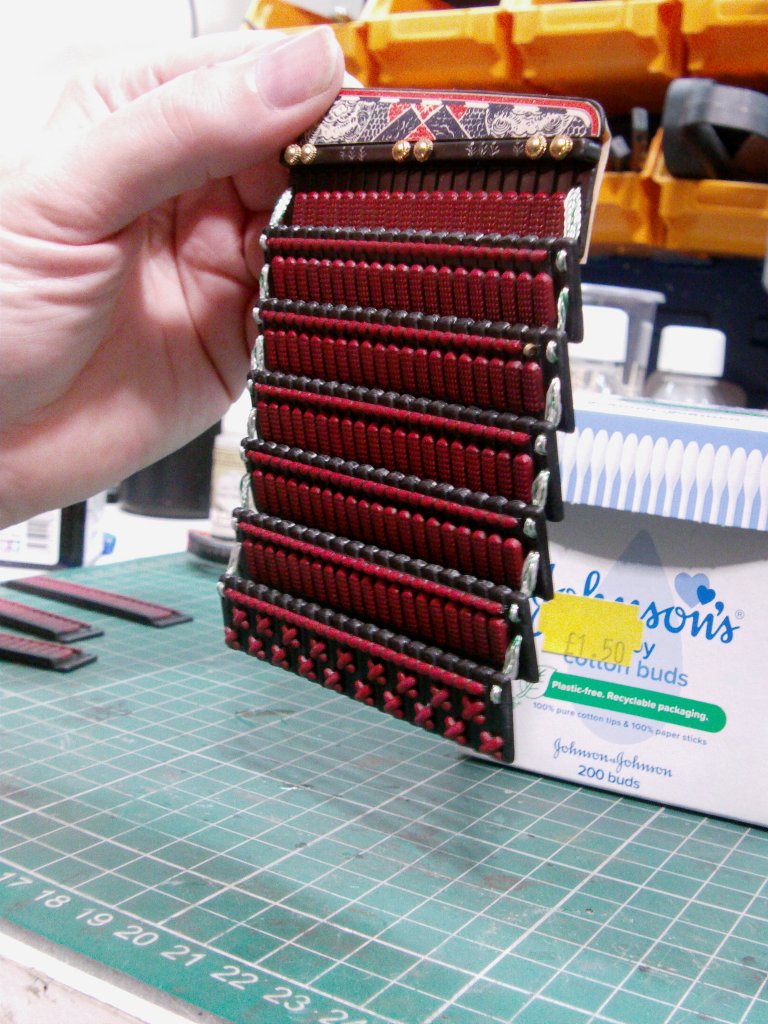
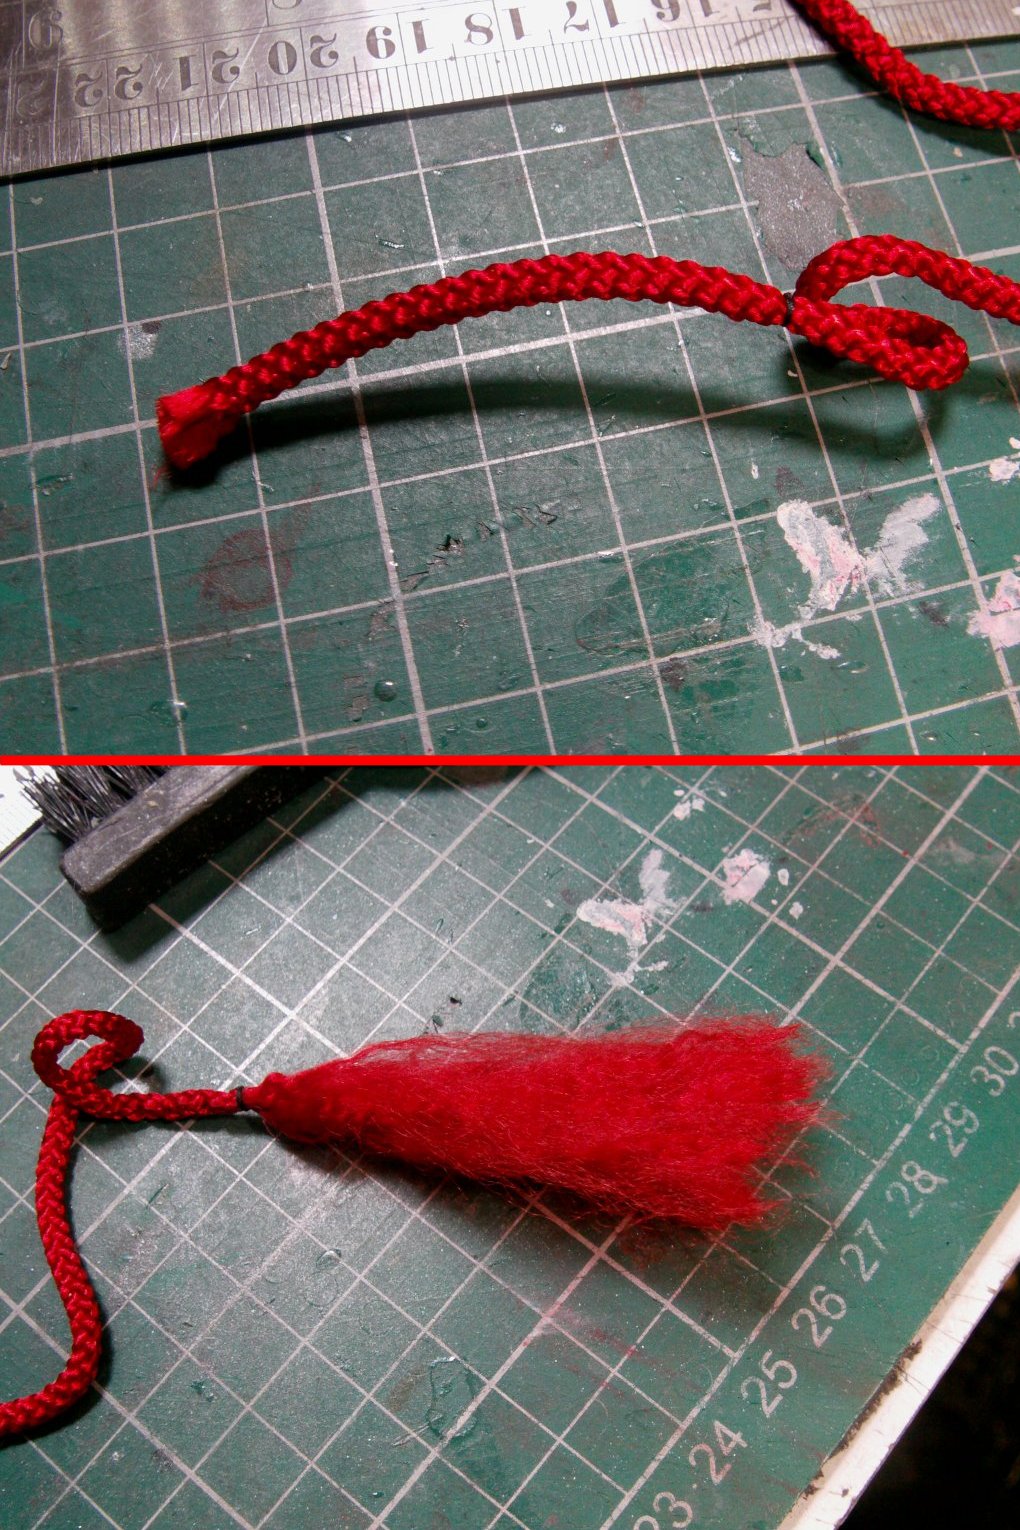
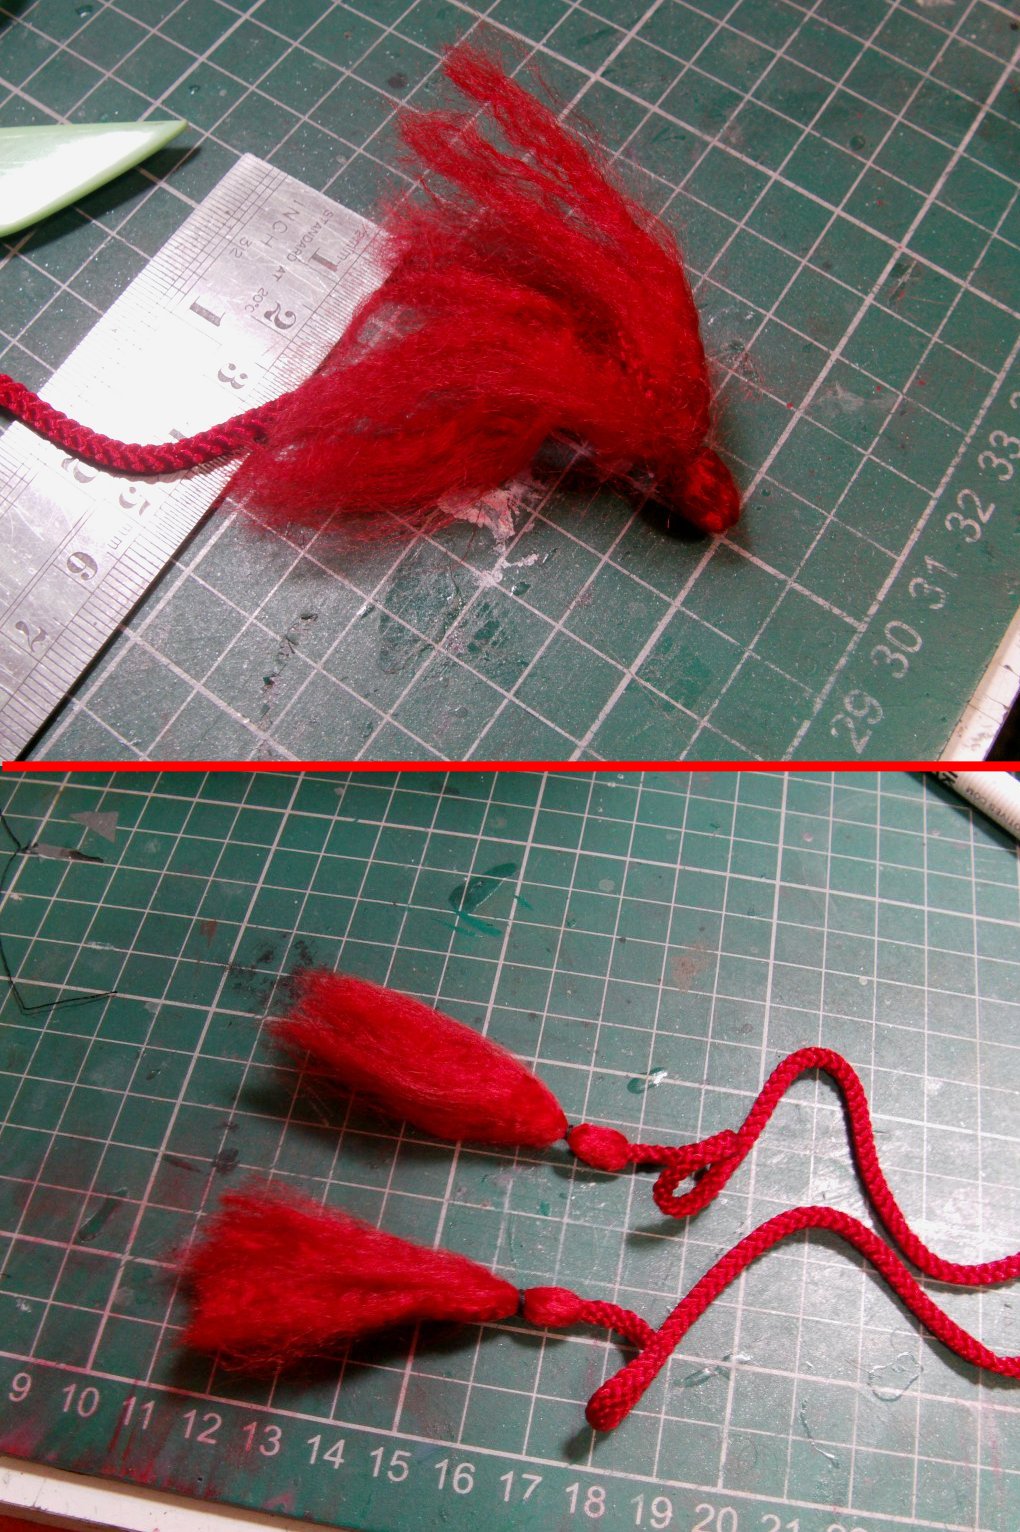
The weaved cord and thread bag.
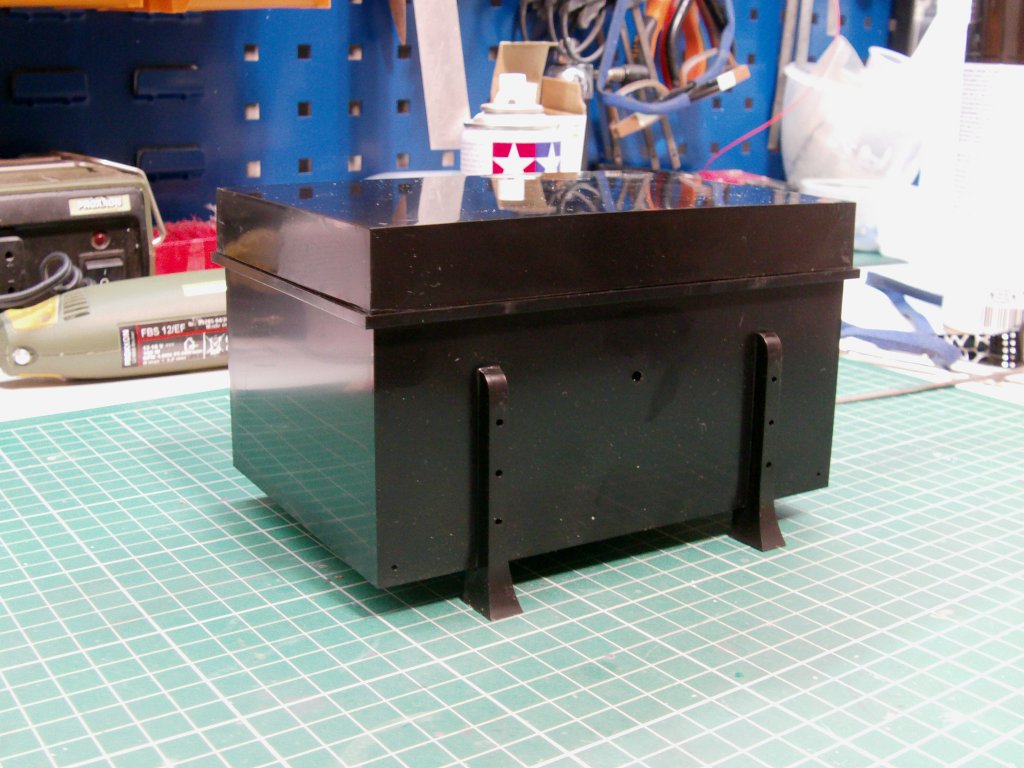
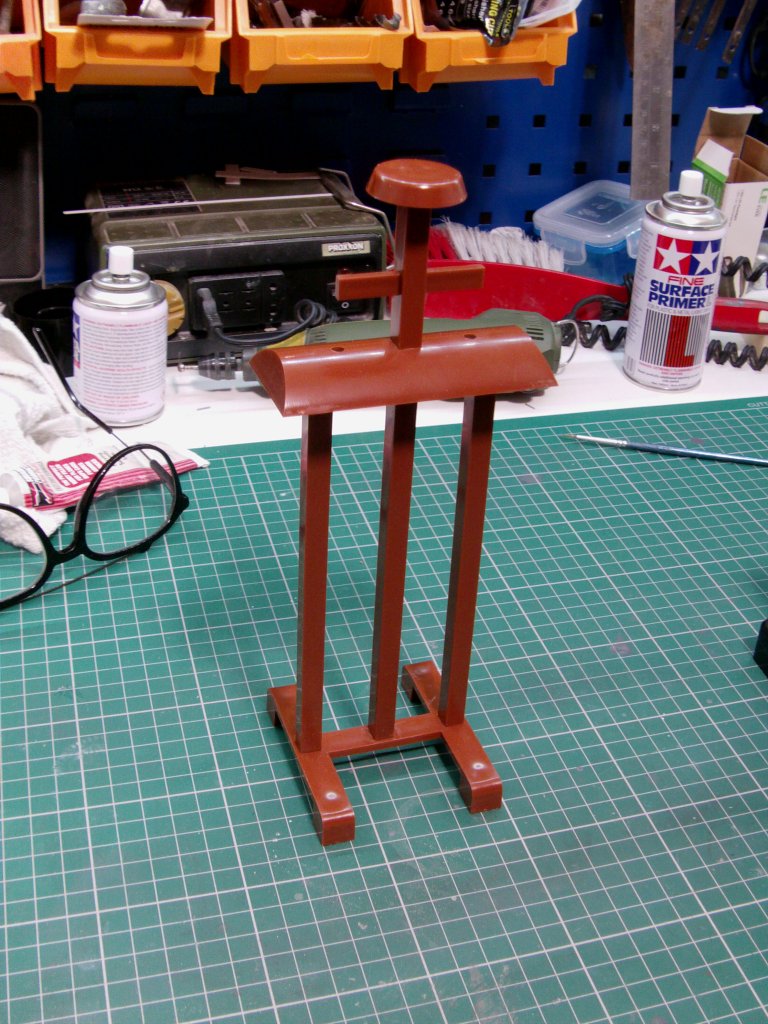
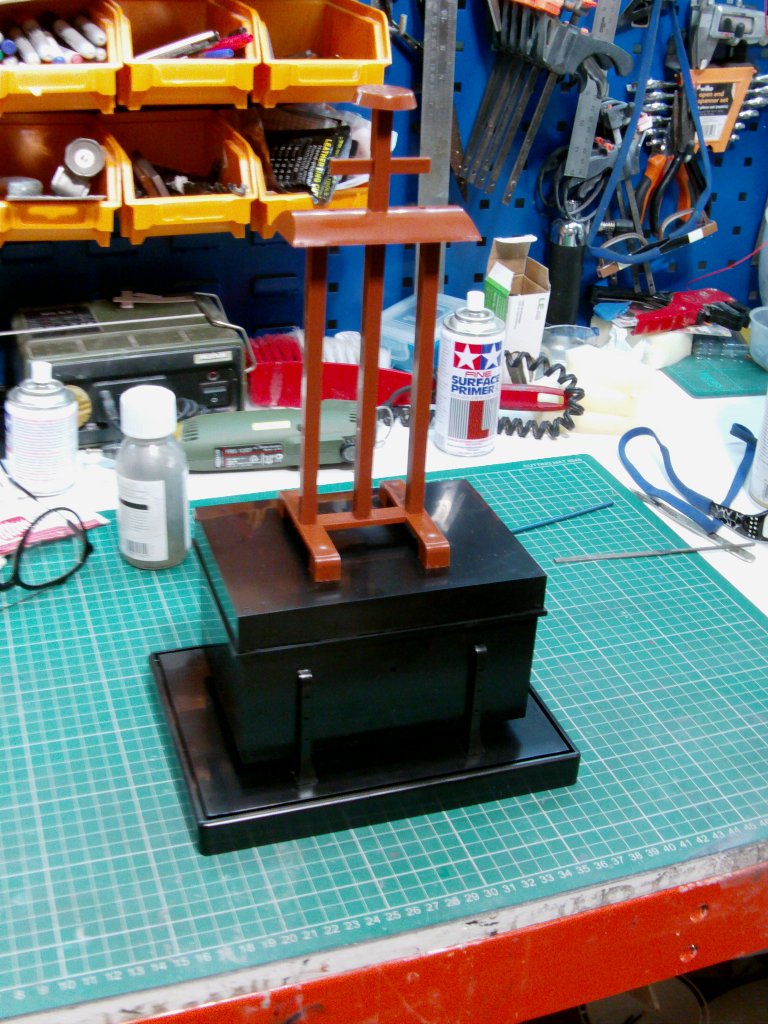
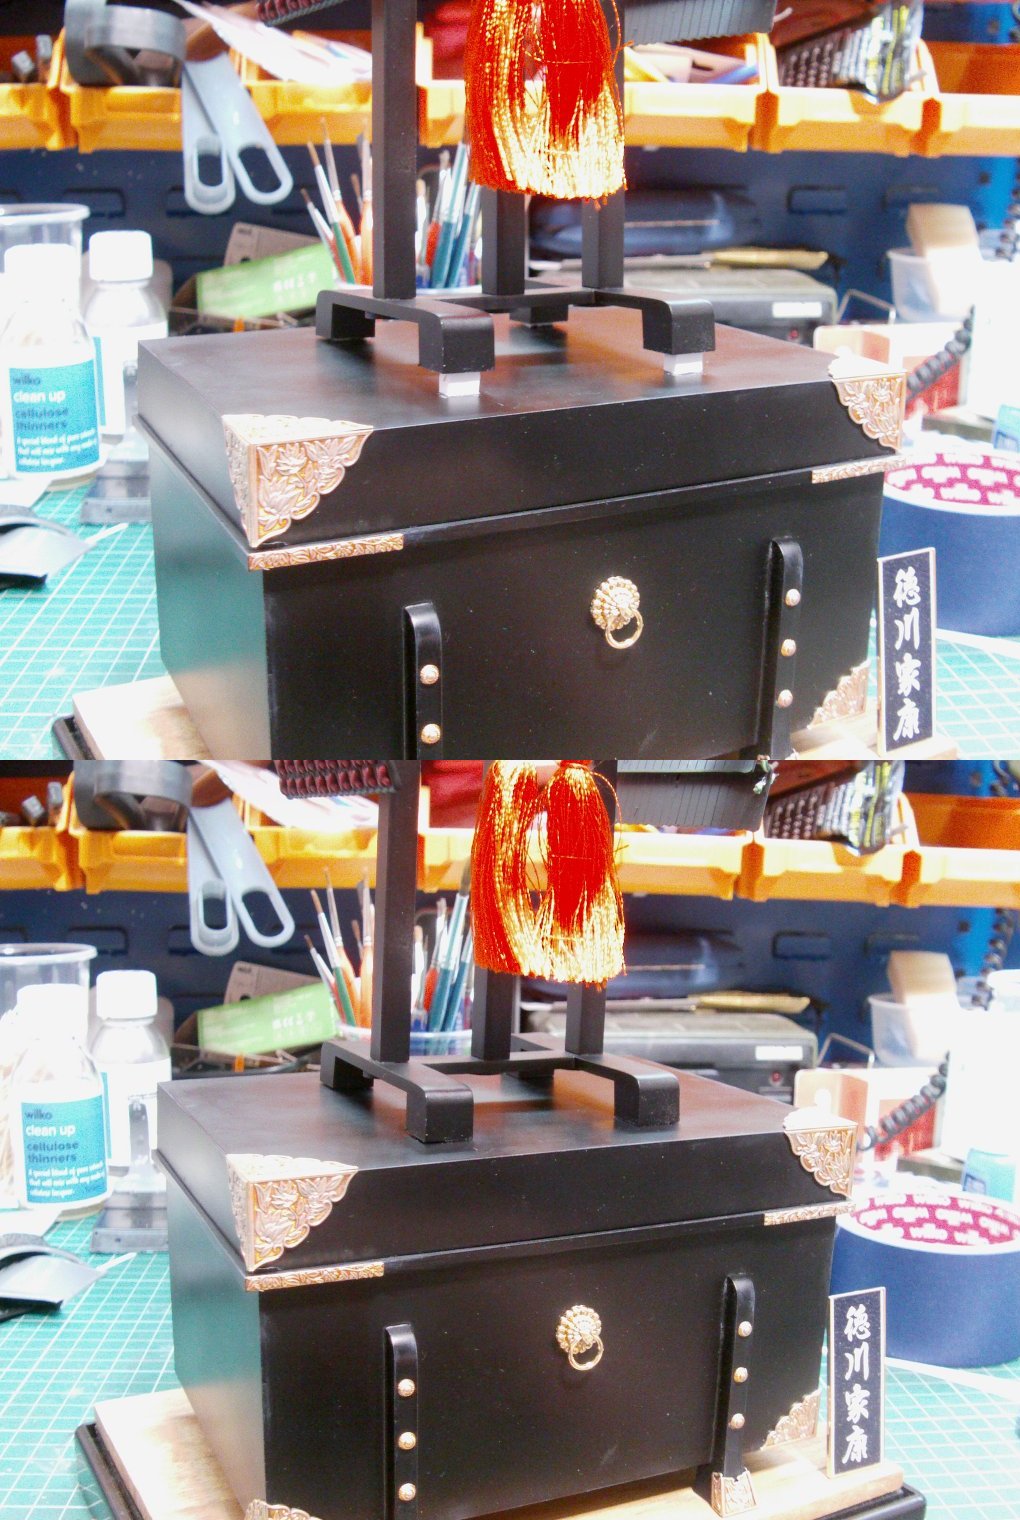
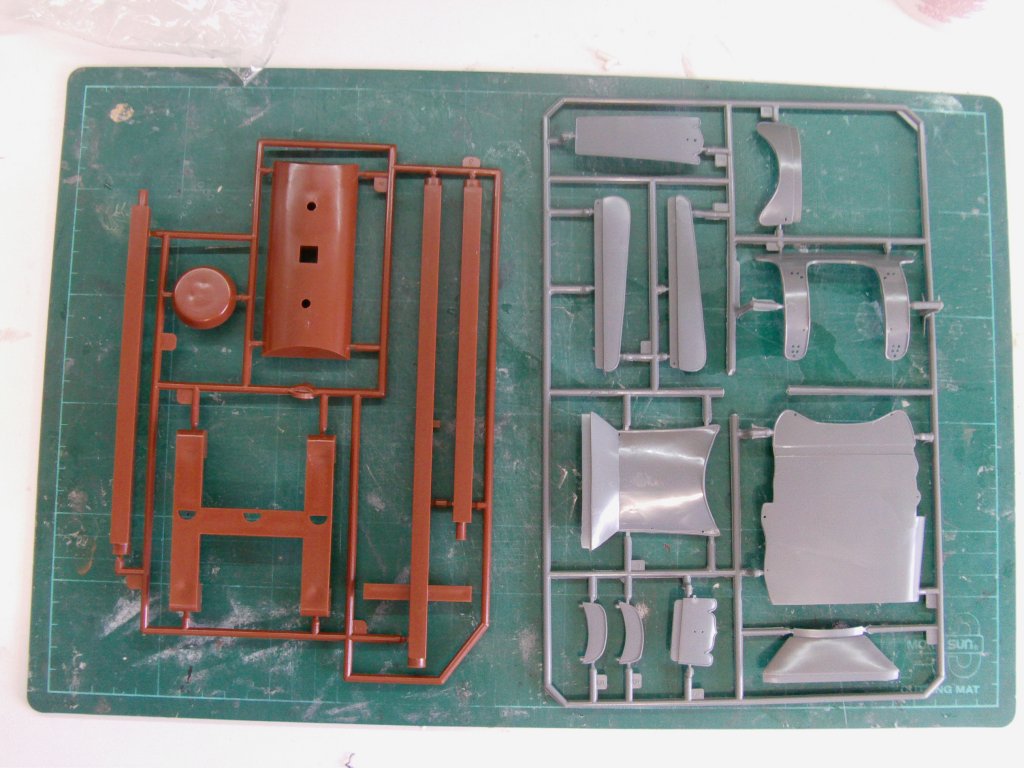
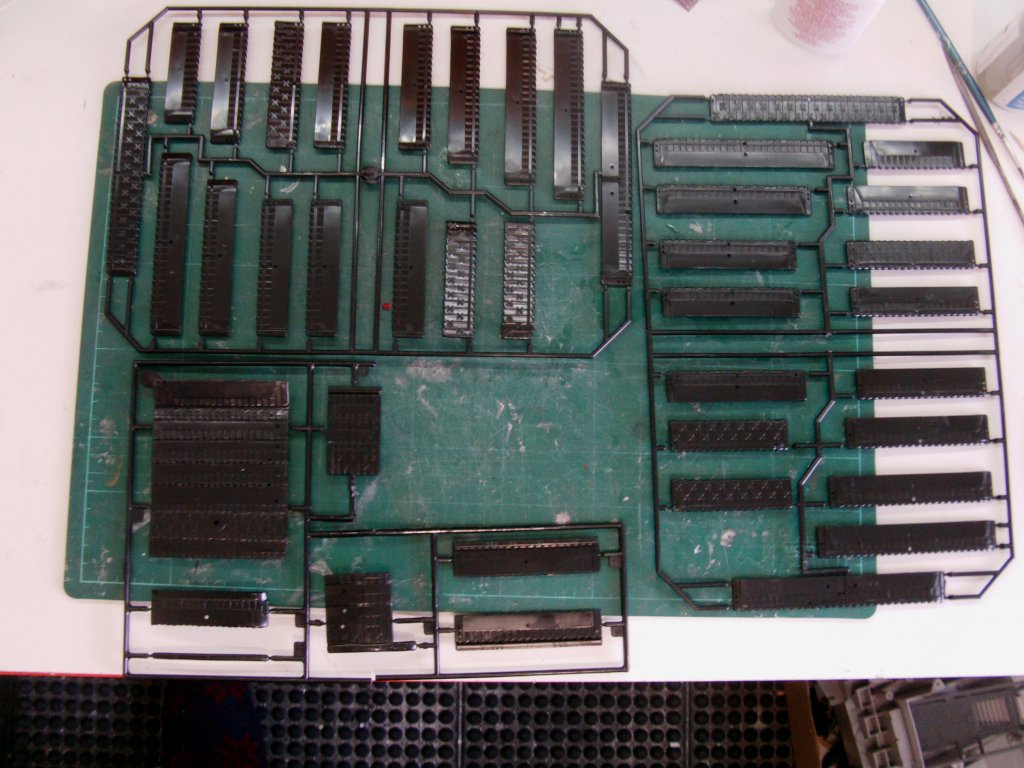
The upright parts of the stand and some of the armour plates.
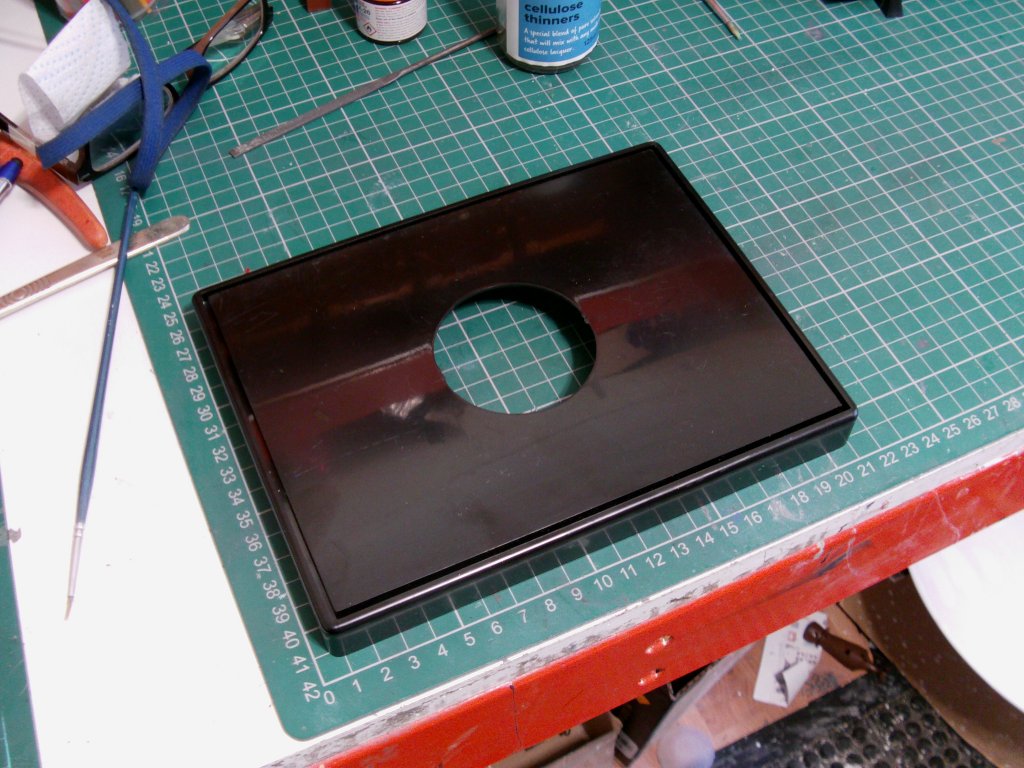
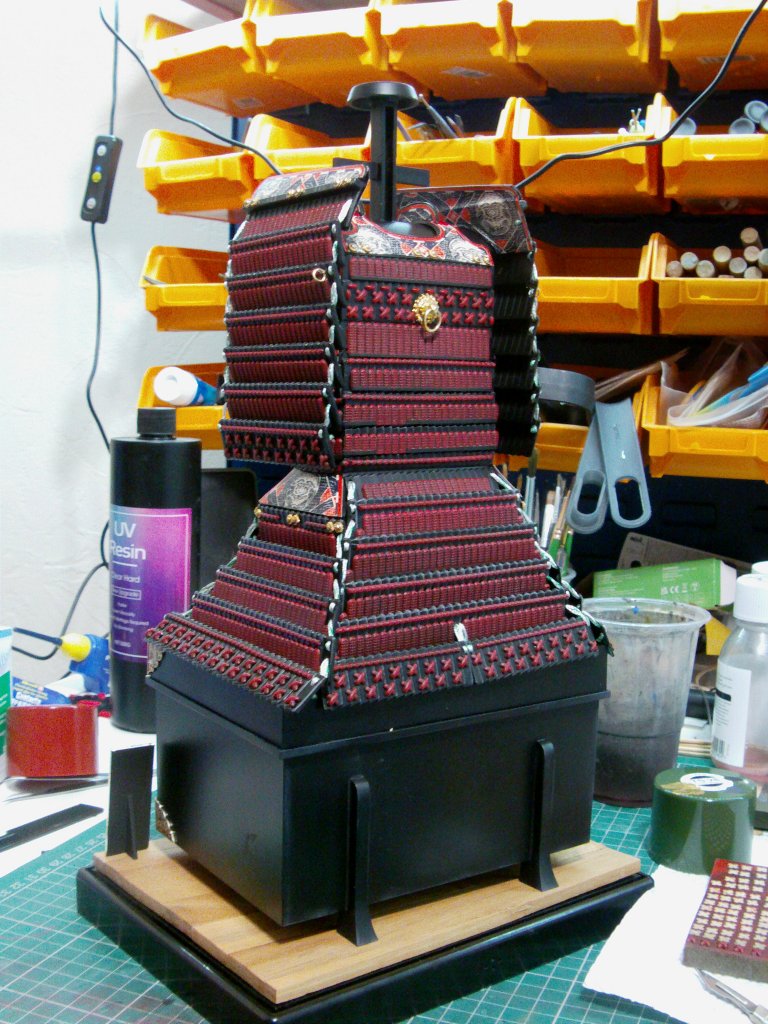
Base and armour/chest plated parts.
Again, the plating is none too shabby for a kit this old.
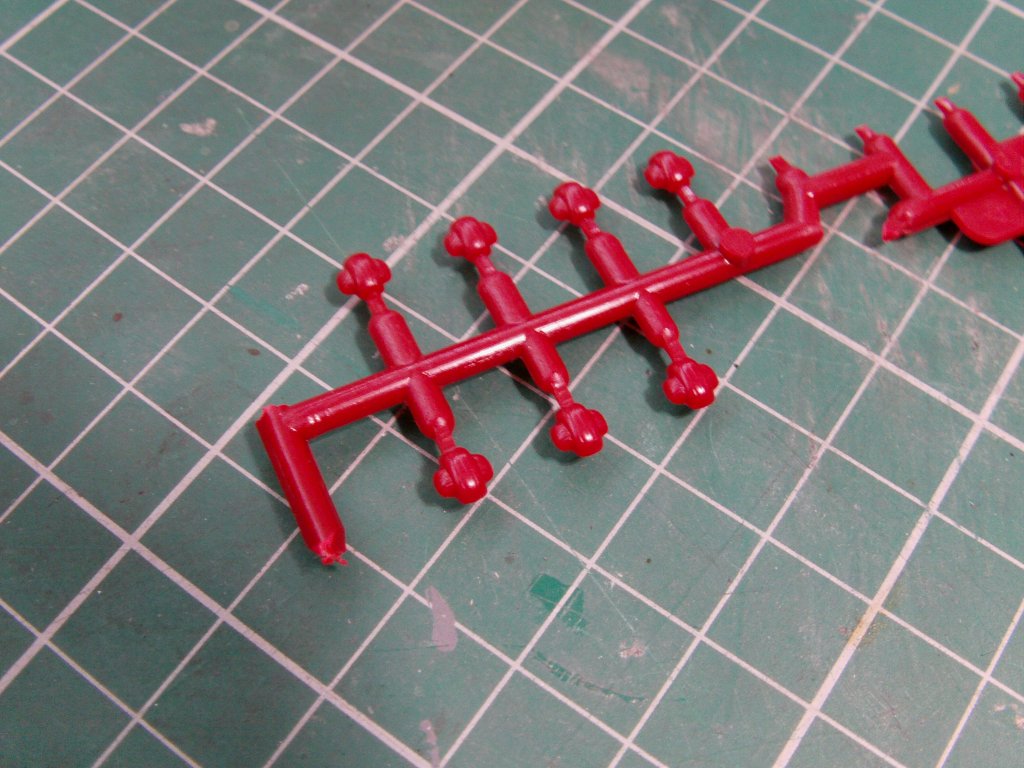
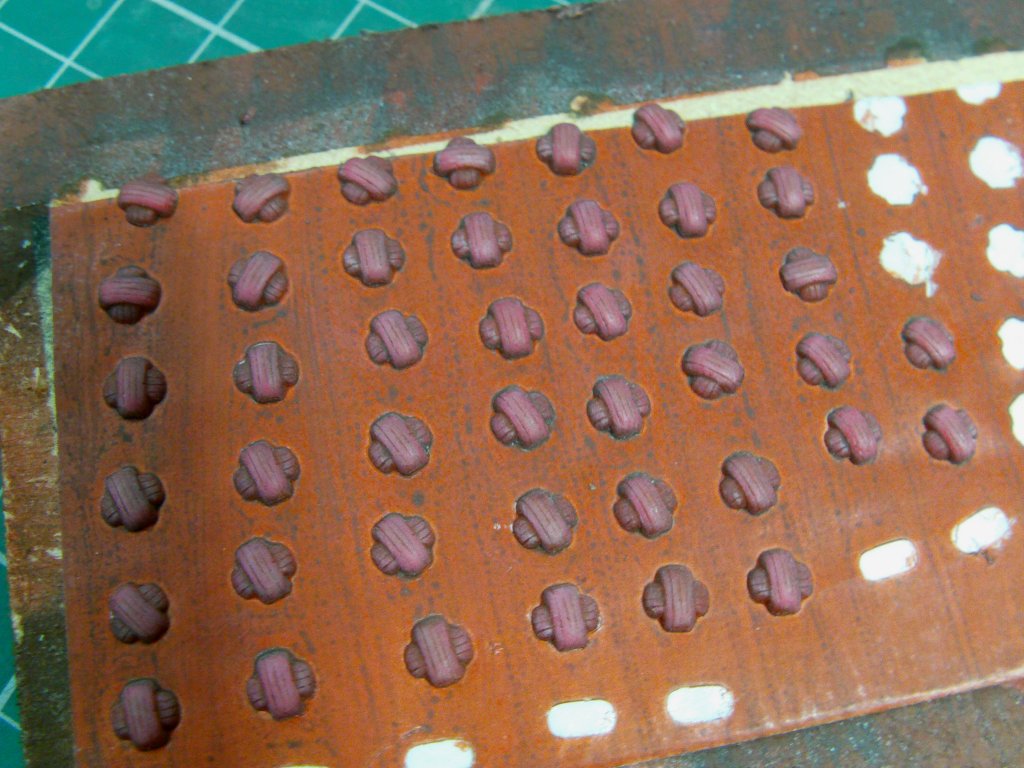
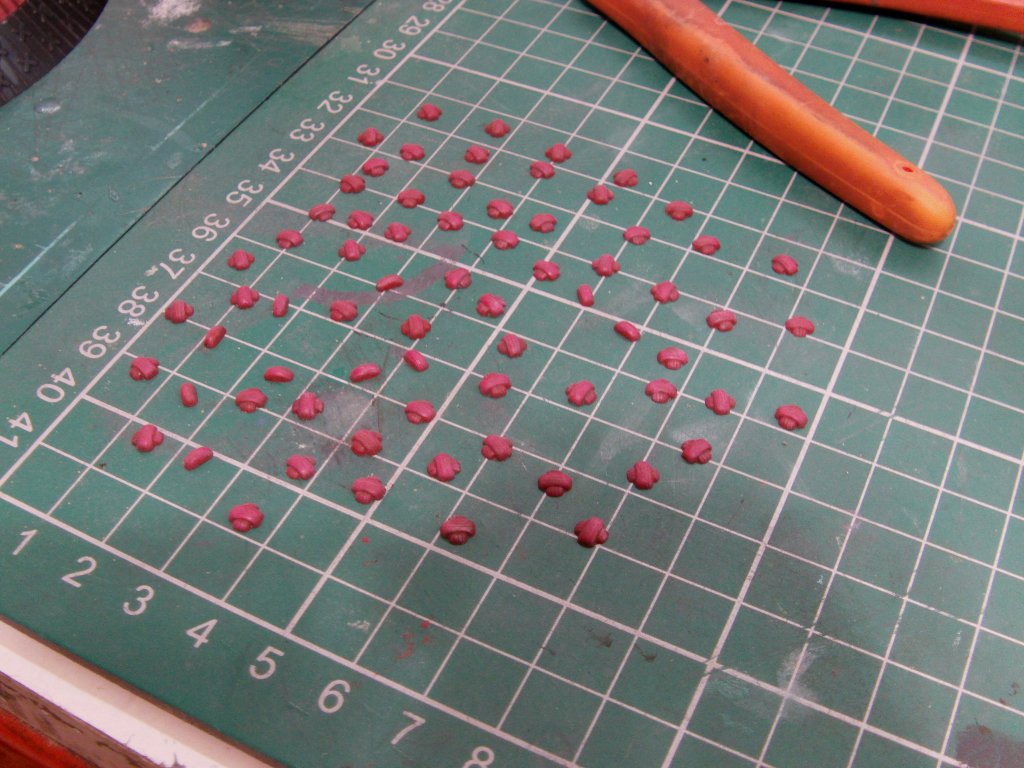
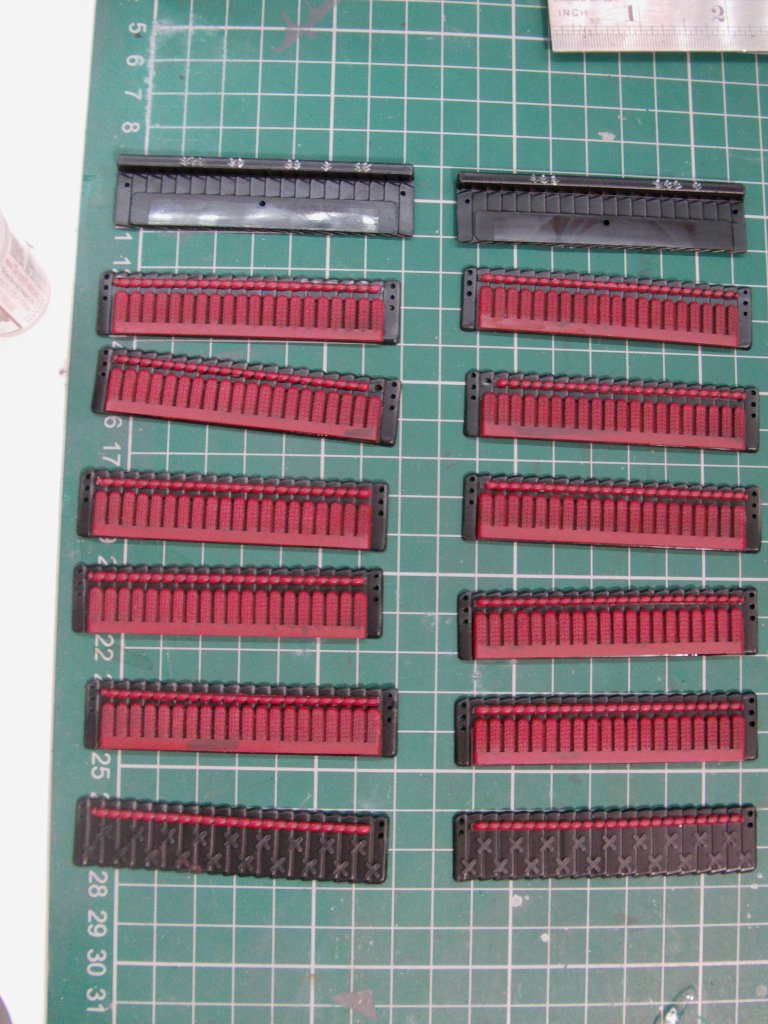
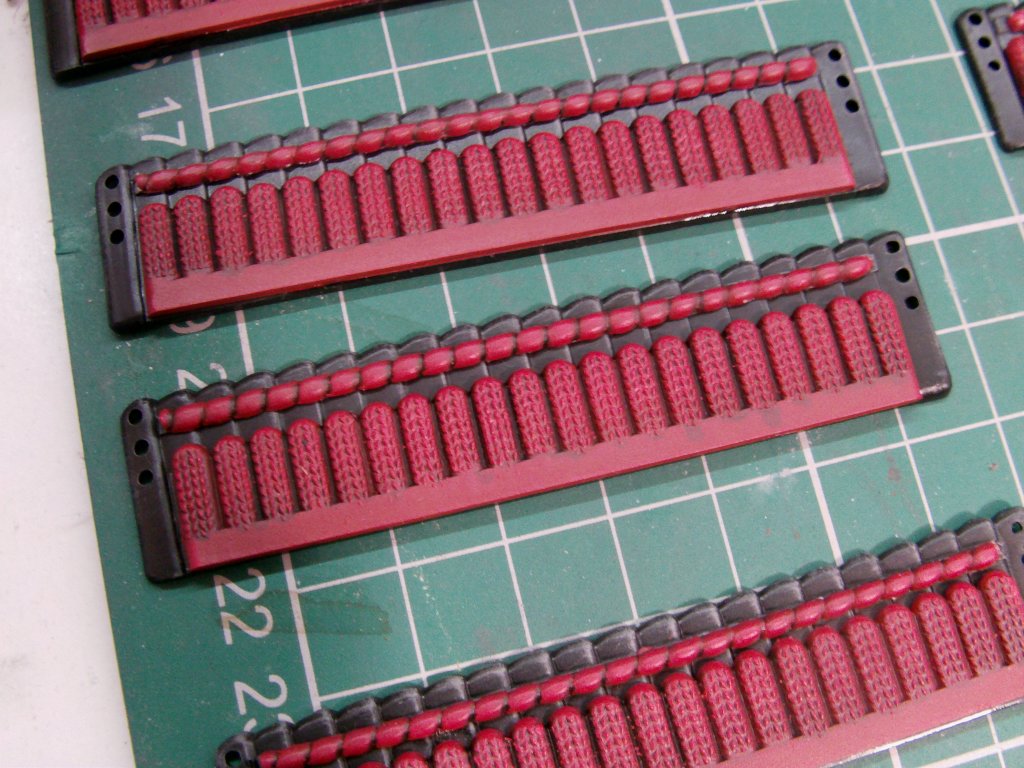
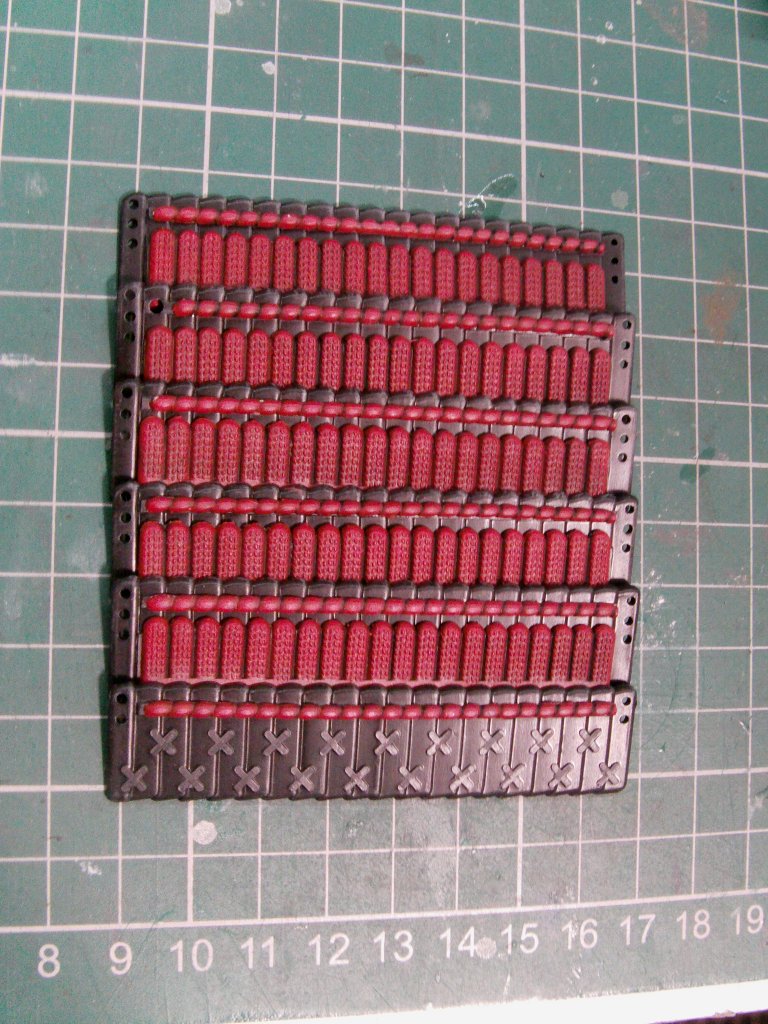
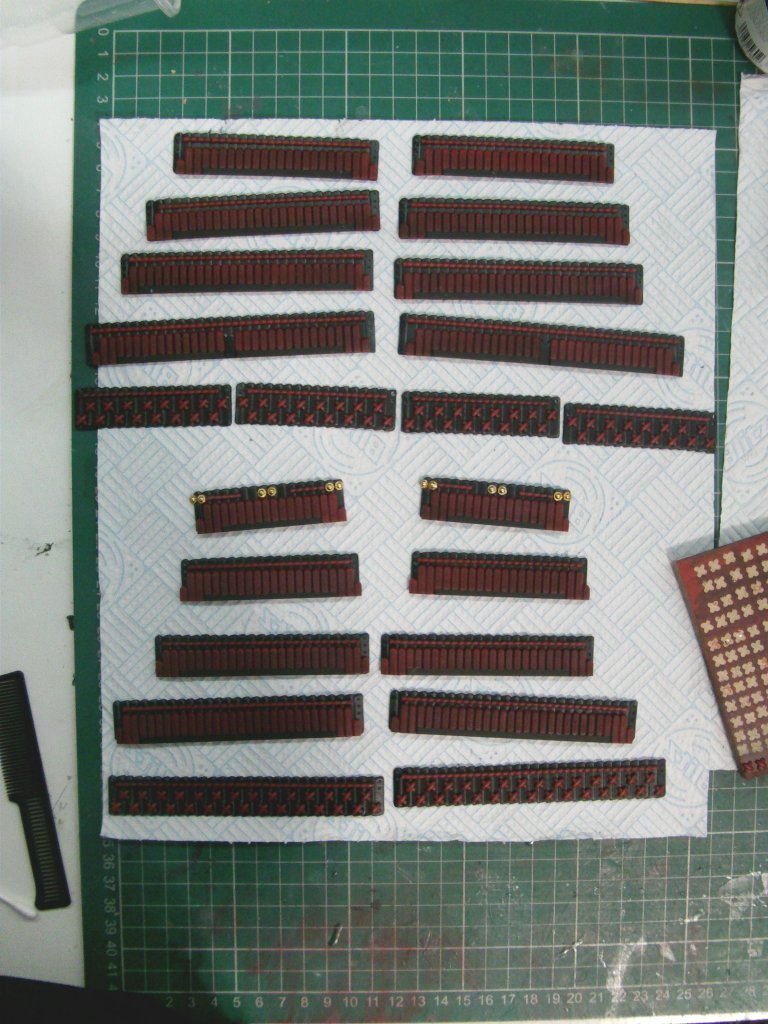
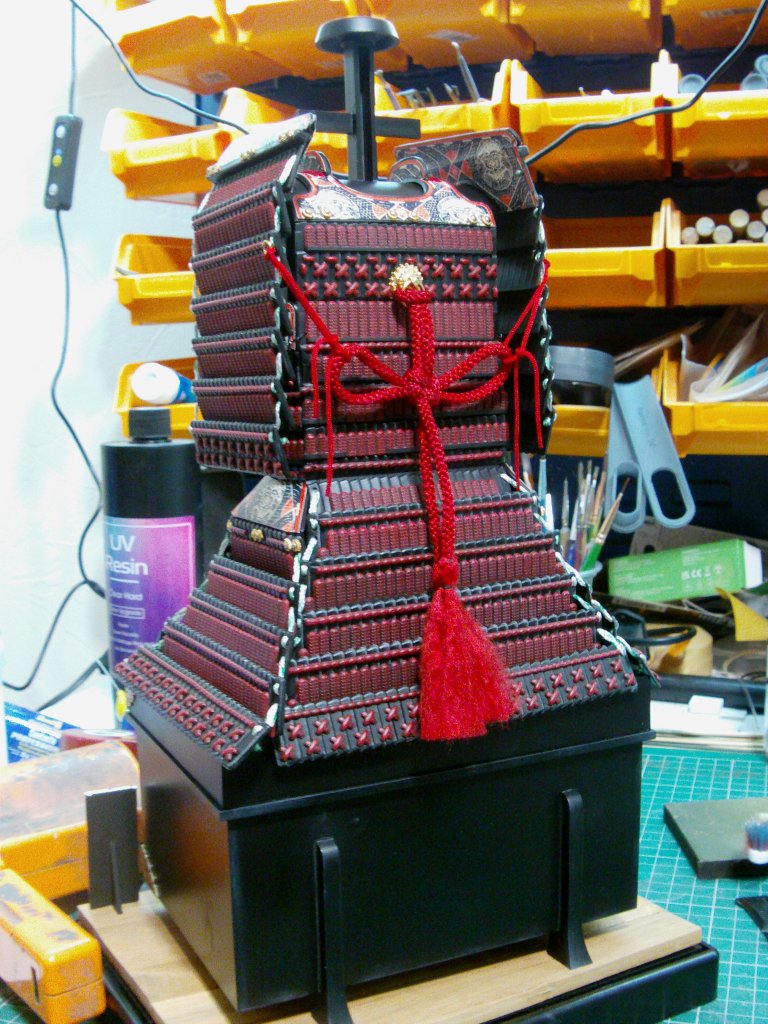
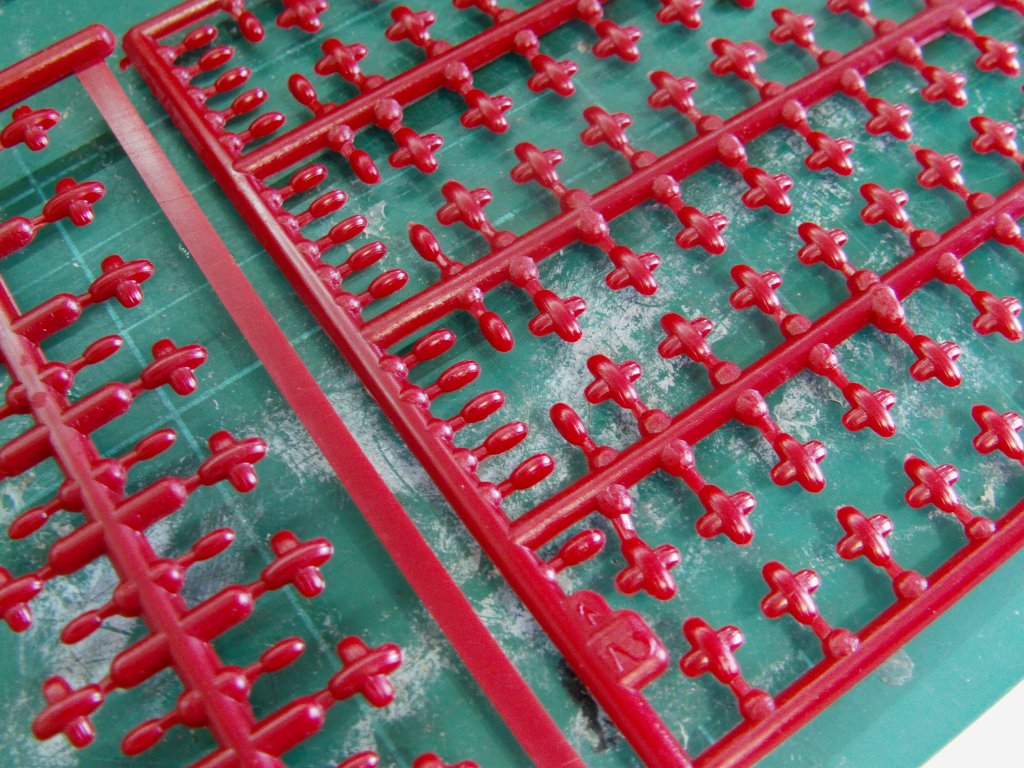
Parts to represent cord cross parts and threaded areas that bound the armour plates together.
And there's a few of 'em!
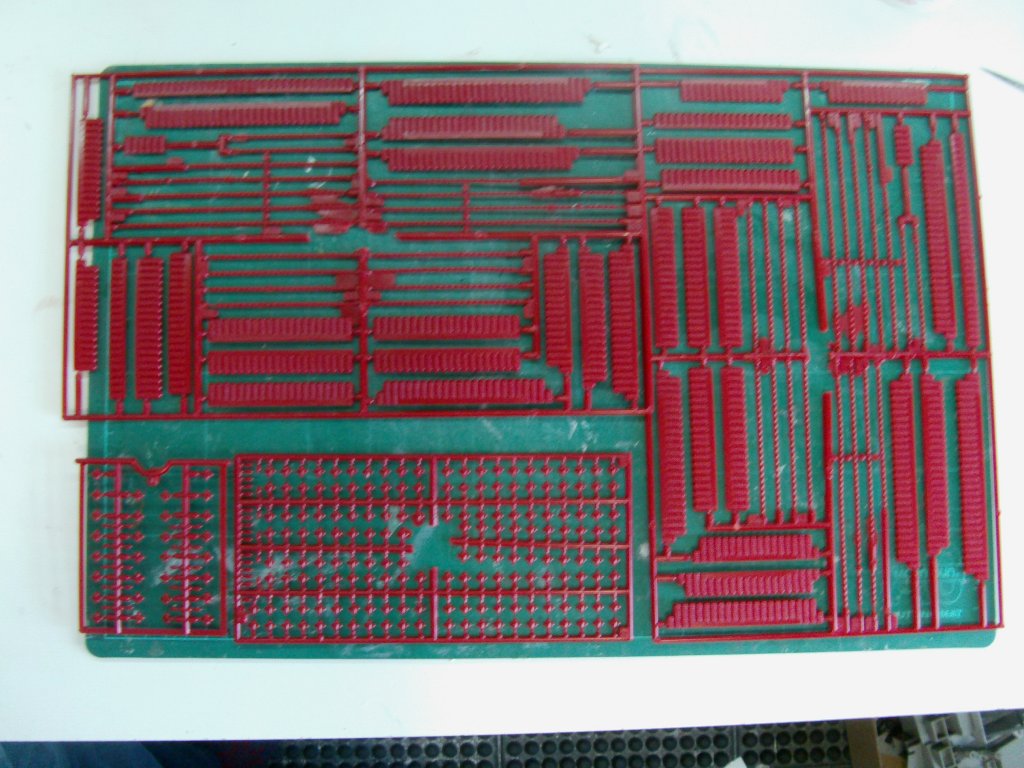
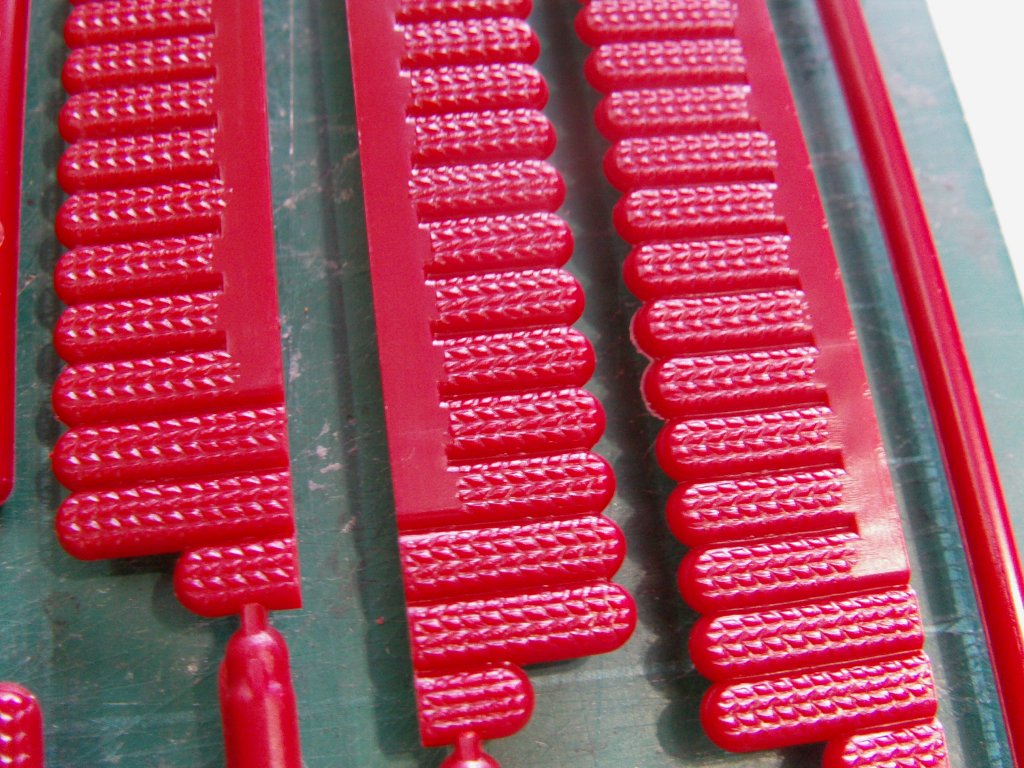
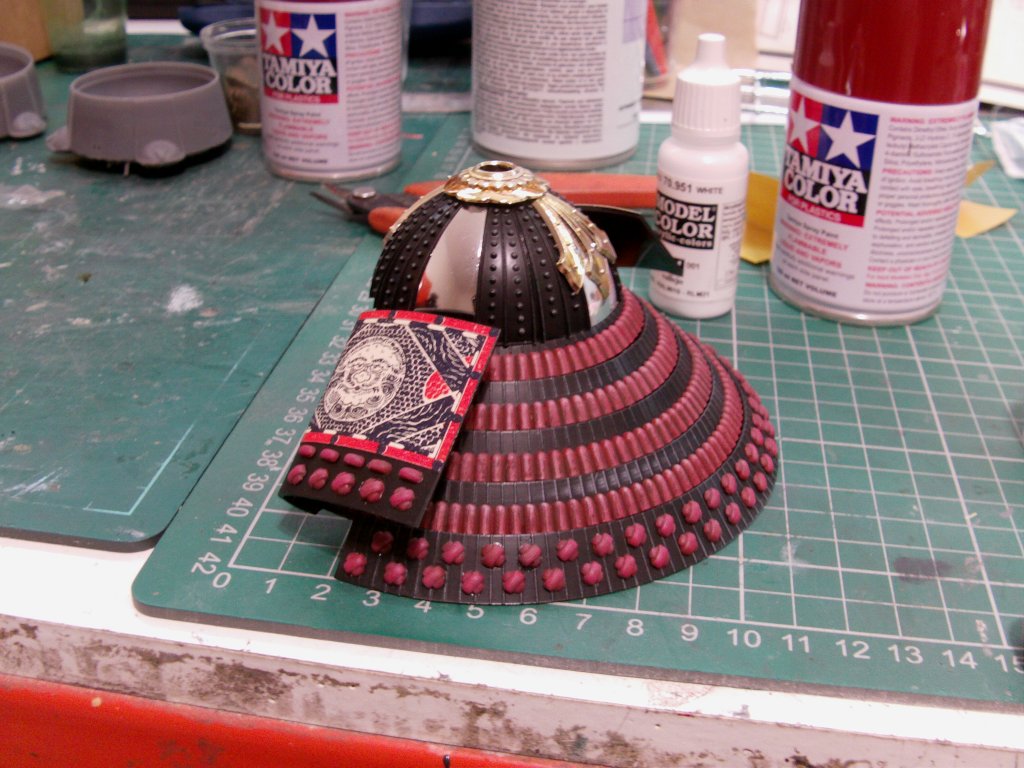
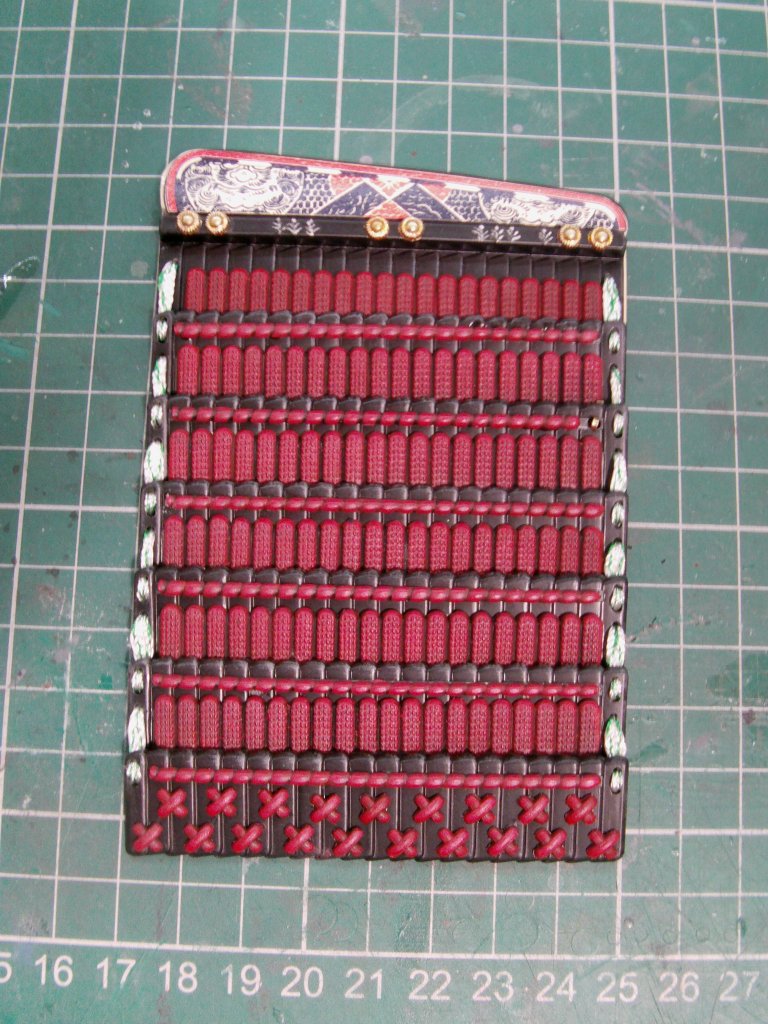
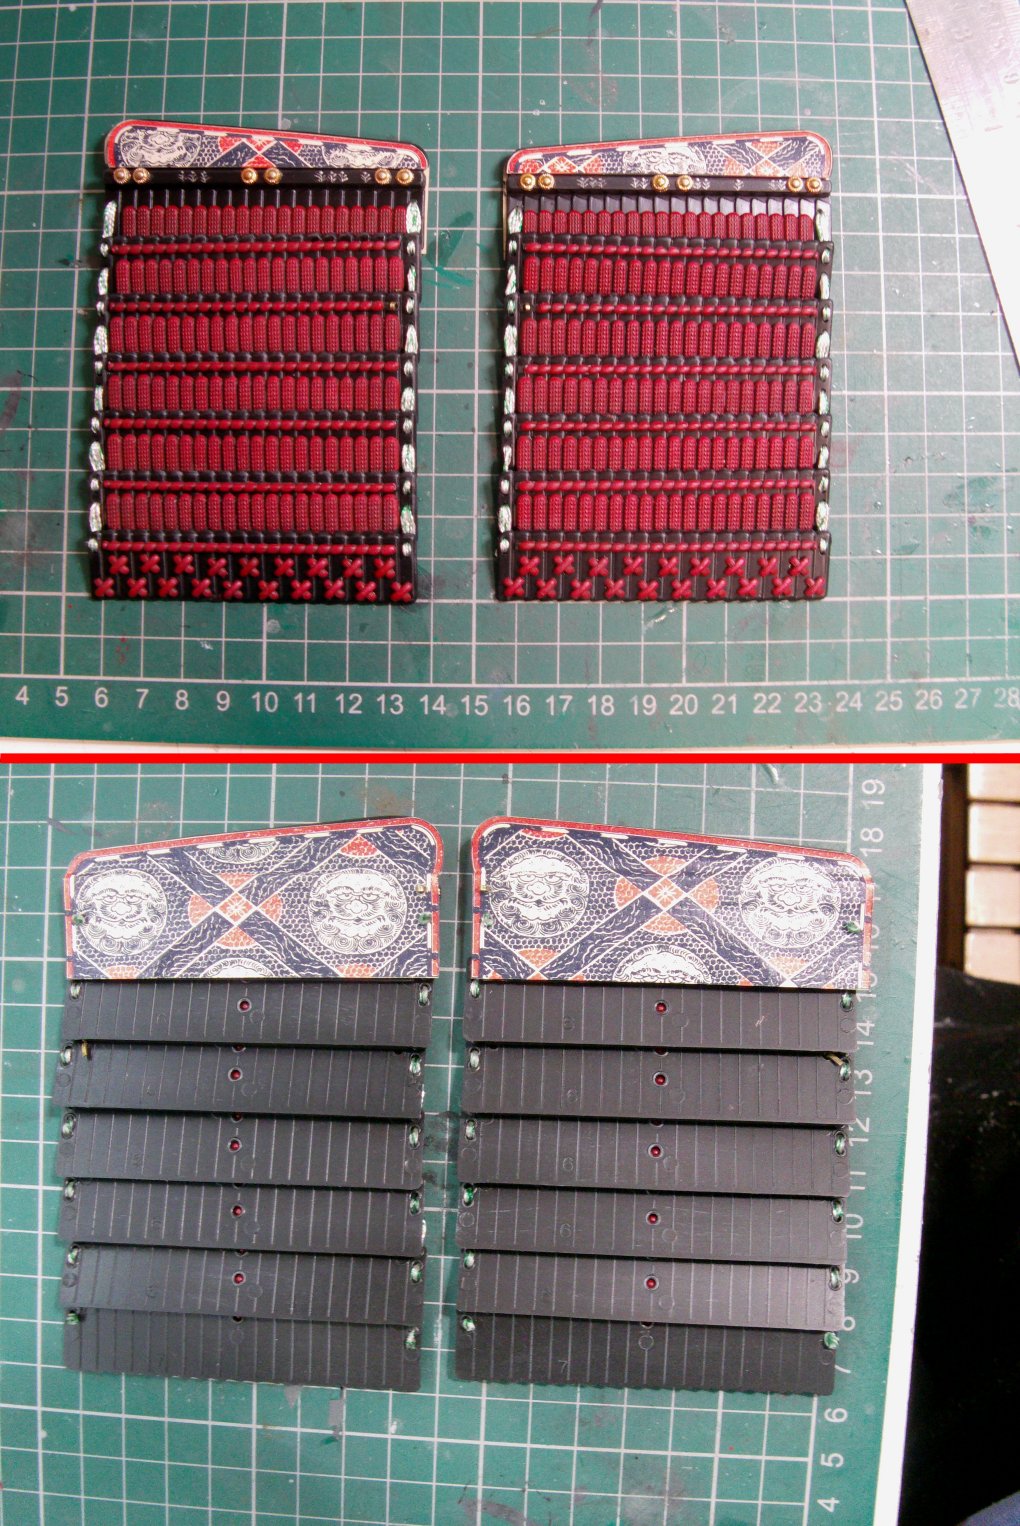
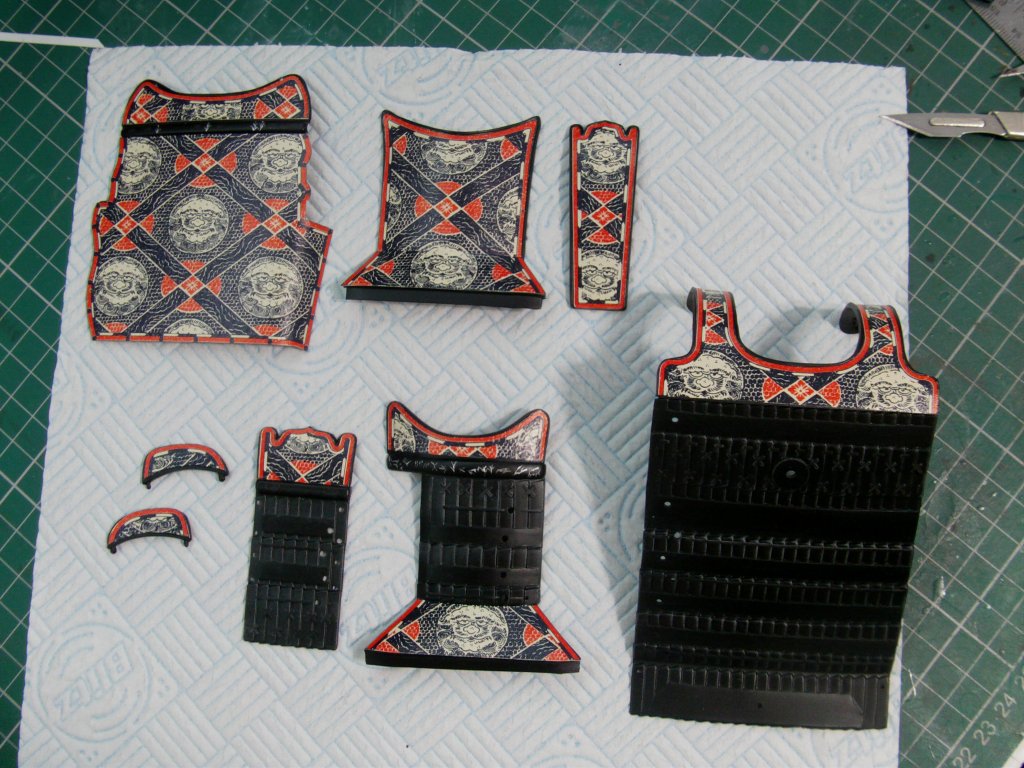
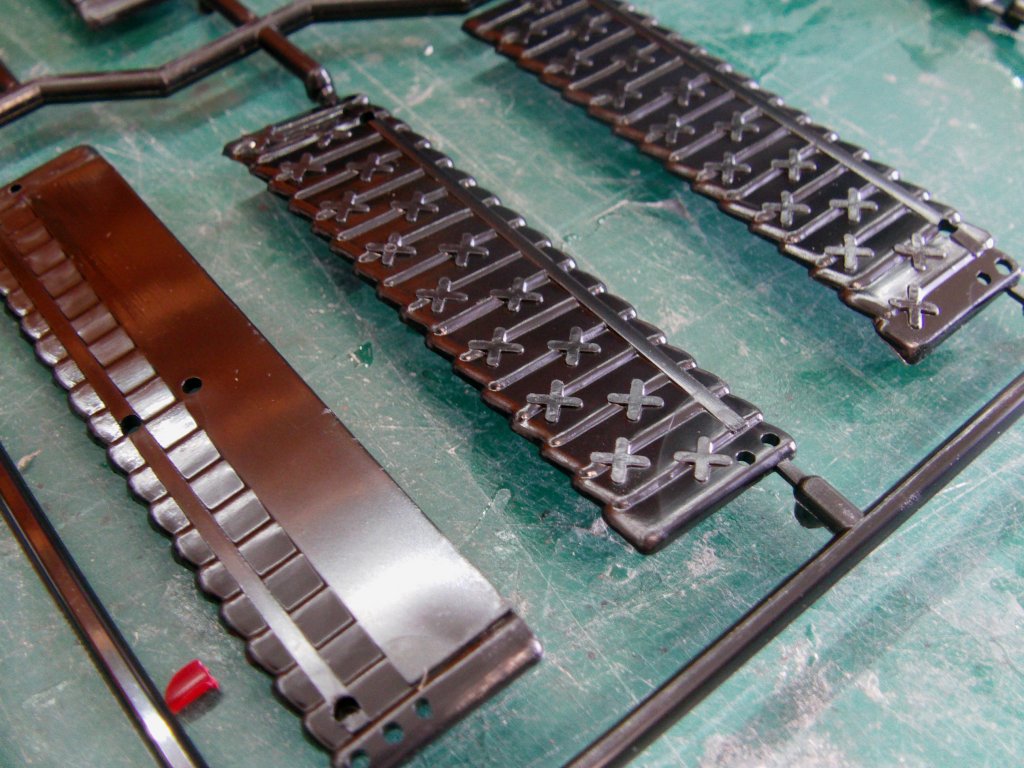
Arm, skirt and chest plates. X marks the spot where then faux cord crosses go.
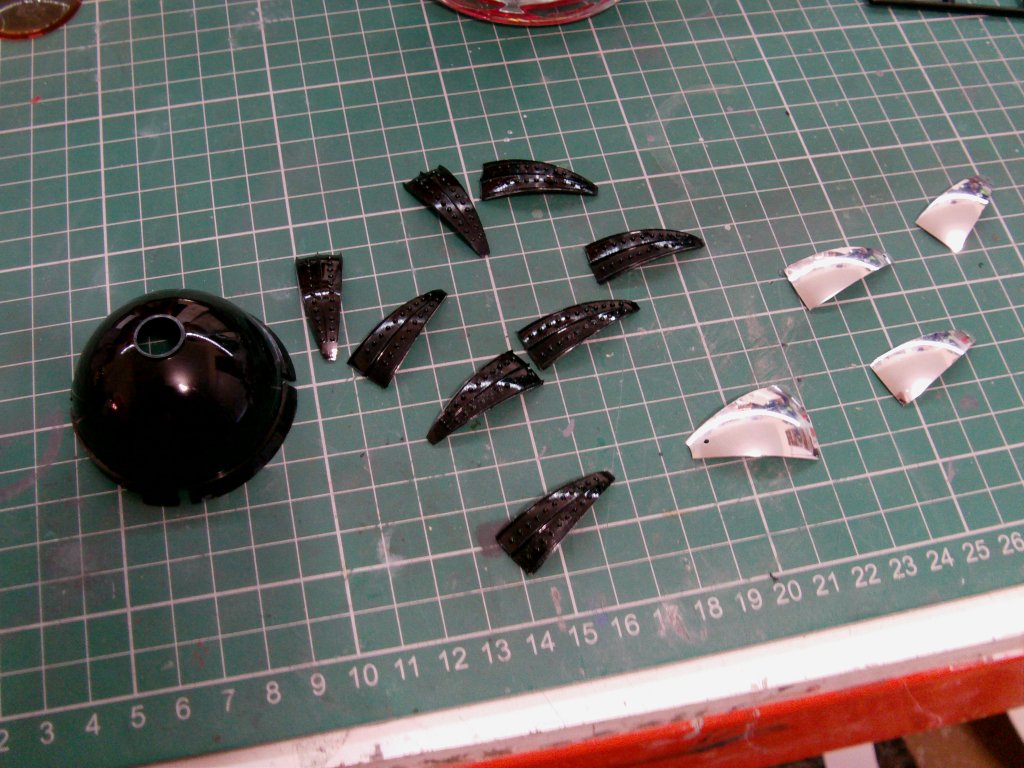
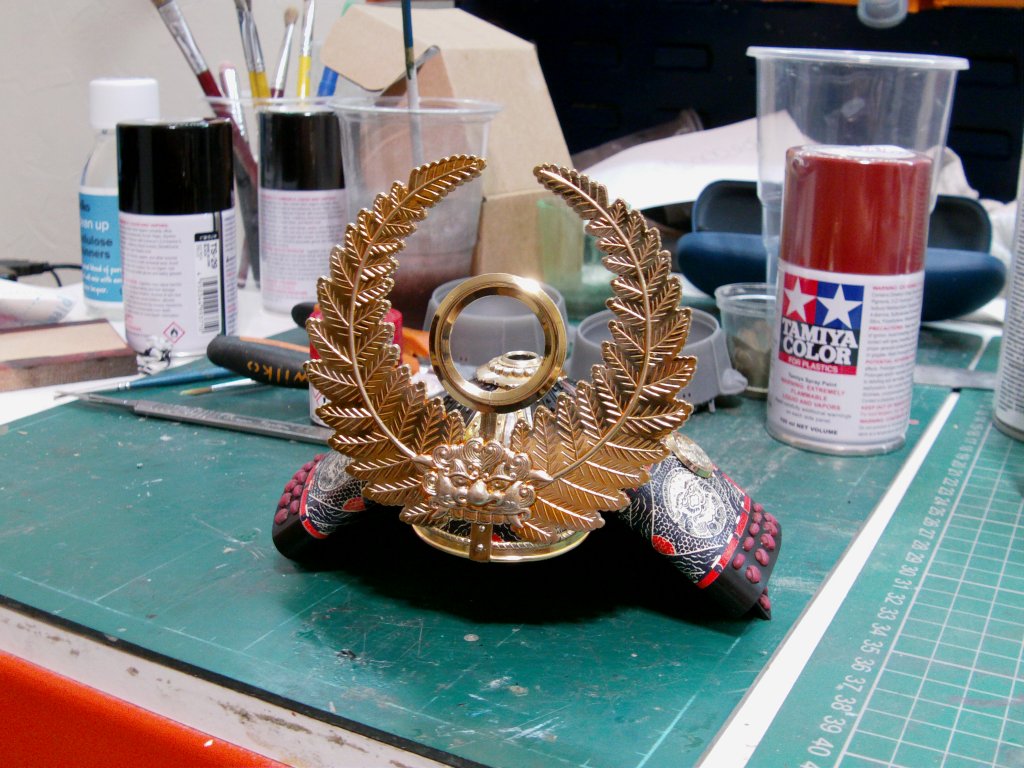
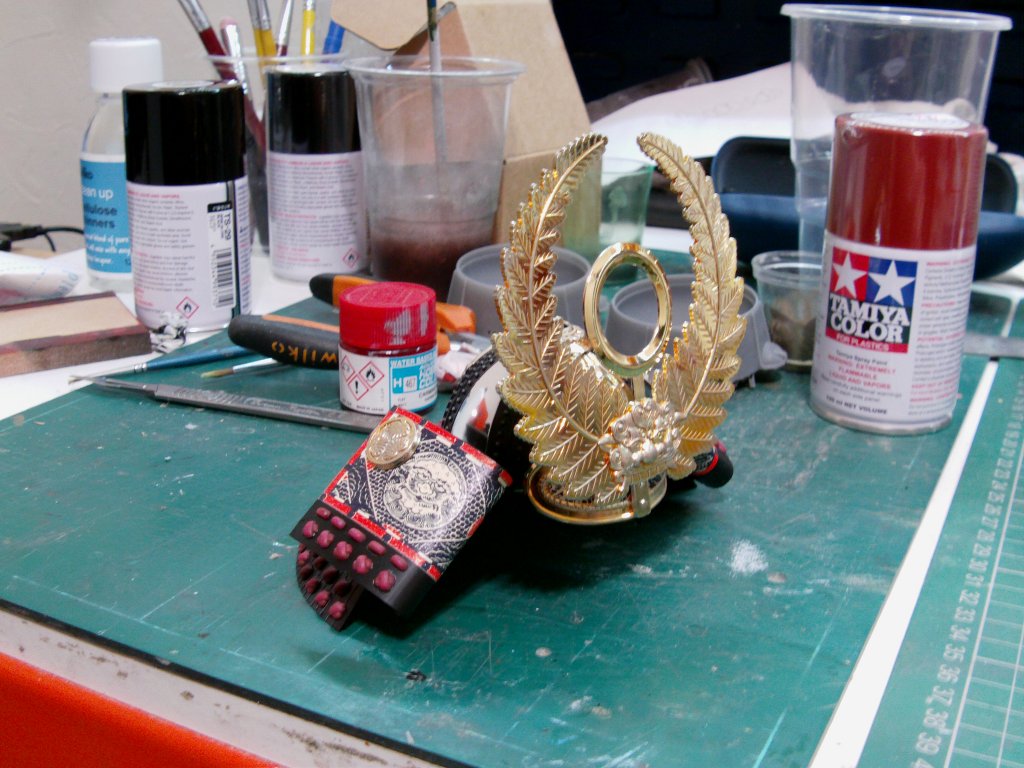
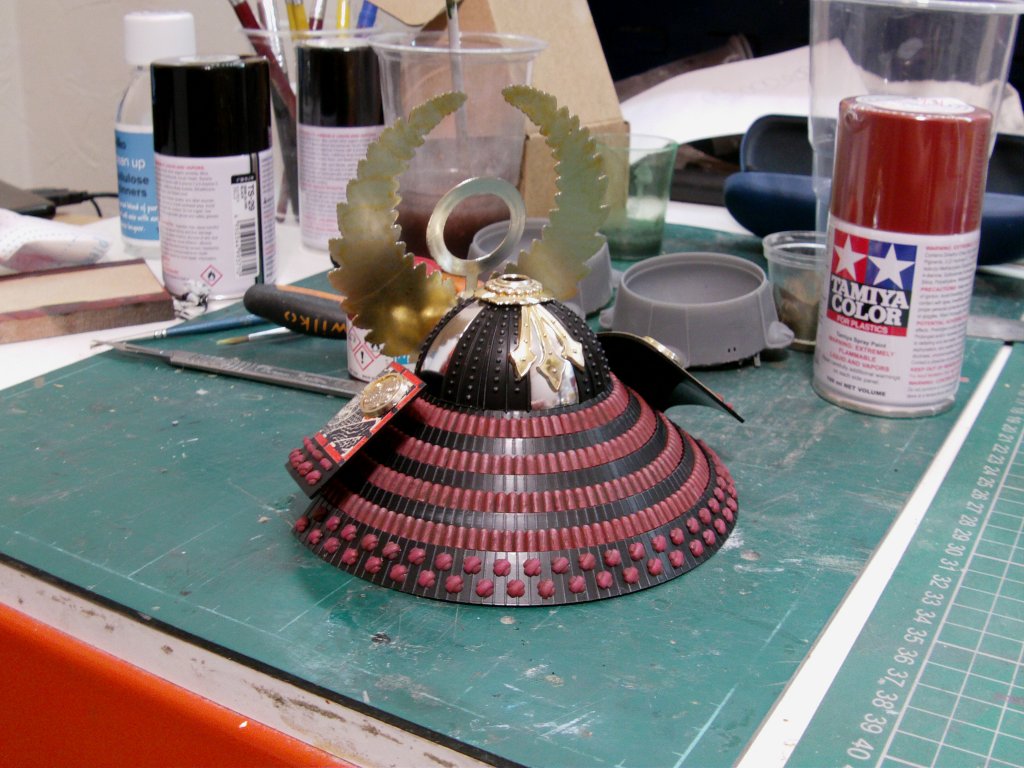
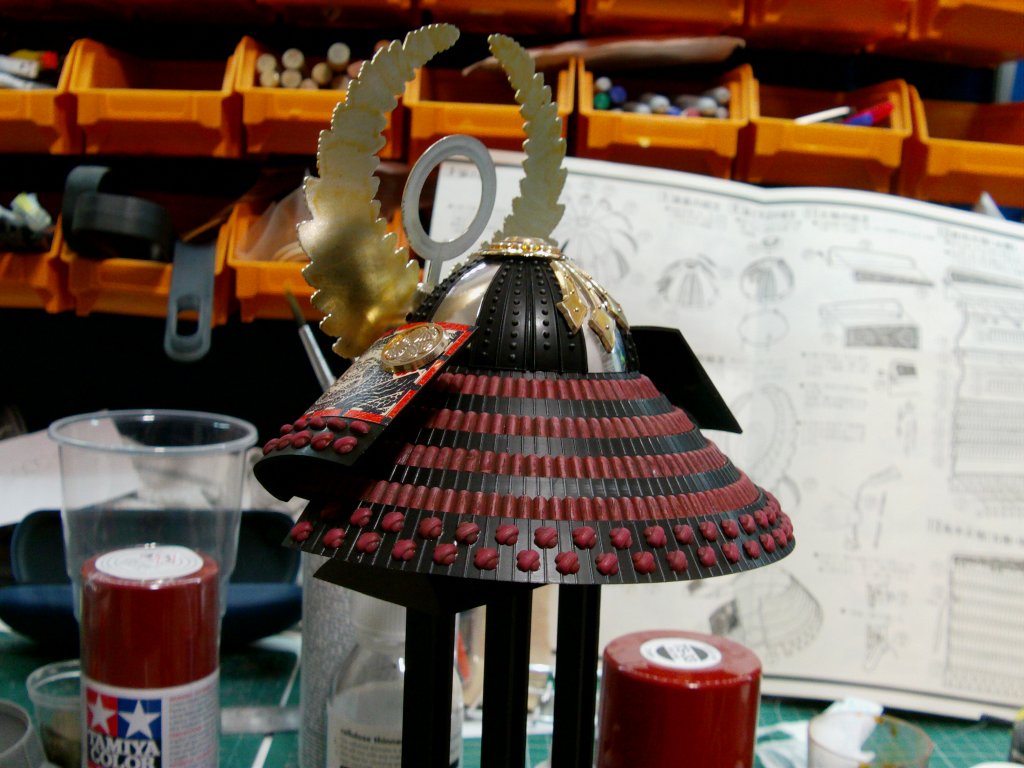
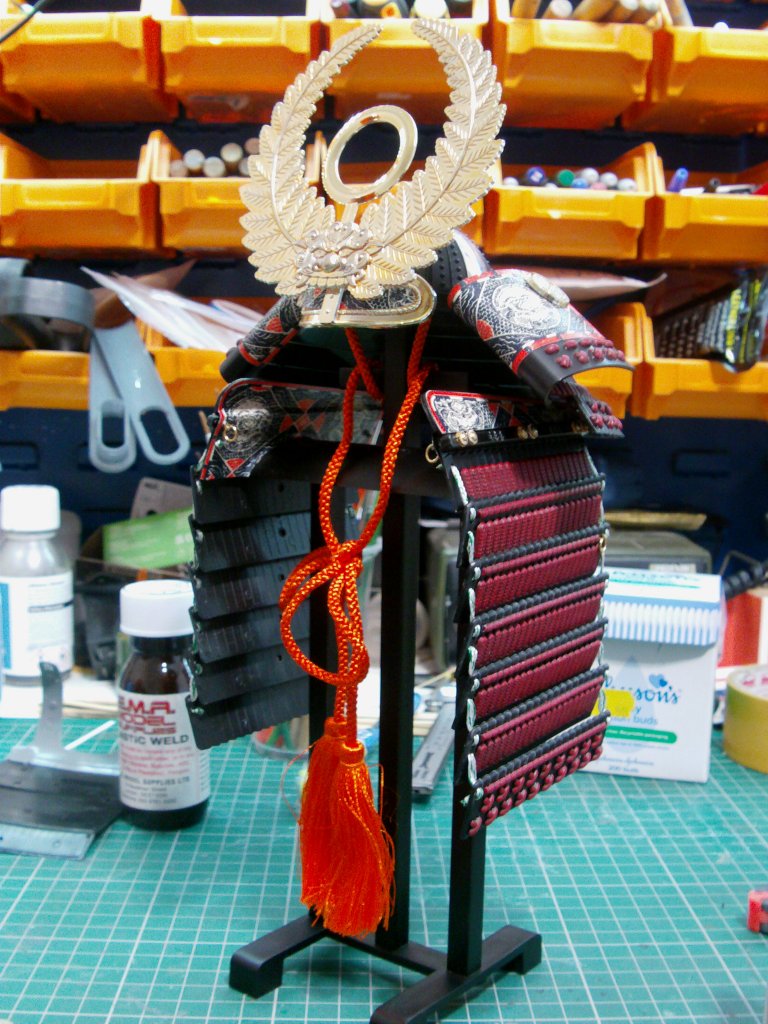
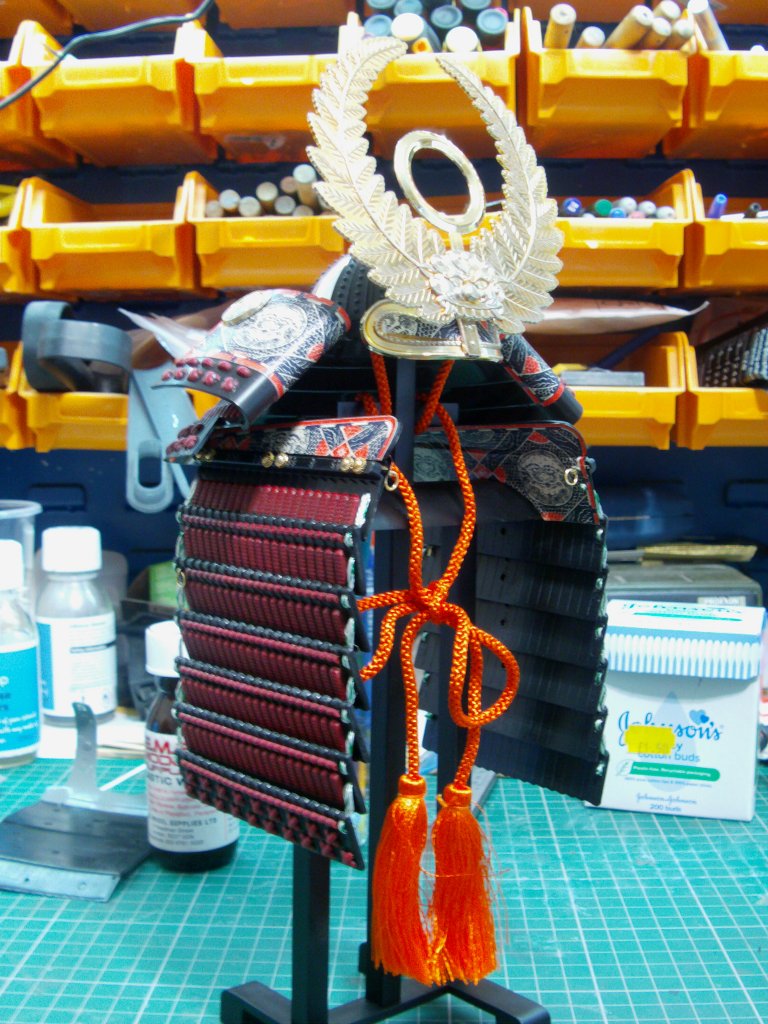
Helmet parts and another rake of those cross thread bits.
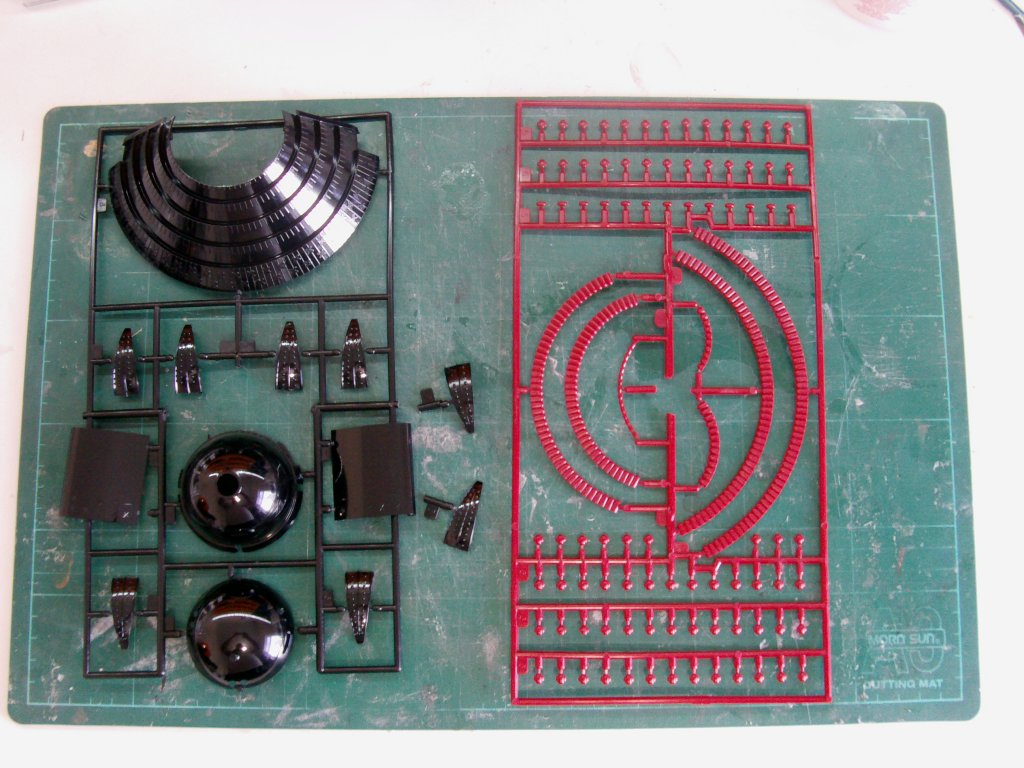
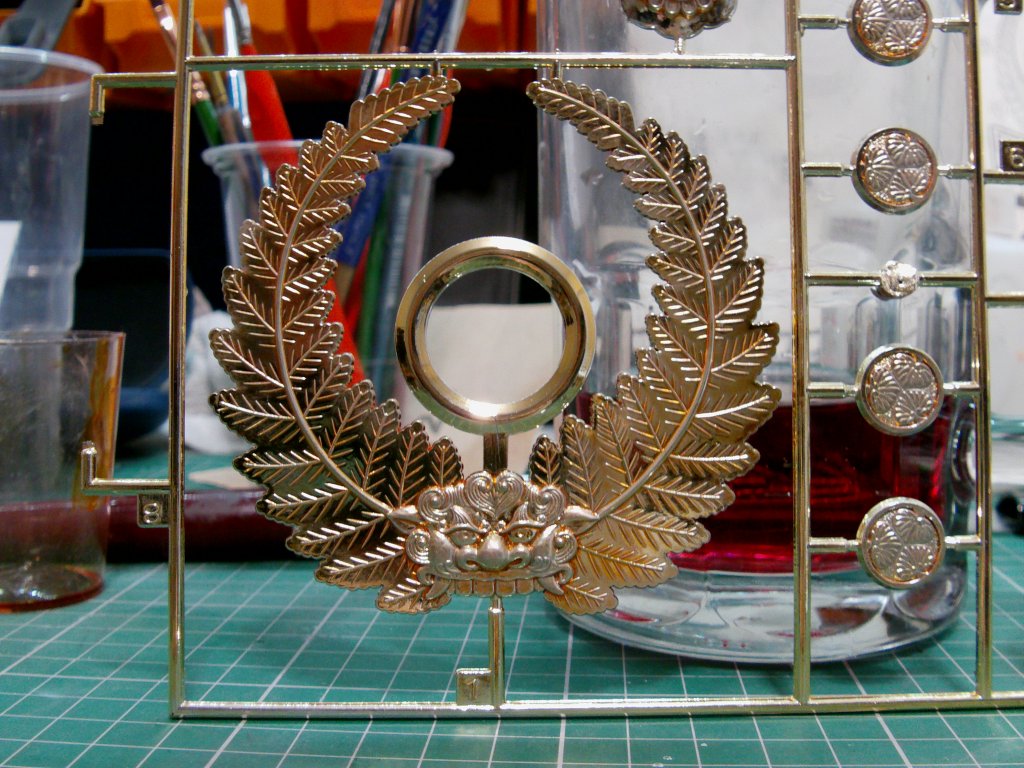
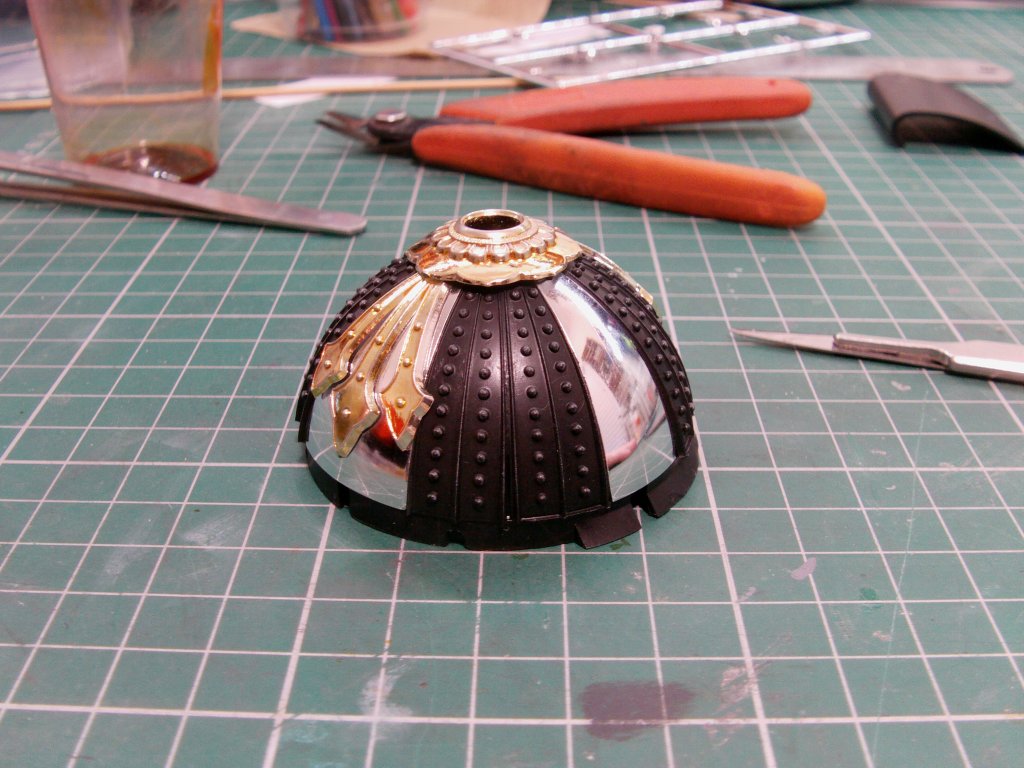
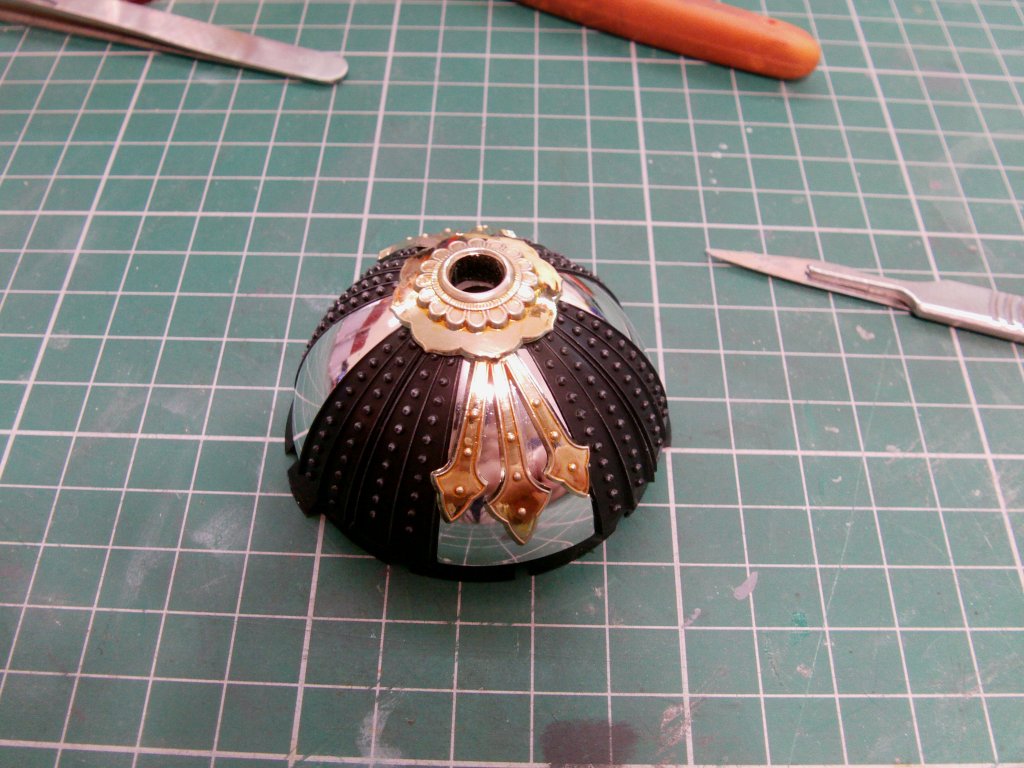
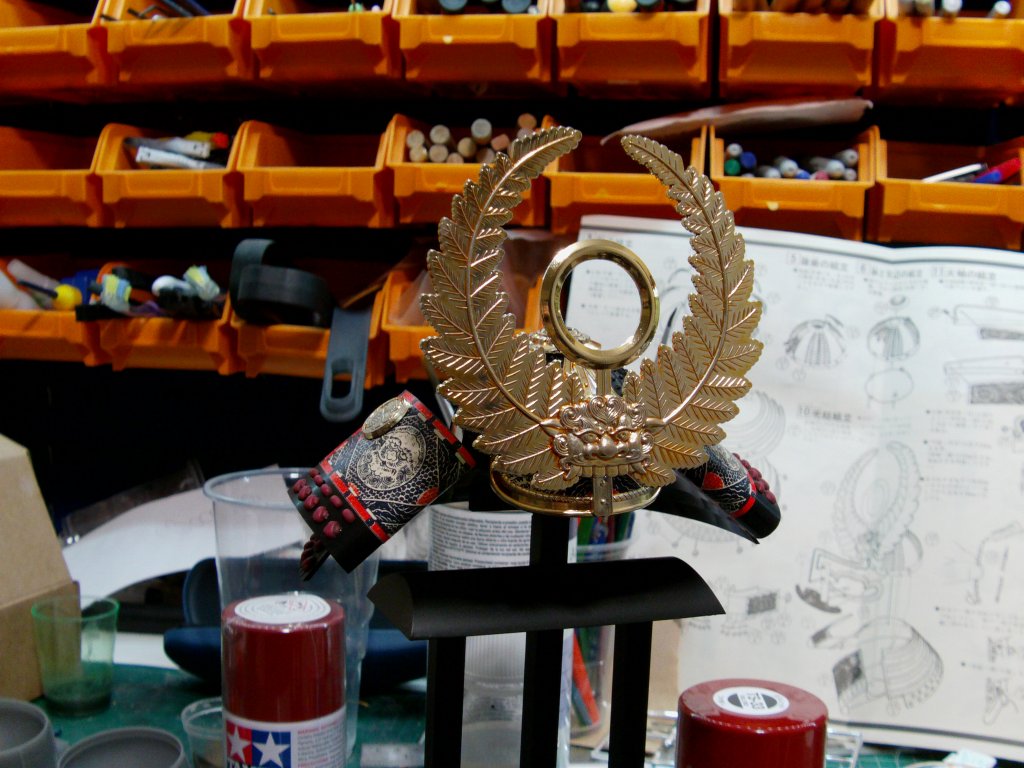
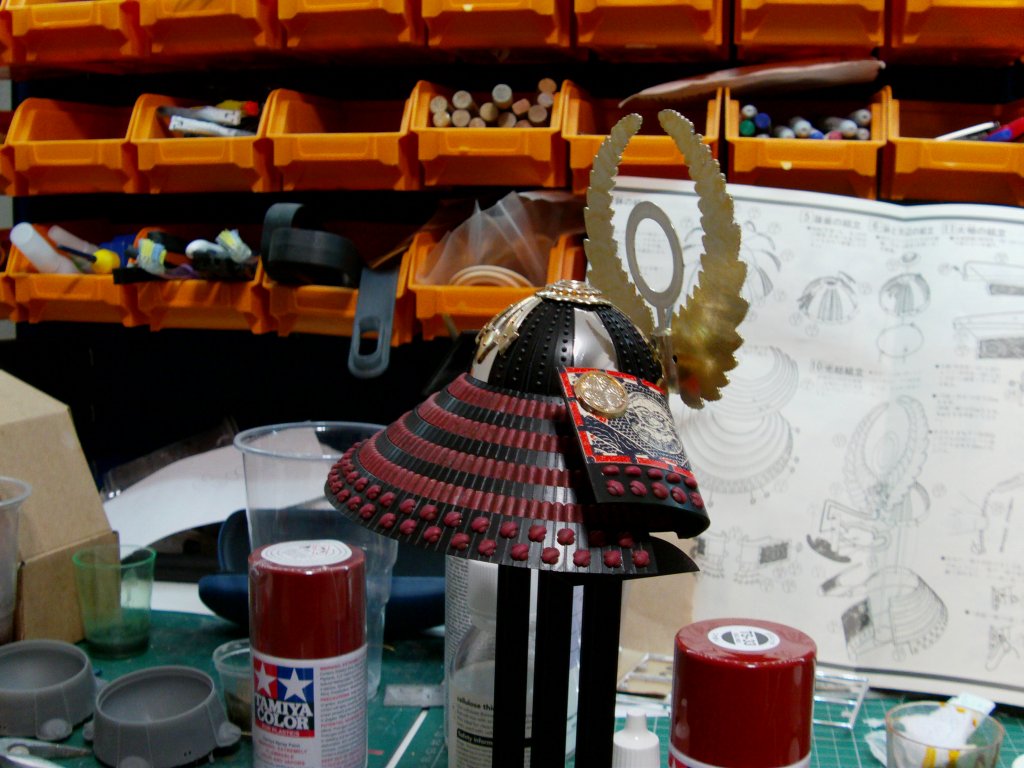
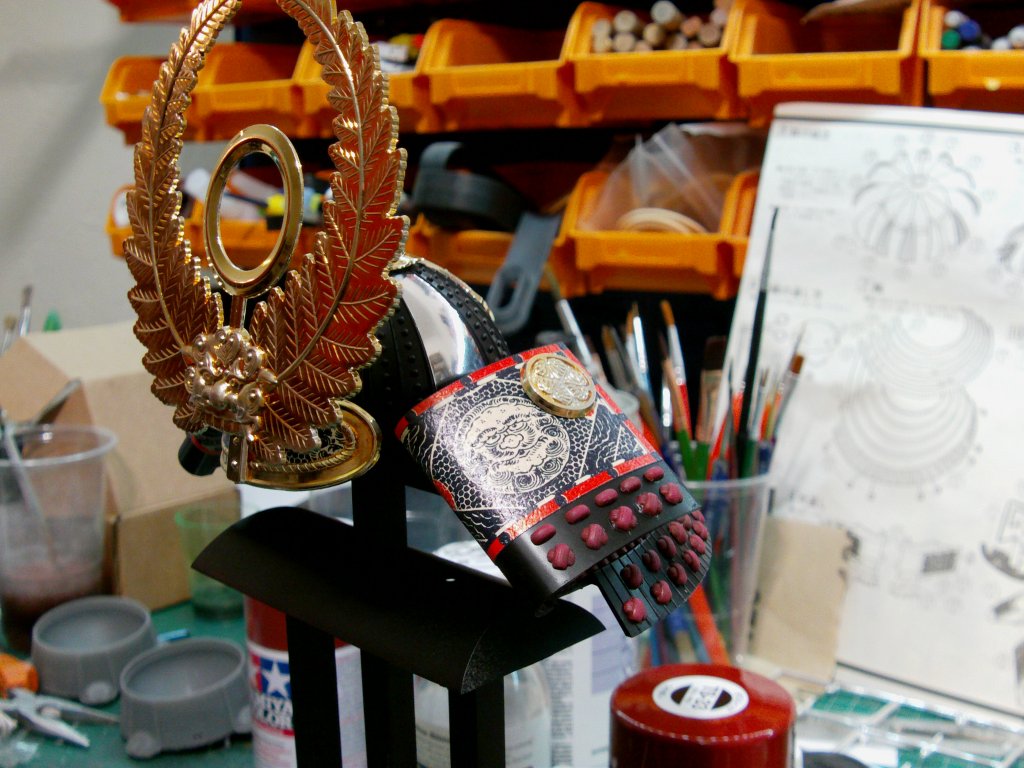
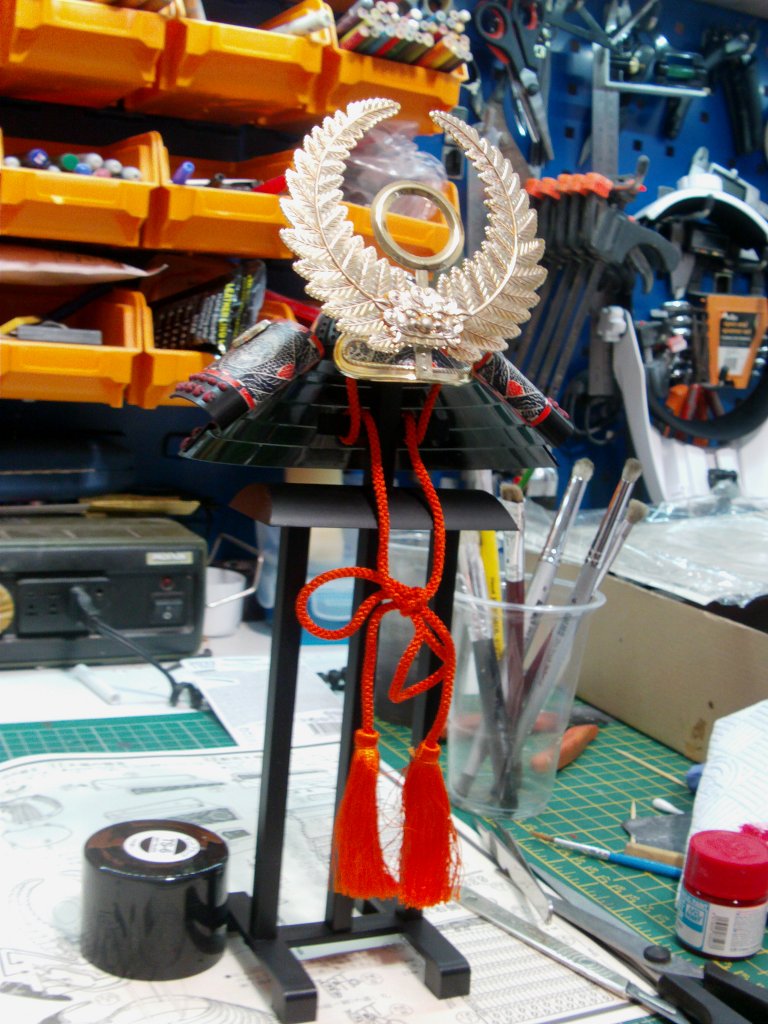
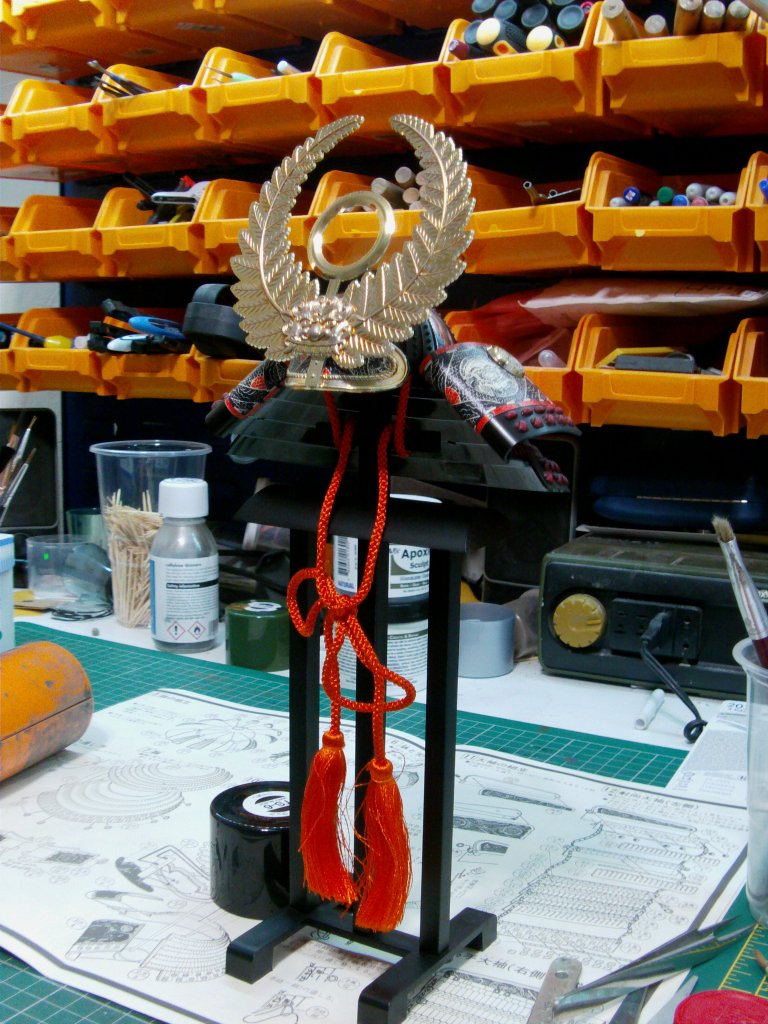
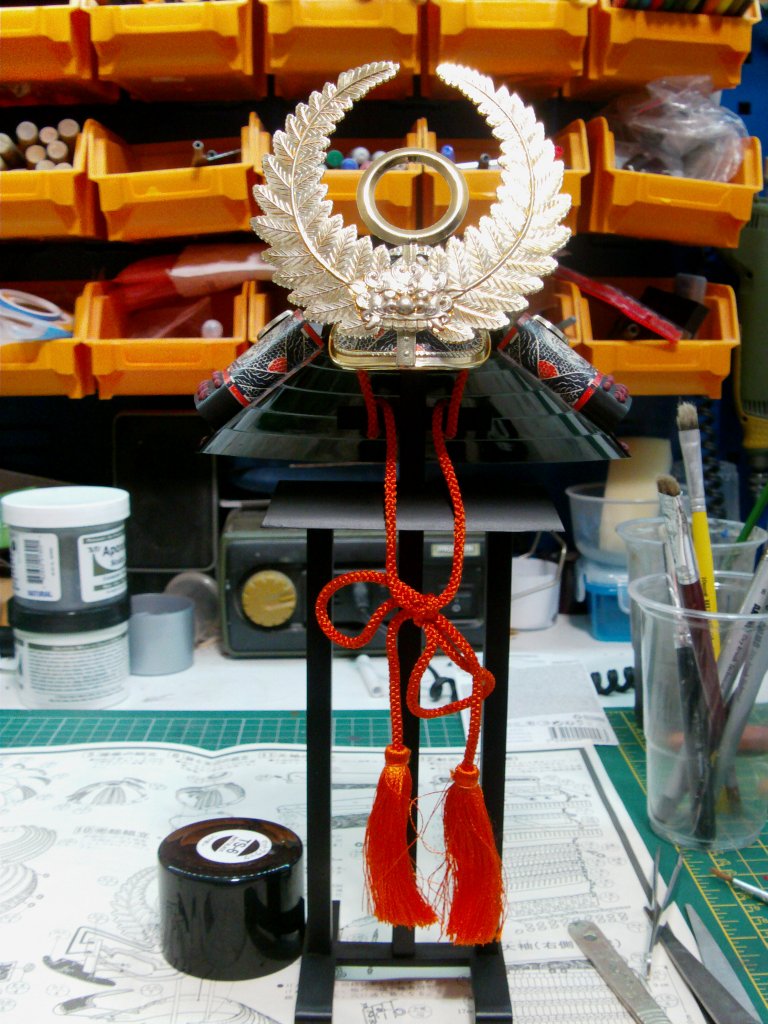
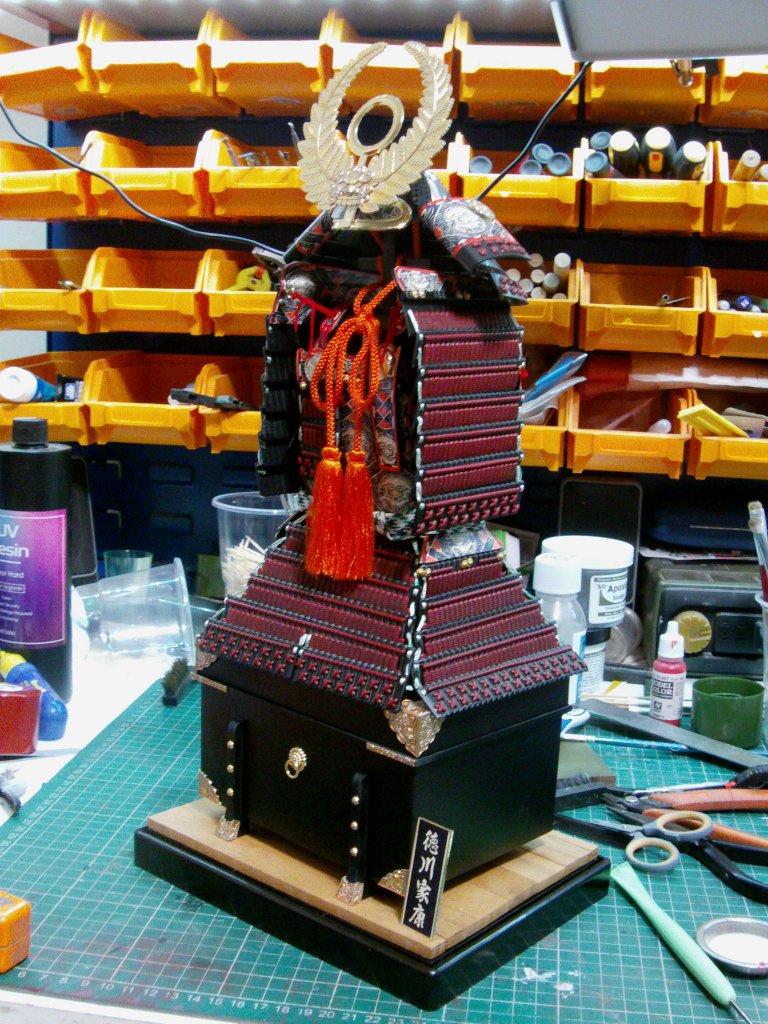
Helmet plated parts and it's got a hell of a crest on it!
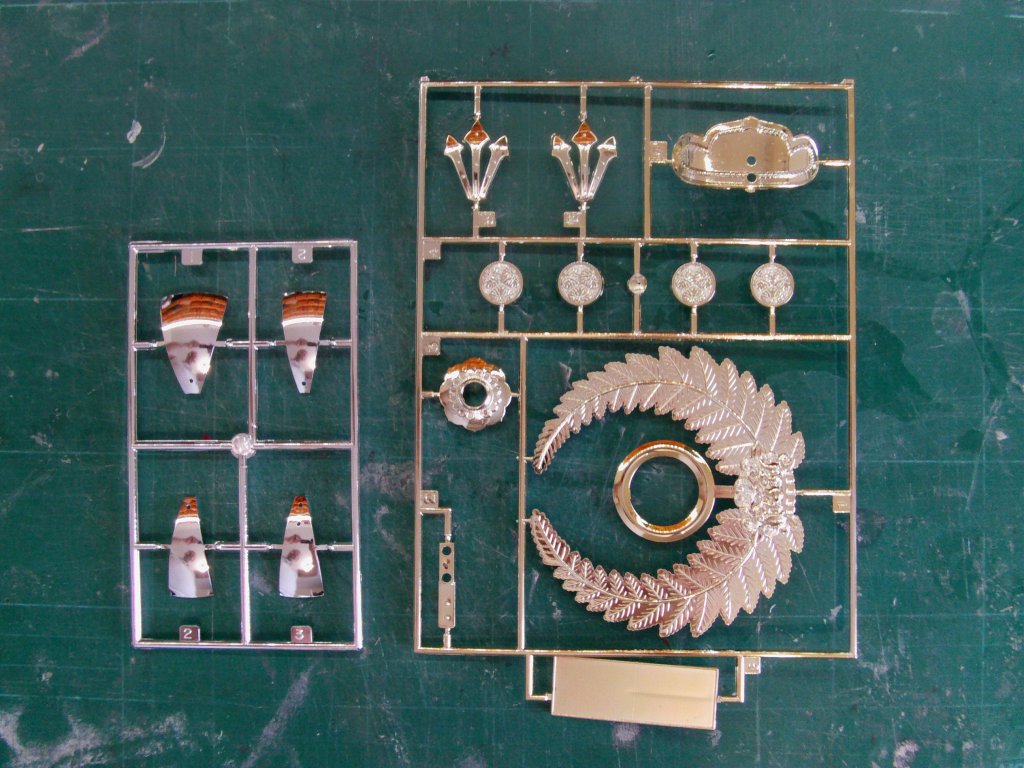
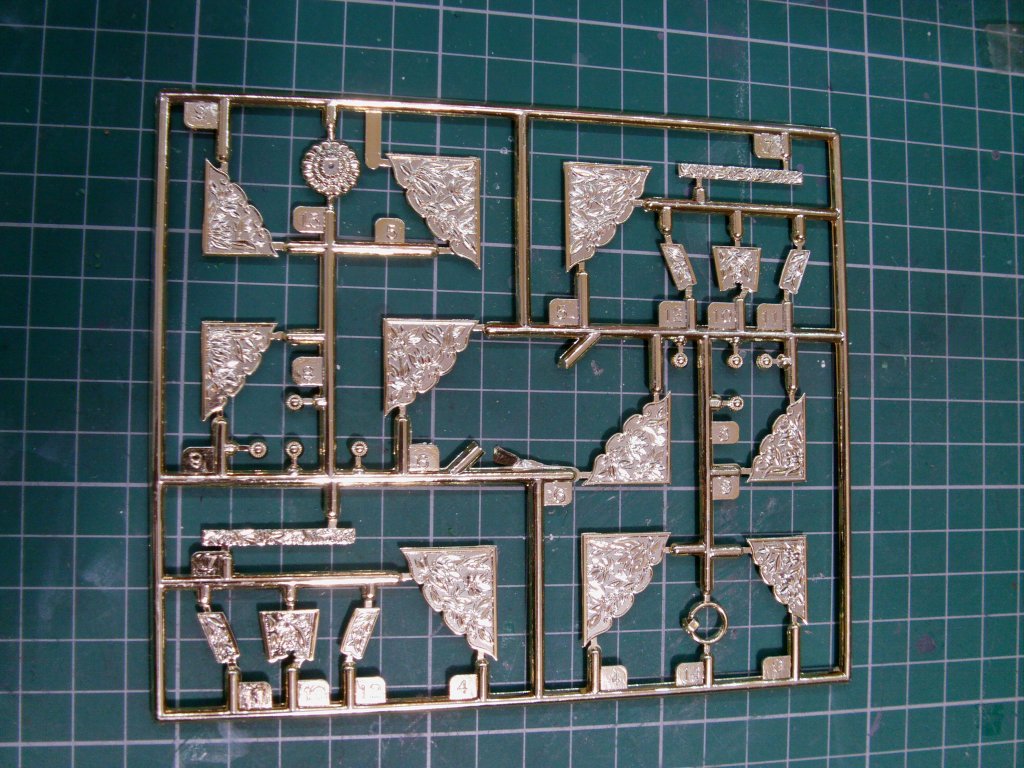
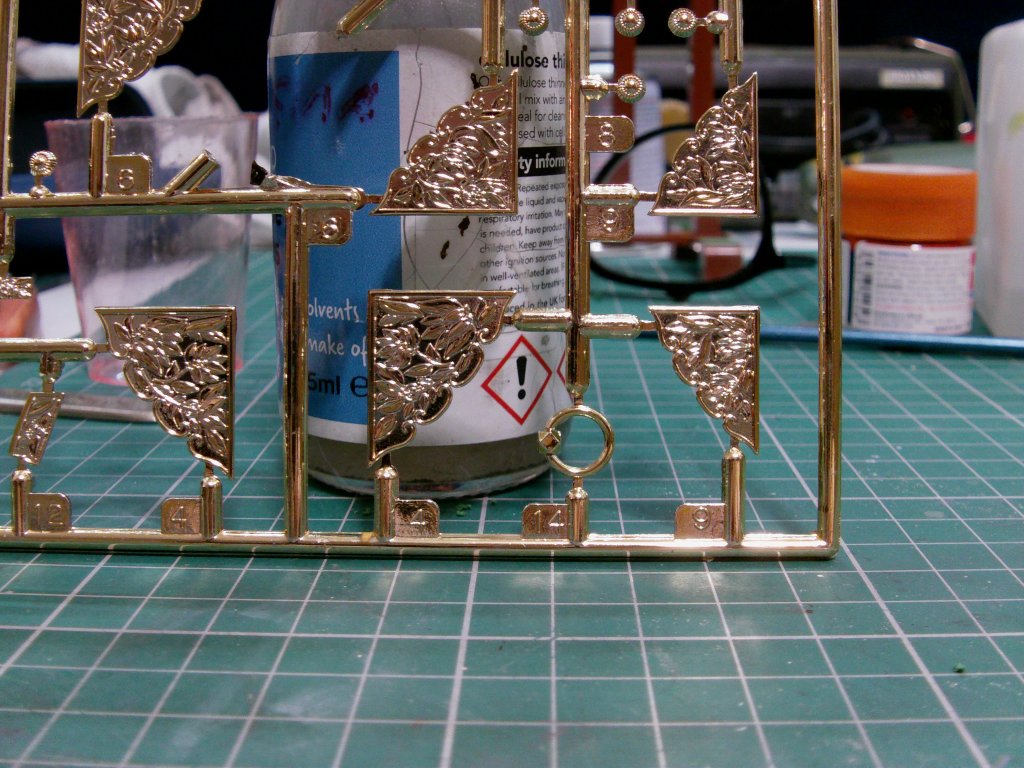
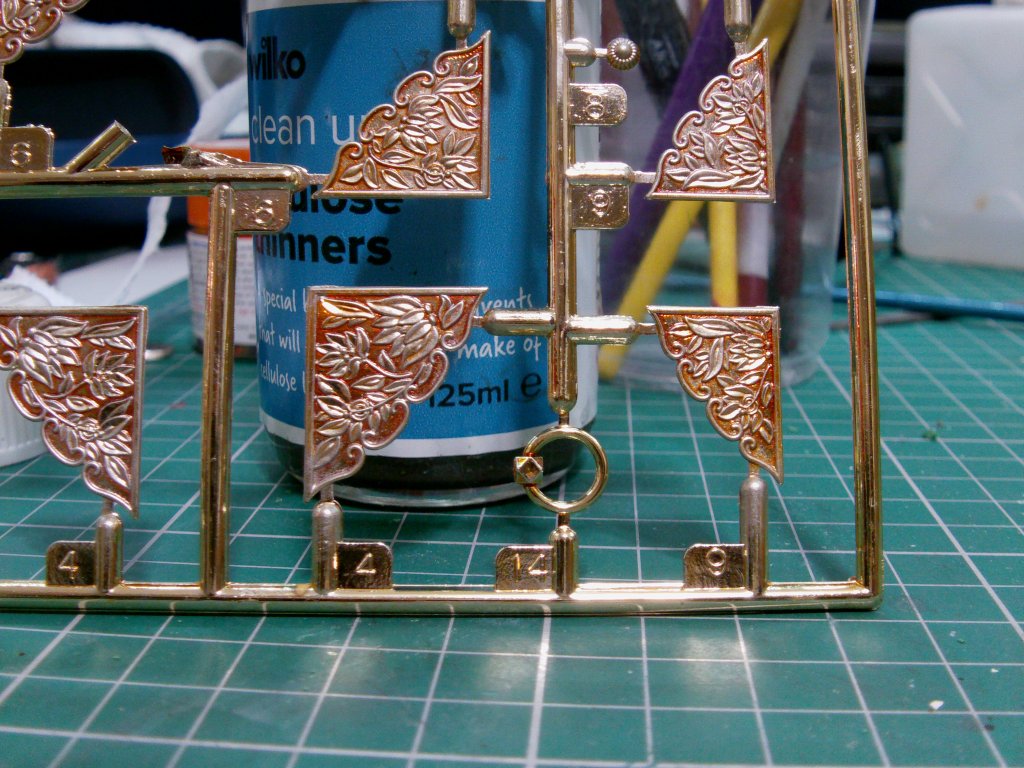
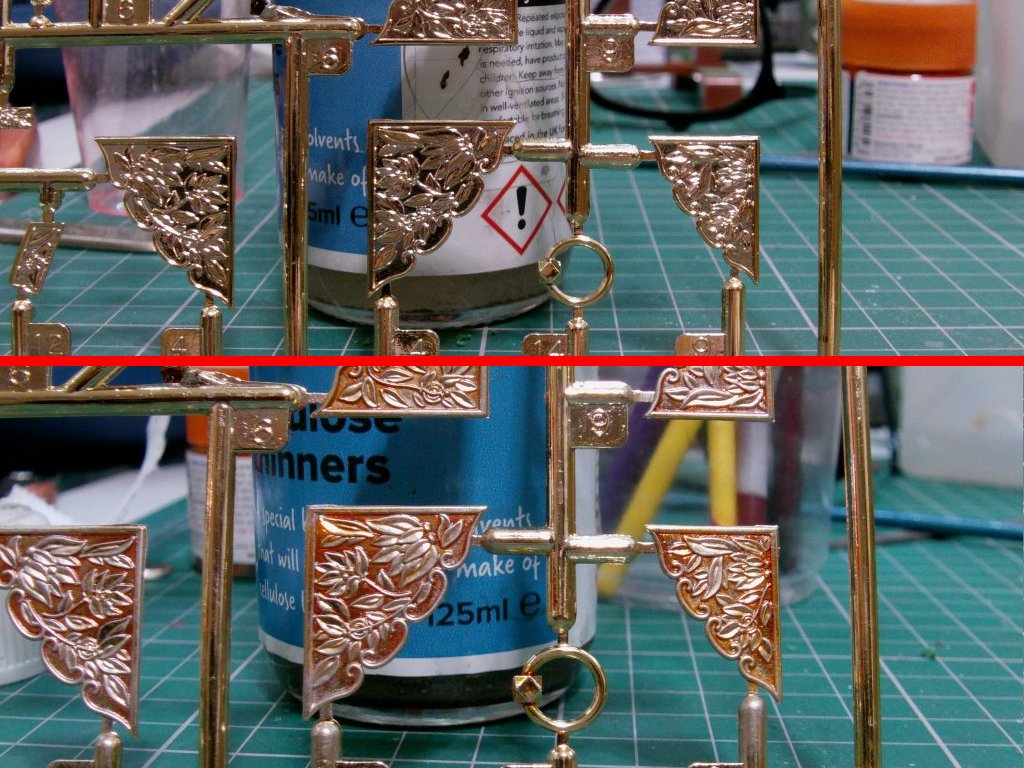
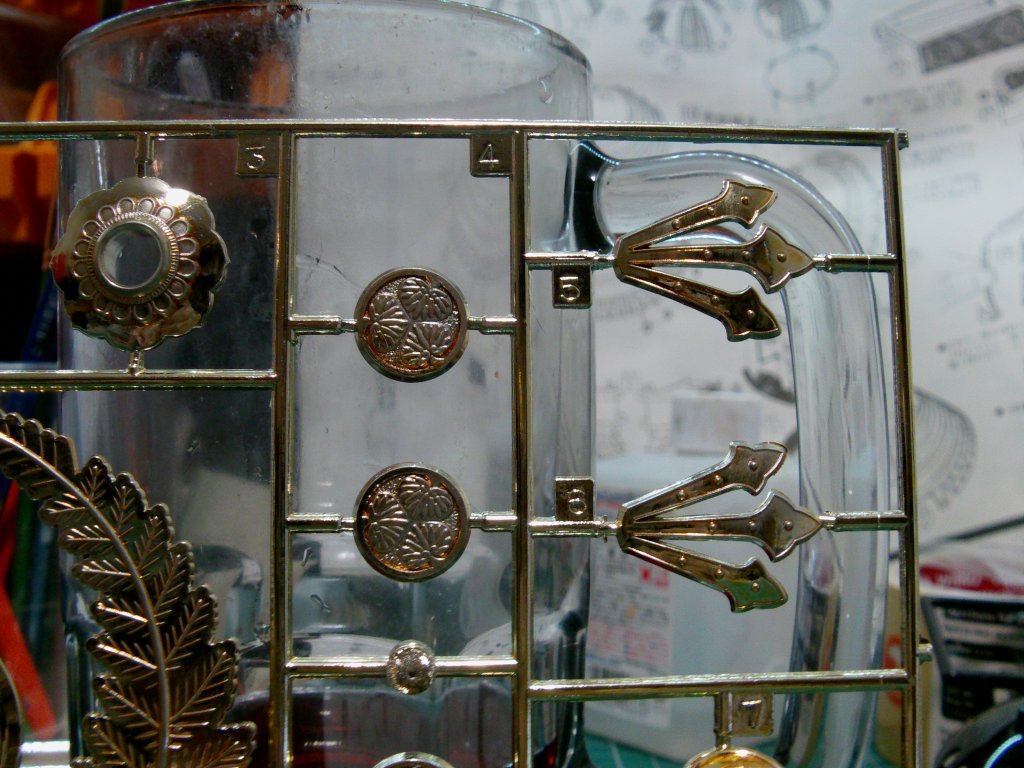
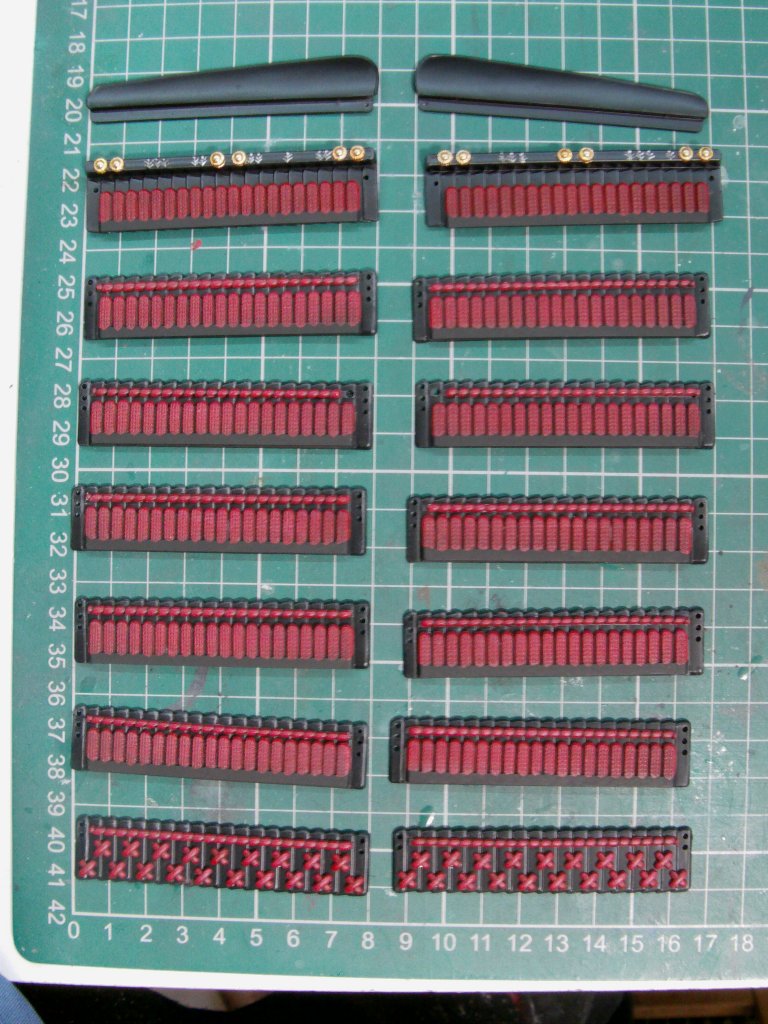
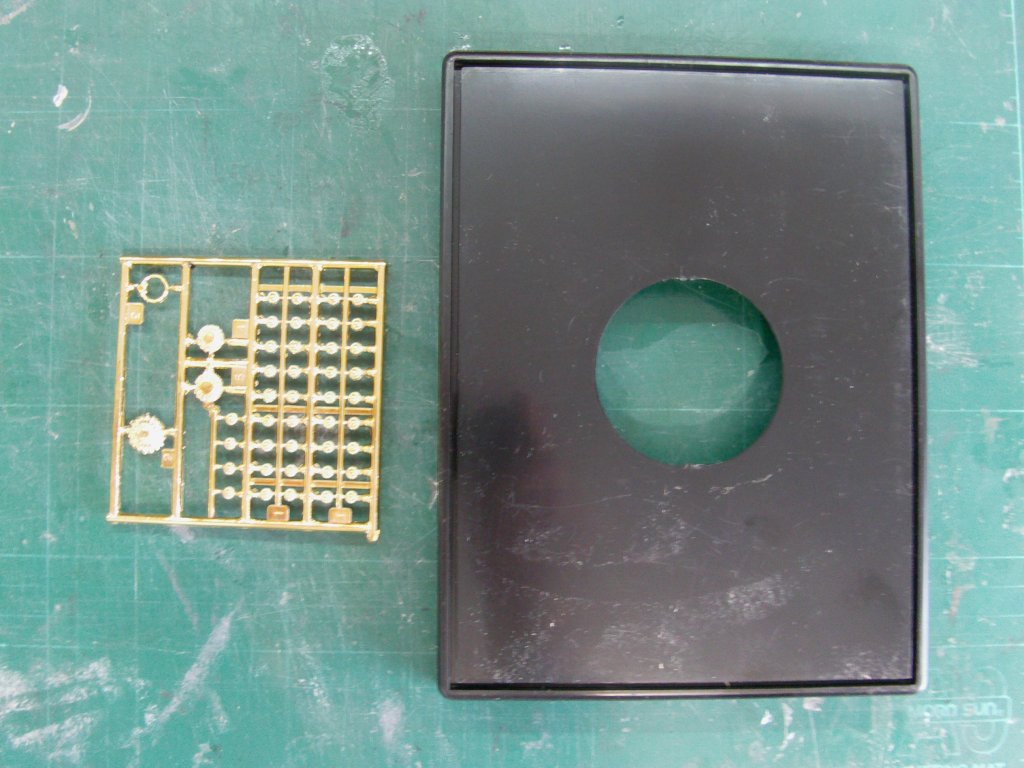
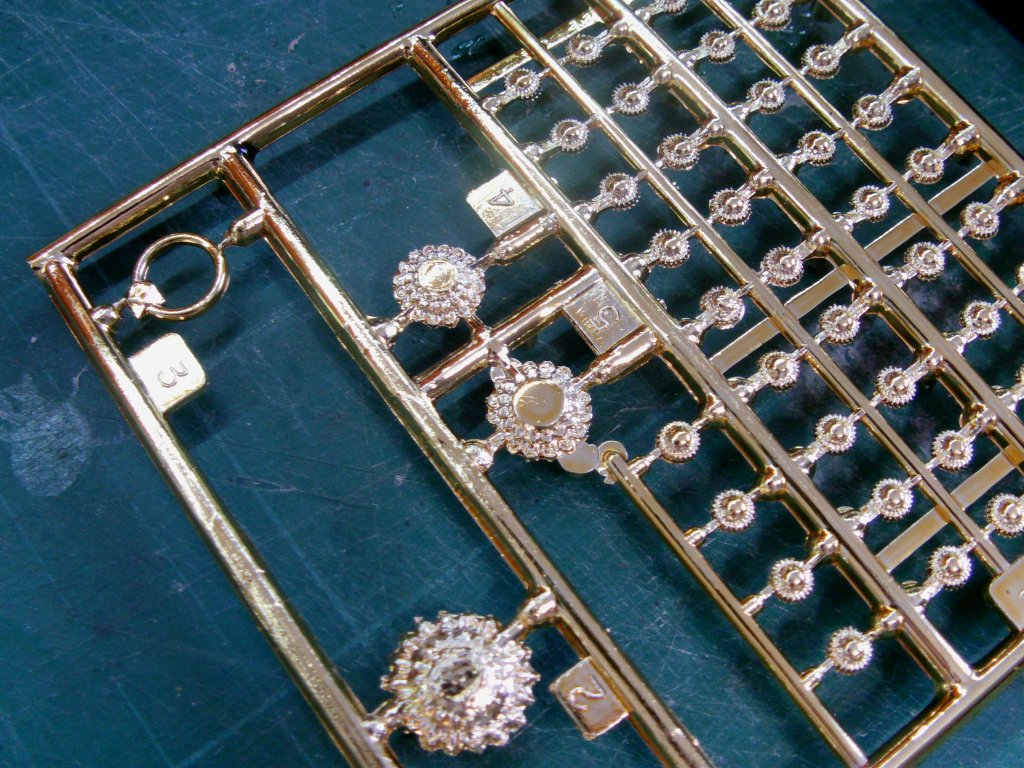
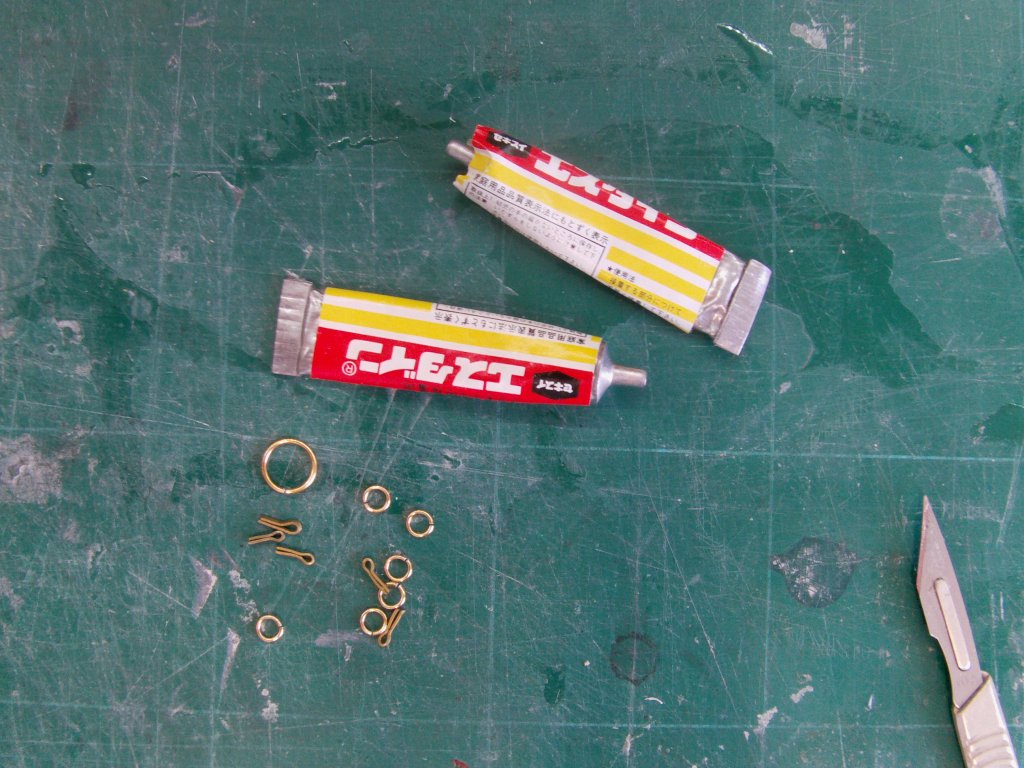
Lastly, some brass work bits and two tubes of glue.
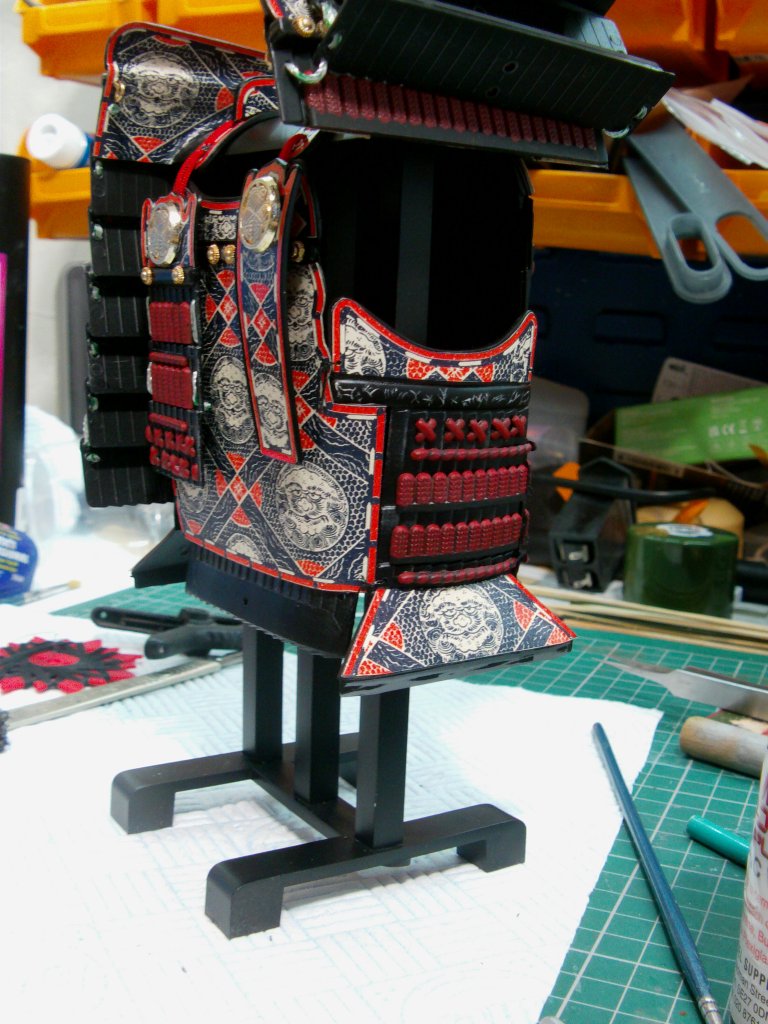
The paintwork is going to be a tad crucial to this deal but we'll see how it goes.
I'd love to at least have a Uchigatana to go with this.
I foresee some scratch build lark happening, have to brush up on my Kamakura period swords.
And that's a wrap on this opener people.
More in the next post, honest!