Here are a few step by step photos of my painting process, I don't use an airbrush and prefer this way, well it's something I'm used to.
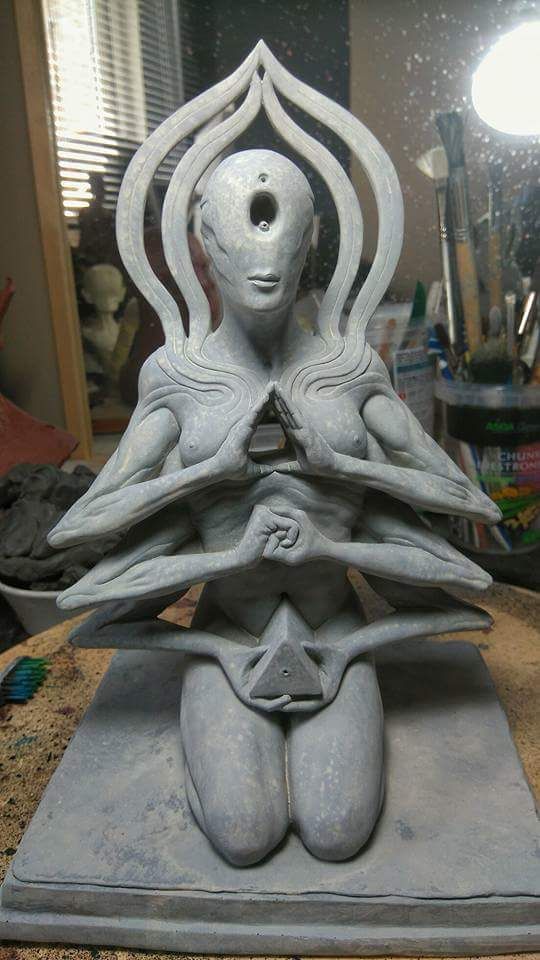
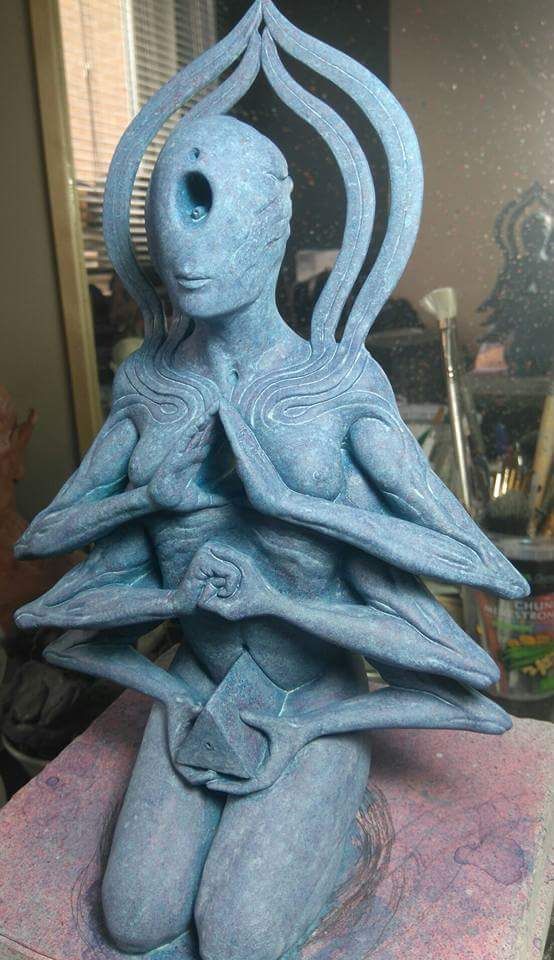
Once she's pinned and primed I brush on a few white washes till the grey is knocked back ready for the next colours.
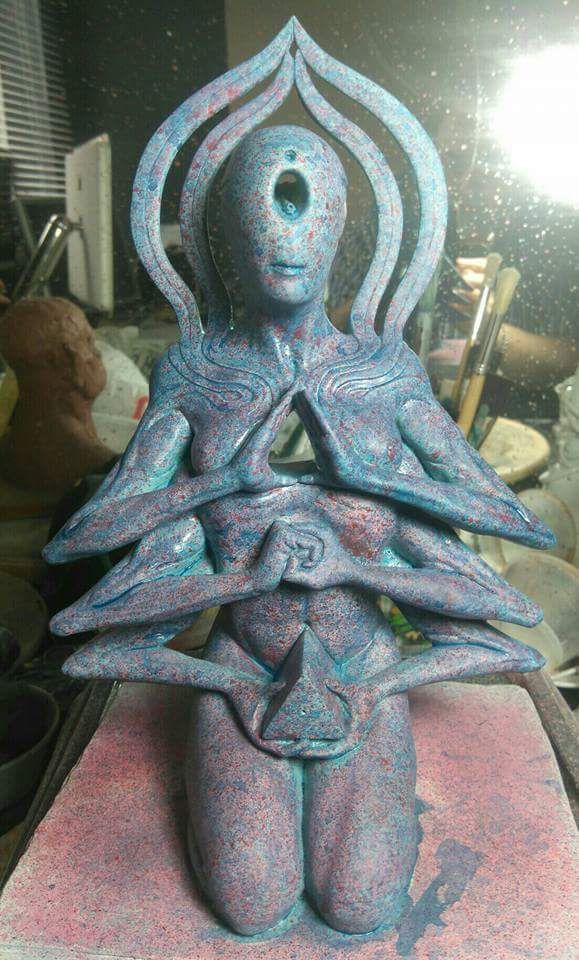
It's really important to dilute your paint to light washes you might have to go through the washes numberous times to get a nice build up but it's worth it, then I use a toothbrush and splatter red and blue, I tend to use these 2 colours with everything I paint.

Then a light splatter of a white wash to brake down the red and blue, once that's dry I brush on numberous washes of the colour she will be at the end of the paint job which for her will be blue.
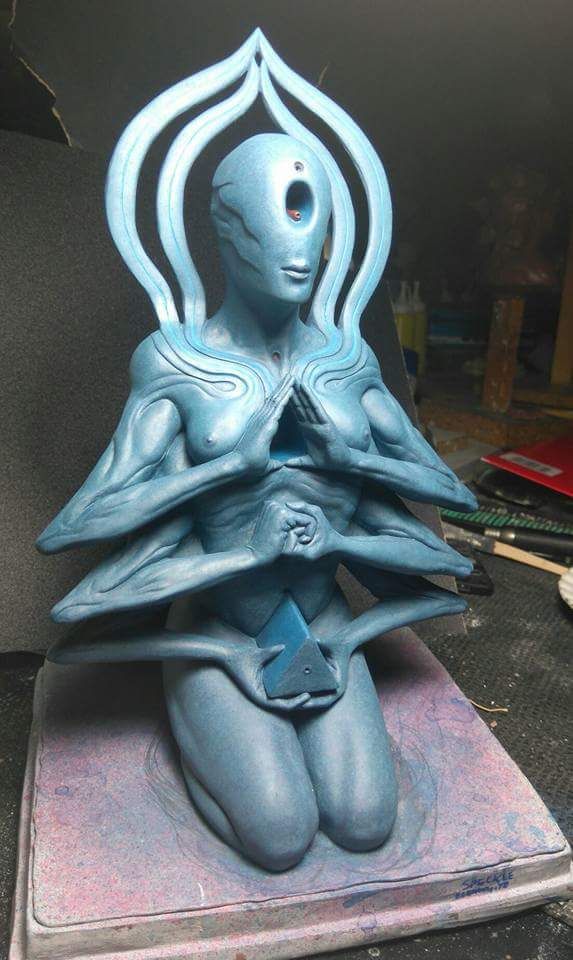
I will then splatter the sculpt with a light white wash just to break up the colours again and get the nice random blotches.
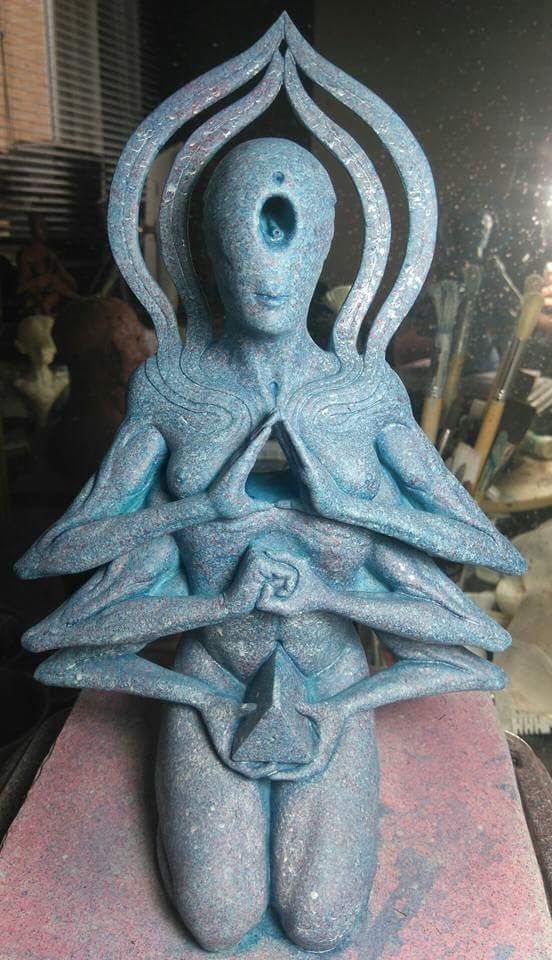
Again over the white splatter wash I sponge and brush her final blue tone till the white wash is knocked back
After that has dried I paint on a light white wash all over it dulls down the bright blue.
Then again a blue wash is layered over the white wash till your happy everything is knocked back and you can see the subtle splatter of red and white blotches just about shows through and that's it for the skin colour she's done.

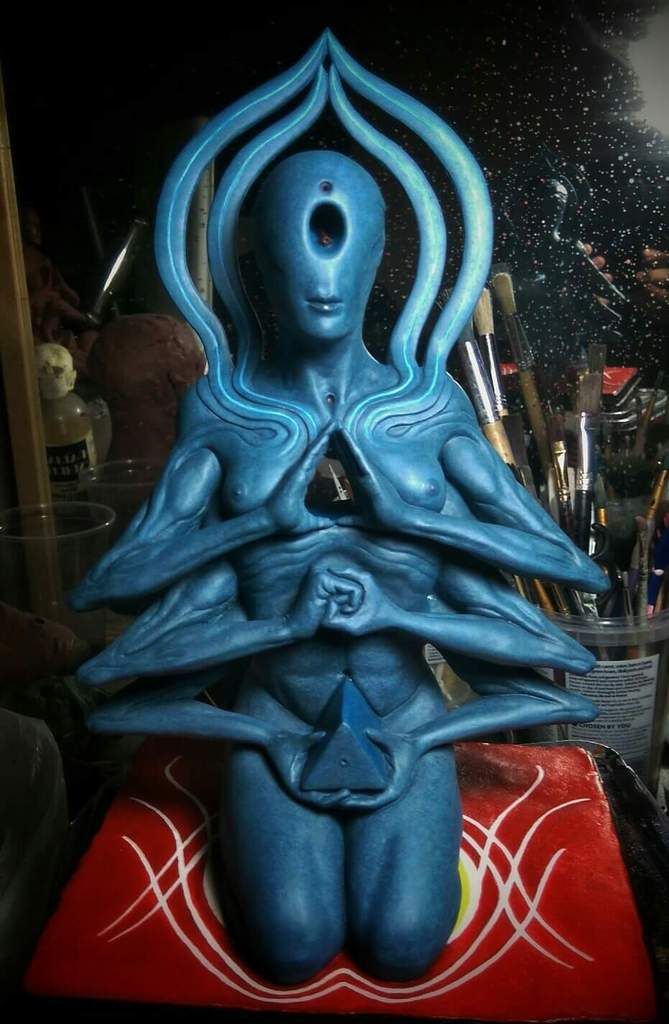
Here she is with the final detailings
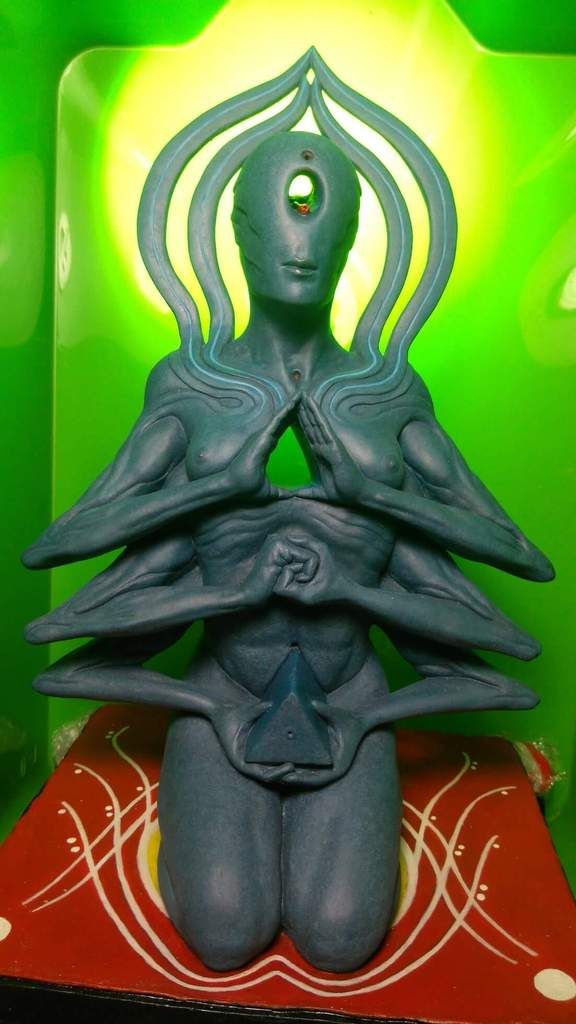
And here is the finished piece, really nice flesh tones and a cheap alternative to using an airbrush
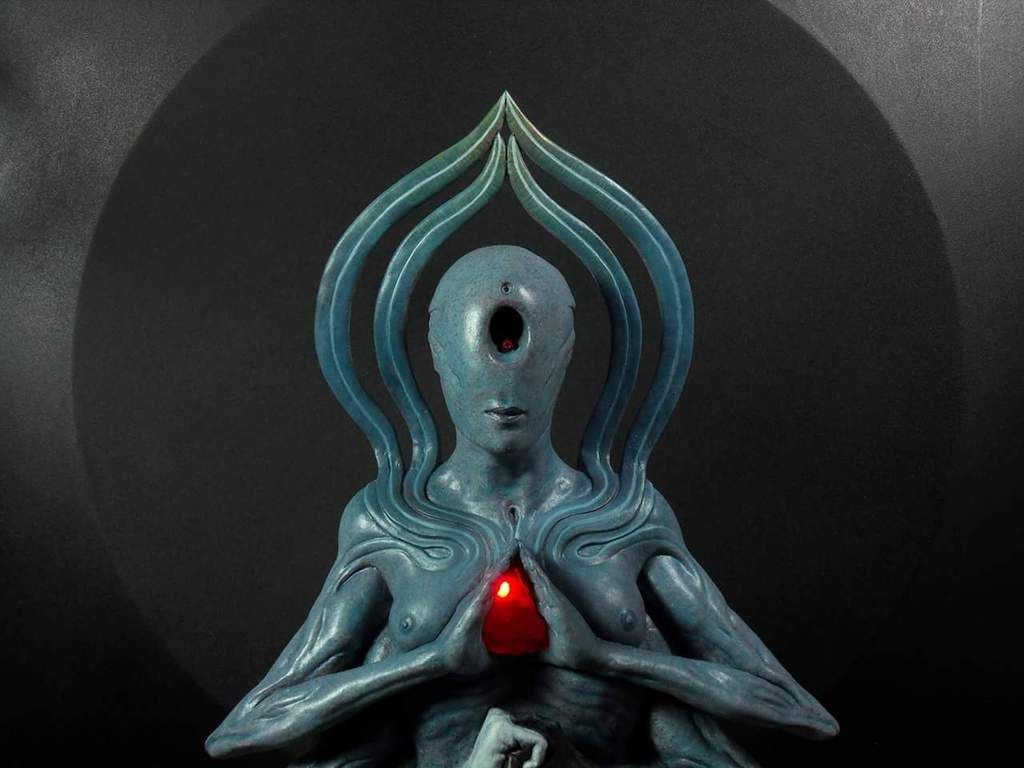
For added effect I used a light source in her chest, this was taken using a child's bouncy ball toy that I took apart just for the photo.